Nexgrill 720-0898 Manual: Your Complete Guide
An essential resource for assembling, operating, and maintaining your Nexgrill 720-0898.
In This Article
Easy Assembly Tips
Operational Instructions
Maintenance Guidelines
Introduction to the Nexgrill 720-0898
The Nexgrill 720-0898 is a Deluxe 6-Burner Propane Gas Grill built for larger backyard cooking sessions, and the manual matters because this type of grill performs best when the assembly, gas connection, and startup steps are done in the right order. Nexgrill’s product materials identify the 720-0898 as a 6-burner propane gas grill with a side burner, which means it is designed for both high-capacity grilling and side-dish prep in one setup. That combination is useful, but it also means the owner needs a clear operating routine from day one.
If you are unpacking the grill for the first time, the manual is less about theory and more about avoiding preventable delays: missing hardware, misaligned panels, incorrect burner placement, or a rushed ignition check can all turn a simple setup into a long afternoon. A good approach is to treat the assembly as a sequence, not a pile of parts. Lay out the cart, cookbox, burners, grates, and hardware before tightening anything fully, and confirm that each subassembly sits square before moving on. That habit saves time later and helps the grill feel stable on the patio.
For a grill this size, the most important early checks are hardware count, burner seating, and gas hose routing before the first ignition.
This guide follows the same practical arc you would want from a working manual: set up the grill correctly, learn what each main control does, and then build a maintenance routine that keeps the burners, cookbox, and ignition system working as expected. The goal is not just to get a flame on the first try; it is to make the grill safer, easier to use, and more consistent every time you cook.
Key Features of the Nexgrill 720-0898
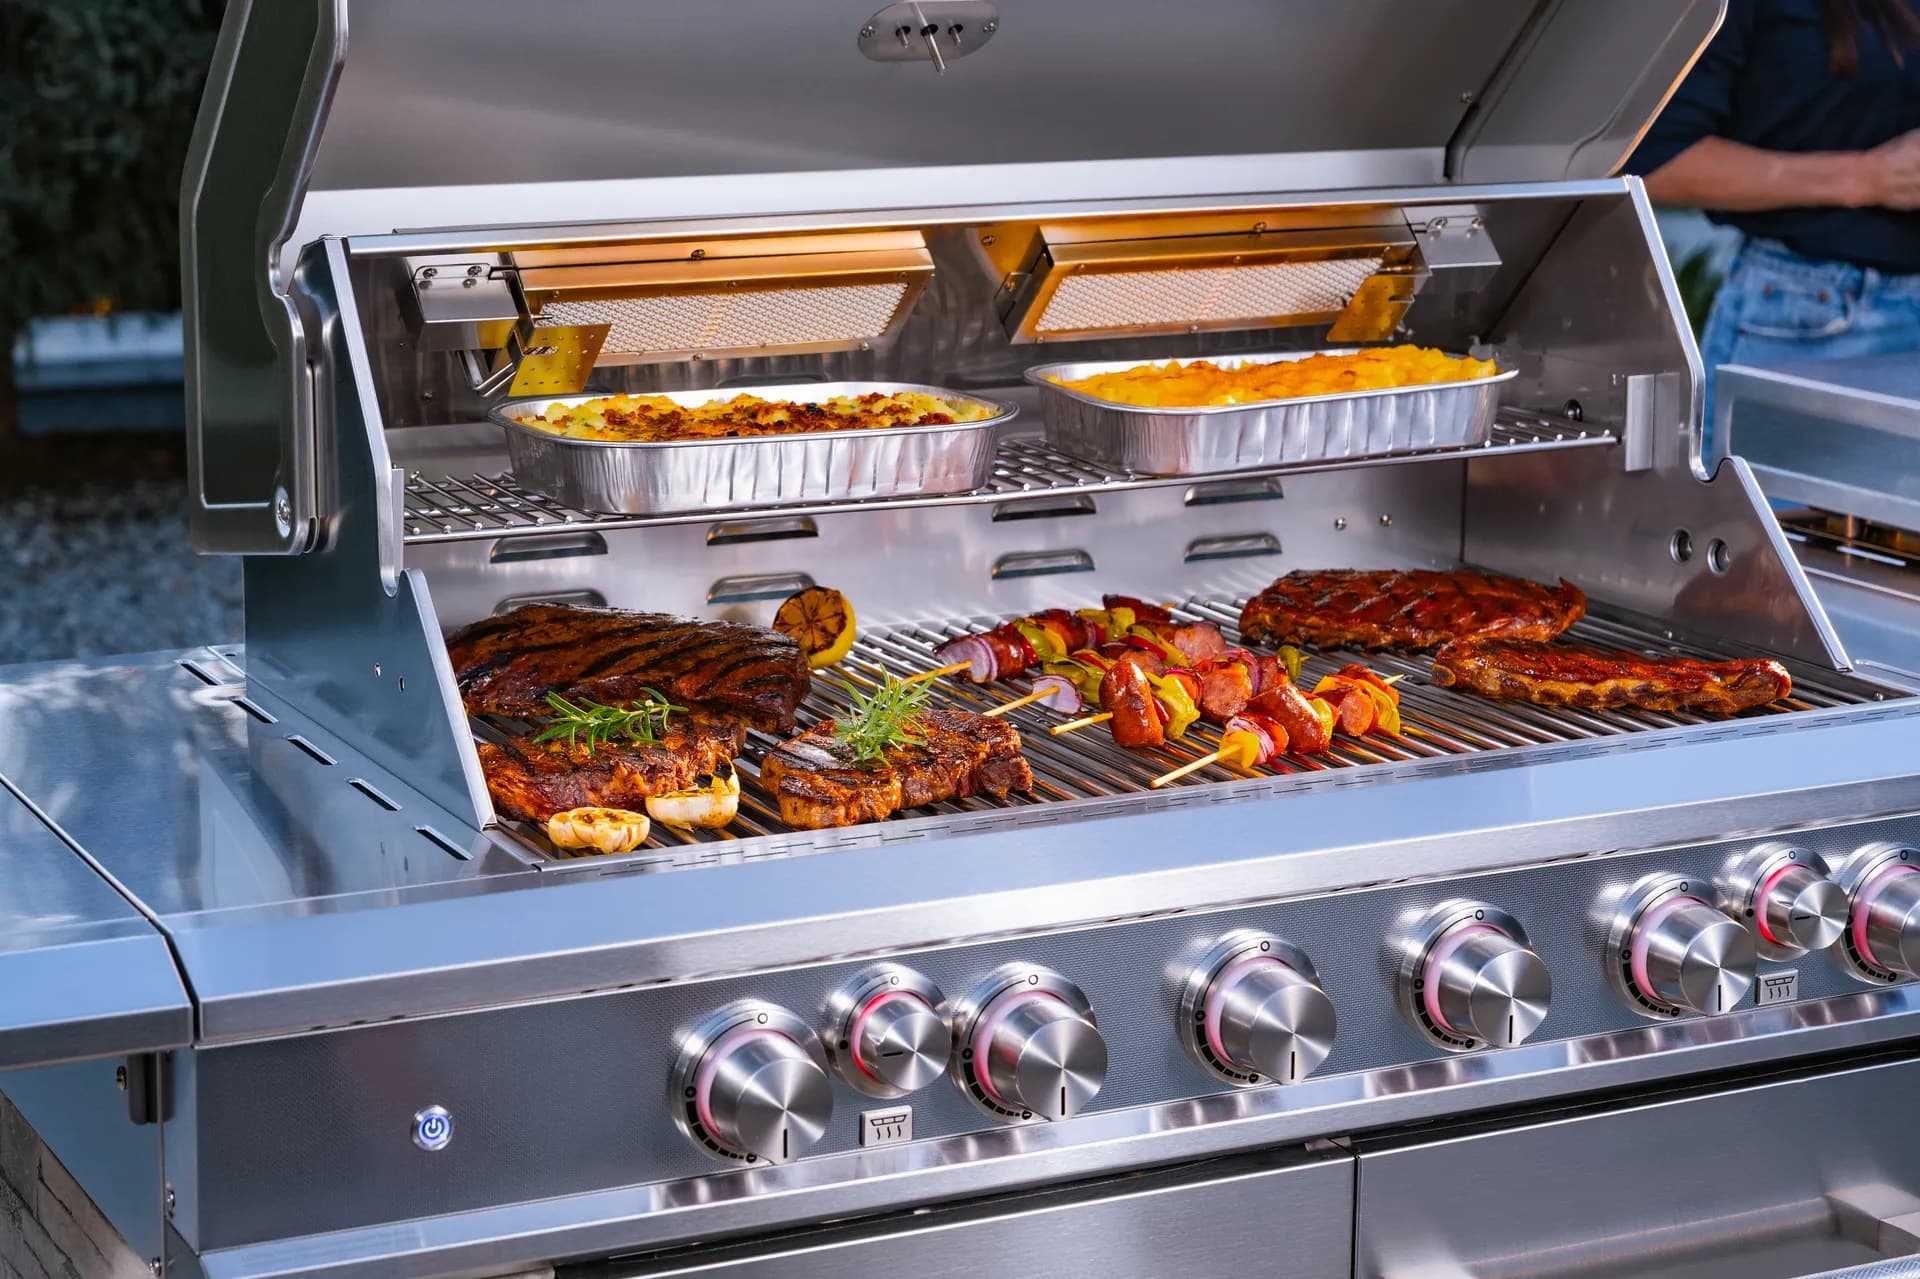
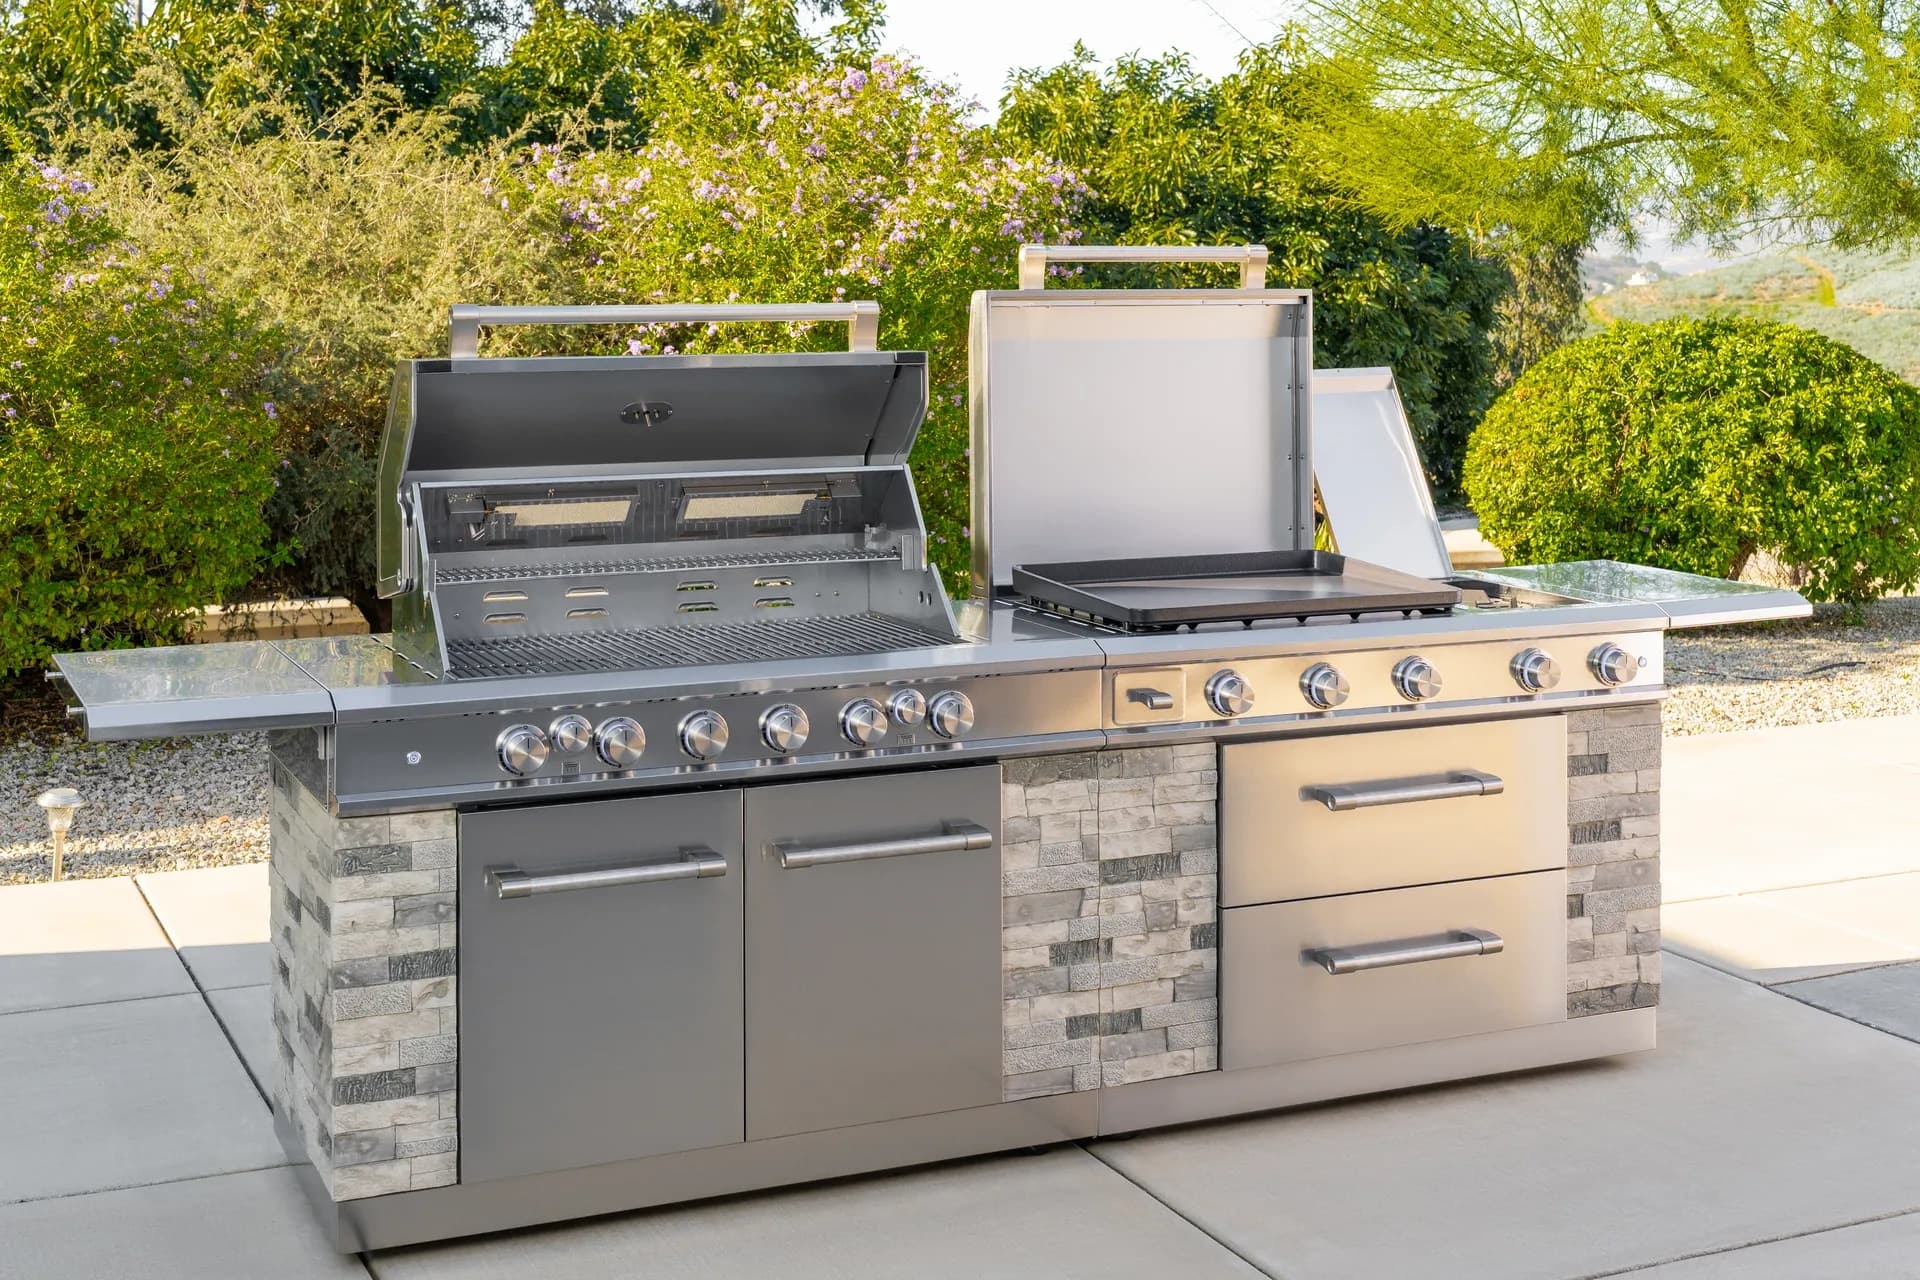
The 720-0898 is built around capacity and flexibility. A six-burner layout gives you room to create multiple heat zones, which is helpful when you want to sear steaks on one side, hold vegetables on another, or cook a larger cut indirectly with the lid closed. The side burner adds a separate cooking station for sauces, corn, or a skillet, so you are not forced to bring everything inside once the main grates fill up. Home Depot’s listing for the model classifies it as a Deluxe 6-Burner Propane Gas Grill with Side Burner, which aligns with the way most owners will use it in a family or entertaining setting.
| Feature | Why it matters |
|---|---|
| 6 main burners | Supports multiple temperature zones and higher total cooking capacity. |
| Side burner | Lets you simmer or sauté without using the main cooking surface. |
| Propane fuel | Heats quickly and is convenient for standard backyard setups in the United States. |
| Large cart-style frame | Improves stability and provides a dedicated outdoor station for storage and prep. |
Designed for multi-zone cooking and larger gatherings.
For everyday use, the value of these features is not just size. Six burners make it easier to control how much of the grill is actively heated, and that matters when you are cooking different foods at once. The side burner is especially useful if you want the main grill space reserved for proteins. In practical terms, that can mean fewer trips between the kitchen and patio, and a smoother cook when guests are already seated.
Assembly Instructions for Your Grill
Start assembly only after you have unpacked every box and matched the parts against the hardware list. Place the grill frame on a flat surface, ideally with a second person helping when the firebox or cabinet sections need to be lifted. Do not fully tighten bolts until the cart, shelves, and cookbox are all loosely connected and aligned. That makes it much easier to correct a panel that sits slightly off before the final tighten-down.
- Assemble the cart frame and caster wheels first so the grill can be moved safely during setup.
- Attach the firebox or main body to the cart, keeping fasteners loose until the unit sits level.
- Install side shelves, control panel parts, and handles in the order shown in the manual.
- Seat each burner tube carefully so the gas ports and igniter alignment are correct.
- Place flavorizer parts, grates, and warming components only after burner placement is confirmed.
Never force a burner into position. If it does not slide into place easily, check alignment before applying pressure.
One of the most common assembly mistakes is skipping the final check for hose routing. Make sure the propane hose is not pinched, twisted, or resting against sharp edges. Before connecting the tank, look for clear spacing around the rear of the grill and confirm that the tank sits in the intended holder or bracket. After assembly, test stability by gently rocking the grill from the frame, not the shelves. A grill that feels steady at the base is much safer to use on uneven outdoor surfaces.
Try comparing two products side by side below to see which fits best:
Operational Guidelines: Lighting and Controls
Once the grill is assembled, the next step is learning the startup sequence. Before lighting, open the lid and confirm that the control knobs are in the off position. Then open the propane tank valve slowly. For electronic ignition models, press or turn the starter as directed by the unit’s control layout. If the first burner does not light immediately, wait a moment, shut off gas, and try again rather than repeatedly flooding the firebox with propane.
The reason to begin with one burner is control. After the first burner is lit, you can bring the other burners on one at a time and use the knobs to build the temperature you want. For most grilling, the front or center burners can establish a direct heat zone while adjacent burners stay lower for indirect cooking. That makes the 720-0898 useful for thicker cuts, chicken, and mixed meals where not everything should sit over the same flame.
A 5- to 10-minute preheat with the lid closed is usually the easiest way to improve searing and reduce sticking on the grates.
The side burner should be treated like a separate cooking zone with its own pace. Use it for sauces, pans, or side dishes that benefit from steady heat, but keep flammable items away from the flame area. When shutting down, turn all control knobs off first, then close the propane tank valve. After cooking, let the grill cool before covering it or moving it. That habit protects both the finish and your hands.
Maintenance Tips for Longevity
Once you have tested the grill and learned the controls, the real difference between a short-lived setup and a dependable backyard staple comes down to maintenance. The 720-0898 is large enough that small problems can spread quickly if they are ignored: grease buildup can affect flare-up control, debris in burner ports can create uneven heat, and moisture left on the cart or lid can shorten the life of exterior parts. A practical routine is to clean lightly after each cook and schedule a deeper inspection every few uses.
After the grill cools, brush the grates while they are still slightly warm so residue releases more easily. Empty or wipe the grease tray regularly so drippings do not accumulate under the cookbox. Check the burner openings for insects, ash, or grease residue before a weekend cookout, especially if the grill has been unused for a while. If the flames start looking uneven or weak, do not assume the propane tank is the only issue; a blocked burner port or dirty venturi can be just as likely.
| Maintenance task | Suggested cadence |
|---|---|
| Brush cooking grates | After each cook, while still warm. |
| Empty grease management parts | Every few uses, or whenever buildup is visible. |
| Inspect burners and ports | Before heavy-use weekends and after long storage periods. |
| Check hose and connections | Seasonally and anytime the grill has been moved. |
If you store the grill outdoors in the United States, a fitted cover is one of the simplest ways to reduce weather exposure and dust buildup.
Safety Precautions to Consider
Safety starts before ignition. Set the grill outdoors in an open, well-ventilated area, away from walls, railings, overhangs, and anything that can catch heat or grease. Because this model uses propane, every connection deserves a quick visual check before lighting. If you smell gas, turn everything off, move away from the grill, and follow the leak-check steps in the manual rather than trying to relight it immediately. The safest habit is to treat gas odor as a stop signal, not a nuisance.
Keep children and pets away from the cooking zone, especially during preheat and shutdown when surfaces can still look cool even though they are hot. Use long-handled tools and heat-resistant gloves when moving food or adjusting grates. Never attempt to move the grill while it is lit, and avoid leaning directly over the cookbox when lighting burners. If the first burner fails to ignite, pause before trying again so unburned gas does not collect inside the firebox.
Do not place the propane tank or spare fuel containers under the cooking chamber or inside any enclosed cabinet unless the manual specifically instructs you to do so.
A simple pre-cook checklist helps reduce risk: confirm the grill is stable, confirm the tank valve is secure, confirm burners are clean, and confirm the lid opens freely. If the grill behaves differently than usual, such as persistent clicking without ignition or a sudden change in flame color, stop and inspect before continuing. Good safety habits are not complicated; they are just consistent.
Common Mistakes to Avoid
The most avoidable error is rushing through assembly and assuming every part is seated correctly. A loose burner, crooked shelf, or pinched hose may not be obvious on day one, but it can affect performance later. Another common mistake is lighting with the lid closed. That traps gas and increases the chance of an unsafe ignition event. Always follow the manual’s lighting sequence and start with an open lid unless the instructions say otherwise.
People also tend to overuse high heat. The 720-0898 has enough burner capacity to get hot quickly, but that does not mean every cook should begin at maximum. Preheating and then adjusting burners gives you more control and better results. Likewise, overcrowding the grates limits airflow and makes temperature management harder. Leave space between items so the burners can do their job.
Another mistake is forgetting that maintenance is part of operation. A grill that is cleaned regularly lights more reliably, heats more evenly, and is easier to inspect before use. If you want a short end-of-day checklist, use this order: turn the knobs off, close the tank valve, let the grill cool, brush the grates, empty obvious grease buildup, and cover the unit once it is safe to do so. That simple loop protects the grill and makes the next cook easier.
Quick end-of-use checklist
- Burners turned off
- Propane valve closed
- Grates brushed after cooling slightly
- Grease tray checked
- Cover placed only after the grill is cool