Nexgrill 720-0898 Assembly Instructions: Cabinet-Style Build Order, Door Alignment, and First Fire
A plain-English walkthrough for the 4-burner cabinet grill - squared frame first, doors last, plus the used-grill scenario and side-burner hose check that trip people up.
In This Article
Square First, Doors Last
Match Your SKU Suffix
Leak Test Before First Fire
What the 720-0898 Actually Is Before You Turn a Bolt
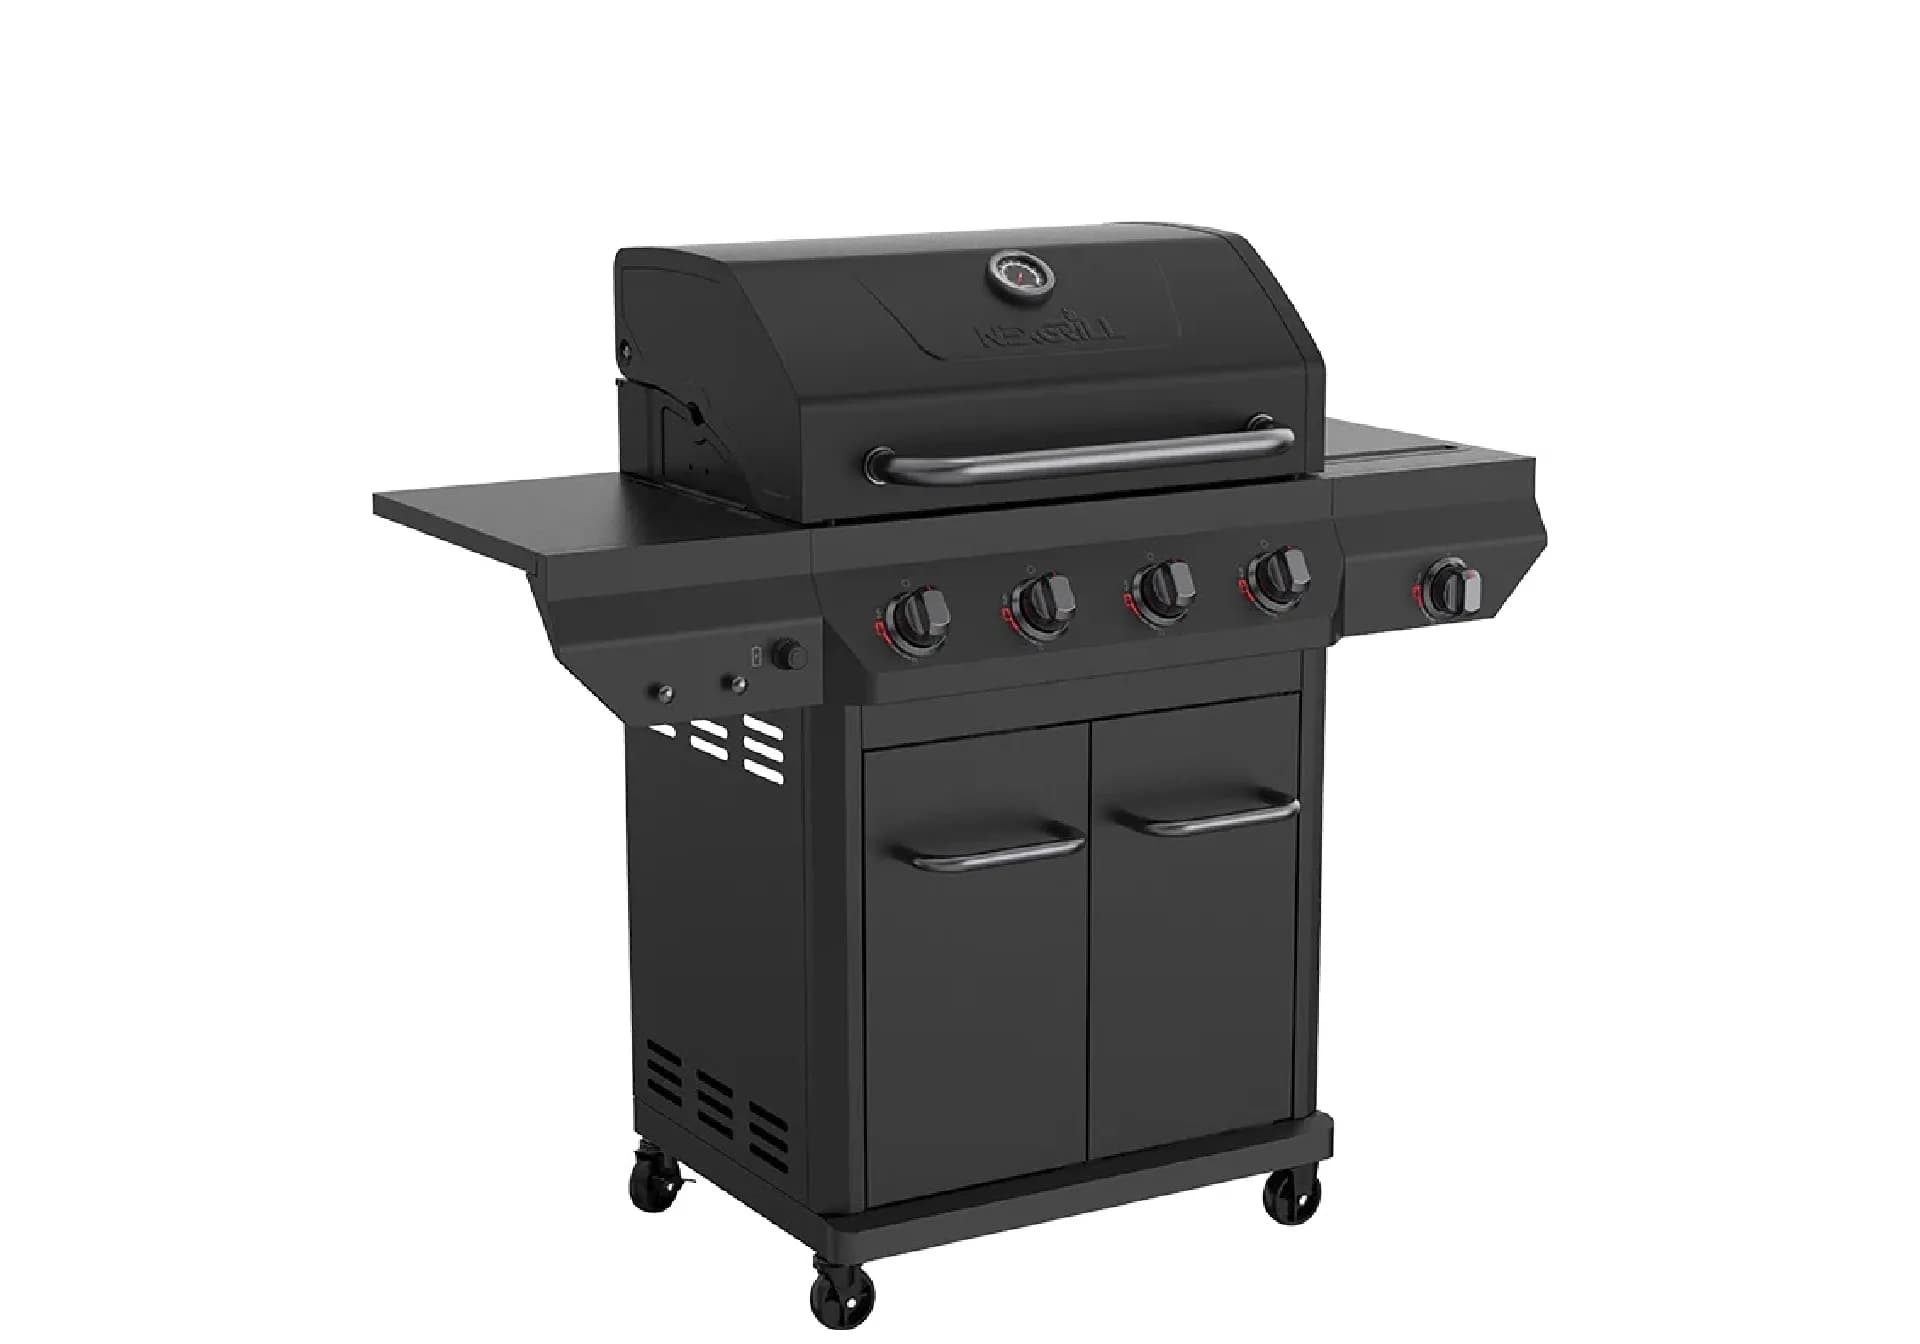
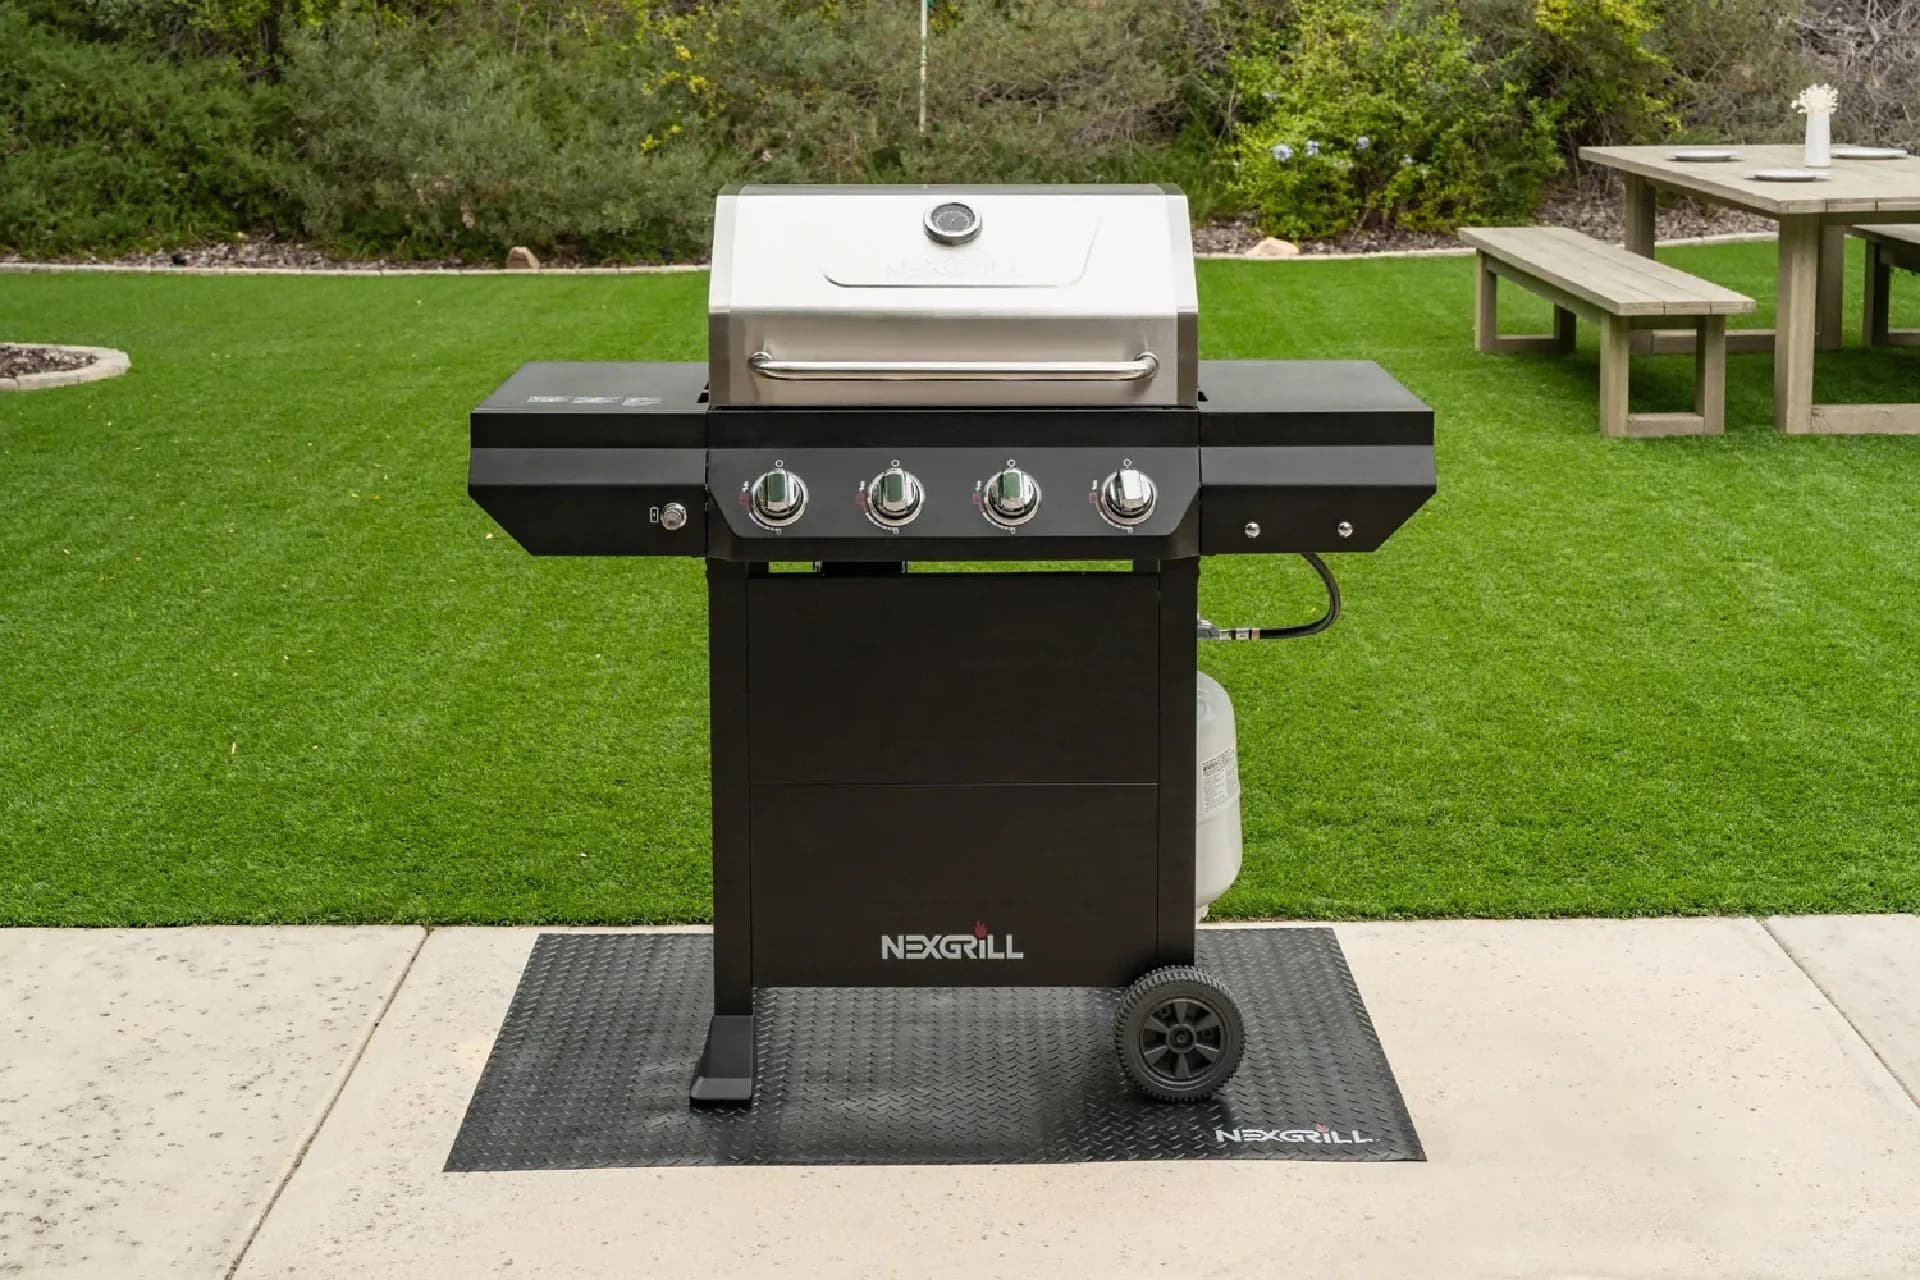
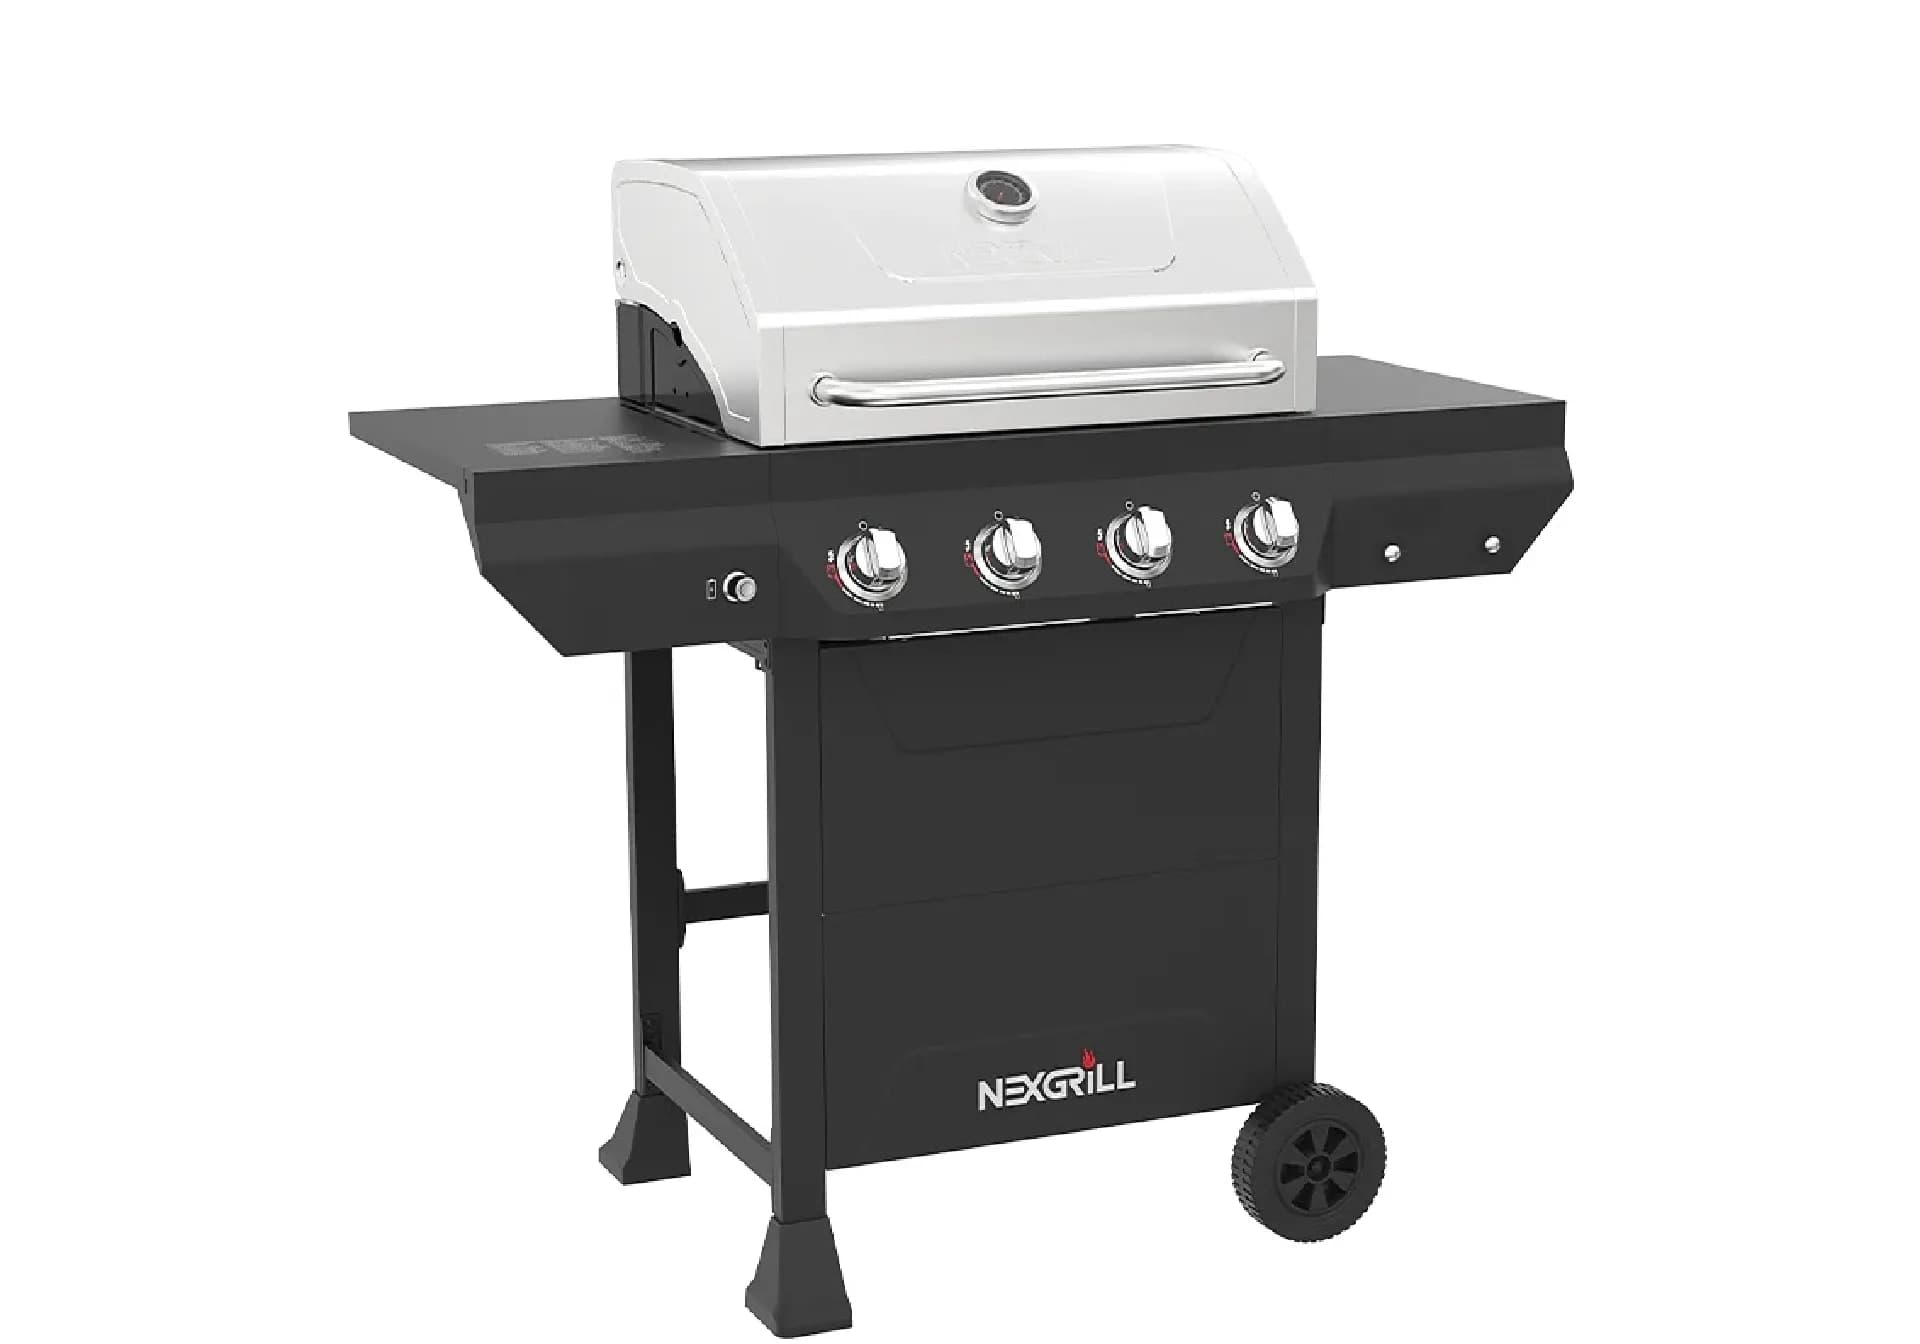
The 720-0898 is a four-burner propane gas grill built into a cabinet-style cart with enclosed doors and a fixed front panel rather than an open, slatted base. Nexgrill sold this family largely through Home Depot between roughly 2015 and 2020, and the data plate usually carries a suffix: 720-0898 or 720-0898A. That suffix identifies the SKU revision, and hardware callouts, side-burner layout, and door hinges can differ between revisions.
Before you open a single bag, copy the full number - suffix included - from the sticker inside the cabinet or on the rear panel, then look it up through the support area linked from the Nexgrill homepage so the exploded diagram matches the grill on your patio. Building an 0898A against an 0898 diagram is how people end up with two bolts left over and a door that hangs crooked.
If the data plate suffix doesn't match the manual you found, stop. Ordering the wrong hardware bag or forcing a bracket is far more frustrating than a two-day wait for the right document.
One structural note shapes everything below: the cabinet is load-bearing. On an open-cart grill, a slightly out-of-square frame is a cosmetic annoyance. On a cabinet grill, it's why doors rub, drawers stick, and the front panel never sits flush.
Which State Is Your Grill In? New, Used, or Half-Built
Three very different readers search this model number, and each needs a different starting point:
- New in box. You have the manual, hardware bag, and factory sequence. Follow the build order below and you'll be done in an afternoon.
- Used, from Marketplace or a neighbour's driveway. No manual, no hardware bag, often partially disassembled. Start with a full inventory of what's present and missing - not the build order. Missing fasteners are usually standard metric hardware you can source locally, but cabinet hinge screws and the side-burner mounting bracket are worth chasing through Nexgrill support first.
- Half-built after a move. The risk is subtle misalignment inherited from the first build. Loosen every frame bolt you can reach, re-square, and re-tighten - don't just bolt the loose bits back on.
If you're in the used or half-built camp, read the door-alignment section in the second half first. It changes what you tighten and when.
Line Up the Workspace, the Tools, and a Second Set of Hands
A cabinet grill is heavier and bulkier than an open cart, and a sloped driveway is how frames get twisted before they're ever tightened. Clear a flat, level surface - a garage floor or flat patio - and lay down cardboard or a moving blanket to protect the painted panels.
Typical tools: a Phillips screwdriver, an adjustable wrench, and 10mm and 13mm sockets or a nut driver set for the M6 and M8 hex bolts and flange nuts. A magnetic tray keeps bolts from rolling under the cabinet. The assembled grill lands somewhere in the 90-120 lb range as an estimate, so the firebox-and-lid lift genuinely needs two people - one person holding a lid while the other threads a hinge bolt is how enamel chips happen.
Tip: label the hardware bags with tape and a marker as you open them. "Bag C - lid hinges" saves ten minutes of squinting at the diagram later.
Inventory the Hardware Against the Manual's Callouts Before Step One
Empty every bag onto the tray and count against the parts list. The bolts are a mix of M6 and M8 hex heads with flange nuts and stamped-steel brackets, and the count in the manual is exact. A short count is not a rounding error - it means a bag was split, a fastener dropped in the warehouse, or a previous owner lost one.
For used grills with no bag, list what's actually needed: frame bolts, cabinet panel screws, hinge screws for doors and drawers, the side-burner bracket, and the regulator retention clip. Local hardware stores stock the metric bolts cheaply. For anything cabinet-specific, the contact page at Nexgrill customer support is the right first stop, and having your full suffix-qualified model number ready speeds it up.
The Build Order That Works for a Cabinet-Style 4-Burner: Base, Squared Frame, Firebox, Side Burner, Doors
This sequence avoids the alignment problems this model is known for. It defers every cosmetic and moving part until the structure is true.
- Base and casters. Attach the four casters, then the leveling feet. Casters and leveling feet combine on this base, so get it flat on the floor first - a wobbling base telegraphs straight up into door alignment.
- Squared frame, loose. Assemble the cabinet frame with every bolt finger-tight. Measure corner to corner across the diagonals; if they don't match closely, gently rack the frame until they do, then snug the bolts in a cross pattern.
- Cabinet panels. With the frame square, fit the side panels and back. Panels should drop on without force - if one needs levering, the frame is out of square; loosen and repeat step two.
- Firebox. Two people lift it onto the frame rails and thread the mounting bolts by hand before tightening.
- Side burner, if fitted. Bolt it on and route the hose per the next section.
- Lid. Hinge it to the firebox with the hinge pins or bolts only snug - final position gets set after the cabinet is loaded.
- Doors and drawers last. Only after the whole structure is tightened do the hinges go on. This single ordering decision prevents most of the rubbing complaints tied to this model.
Mounting the Firebox and Lid Without Scratching the Cabinet Finish
The painted cabinet panels are the vulnerable part. Set the firebox down on a blanket first, then lift it with a helper by the corners rather than dragging it across the frame. Thread every firebox bolt by hand - a power driver cross-threads the stamped rails fast - and tighten in a diagonal pattern once all four are started. Keep the lid closed during final tightening so it seats evenly; a lid tightened while propped open can sit a few millimetres proud on one side.
Side Burner and Regulator Hose Routing: The Check Most People Skip
On side-burner versions, the gas hose from the regulator runs across the rear of the cabinet to the side burner valve. The common failure is a hose that kinks against a panel edge or rests close to a burner heat shield. Route it with gentle curves, keep it clear of any surface that gets hot, and confirm the retention clip holds it away from the firebox. A kinked hose starves the side burner and can stress the fitting.
Check the regulator-to-manifold connection and the tank coupling by hand first, then follow with a soapy-water leak test before you ever light it - more on that in the second half.
Once You've Weighed Two Options, Here's What Else Matters
If you're reading this after comparing the 720-0898 against another grill in the Nexgrill lineup, the cabinet build changes what ownership feels like. Enclosed cabinets hide the tank, look tidier on a patio, and protect the regulator from weather - but they also mean more alignment surface area to manage. The rest of this guide covers what only matters with a cabinet body: door alignment, the first fire, and the repairs a used unit usually needs.
The Door-and-Drawer Alignment Pass: Why Cabinet Doors Rub and How to Fix It
Cabinet doors rub for one of three reasons, and diagnosing which saves pointless hinge adjustment. First, the cabinet frame isn't square - the diagonals don't match and the doors were hung on a twisted opening. Second, the hinges were set with the door hanging open, so it sags the moment it's released. Third, the grill sits on an uneven surface and the base is twisted by its own weight.
The fix follows the diagnosis. Get the grill onto flat ground and confirm with a level. If the frame is off, loosen the cabinet panel bolts, re-check diagonals, and re-snug. Then hang each door with a helper holding it closed and flush while you tighten the hinge screws - a door tightened open will always drop. For a door that latches but drags at the bottom corner, a small shim behind the lower hinge often corrects the gap. Drawers are simpler: loosen the slides, push the drawer fully in, and re-tighten so the slides find their own alignment.
Doors are adjusted last for a reason. Every firebox and cabinet bolt you tighten afterwards moves the opening slightly, so any alignment done earlier gets undone.
Leak Test and First Fire: Confirming Blue Flame on All Four Burners
Before the first cook, connect a 20 lb LP tank, tighten the coupling hand-tight, and open the tank valve. Brush soapy water on every connection - tank coupling, regulator, manifold, and side-burner hose if fitted - and watch for bubbles. Bubbles mean a leak: close the valve, tighten or reseat the joint, and retest. This is standard practice for any new or newly assembled gas grill, not a certification step.
Then light each burner in turn and look at the flame. It should be predominantly blue with slight yellow tips, roughly an inch tall and steady. A mostly-yellow or lifting flame on one burner points to a blocked burner tube - very common on warehouse-stored and used grills where insects or debris have entered through the air shutter. Remove the tube, check the venturi opening, clear it, and reinstall. If all four light evenly and the flames settle after a minute or two with the lid closed, you're ready to cook.
Never search for a gas leak with a flame. If you smell propane and the soapy-water test doesn't locate it, close the tank valve and stop until the fitting is fixed.
Mistakes Table: Symptom, Likely Cause, and the Fix
| Symptom | Likely Cause | Fix |
|---|---|---|
| Cabinet door rubs or won't latch | Frame torqued out of square before doors were hung | Loosen panel bolts, match diagonals, re-snug, re-hang doors closed |
| Grill wobbles on the patio | Caster-and-leveling-foot combination uneven, or sloped ground | Move to flat ground, adjust leveling feet until all four casters contact |
| Yellow or lifting flame on one burner | Blocked burner tube or insect ingress in the venturi | Remove tube, clear the air shutter opening, reinstall and retest |
| Side burner weak or uneven | Kinked or partially blocked side-burner hose | Re-route hose with gentle curves, clear kinks, reset retention clip |
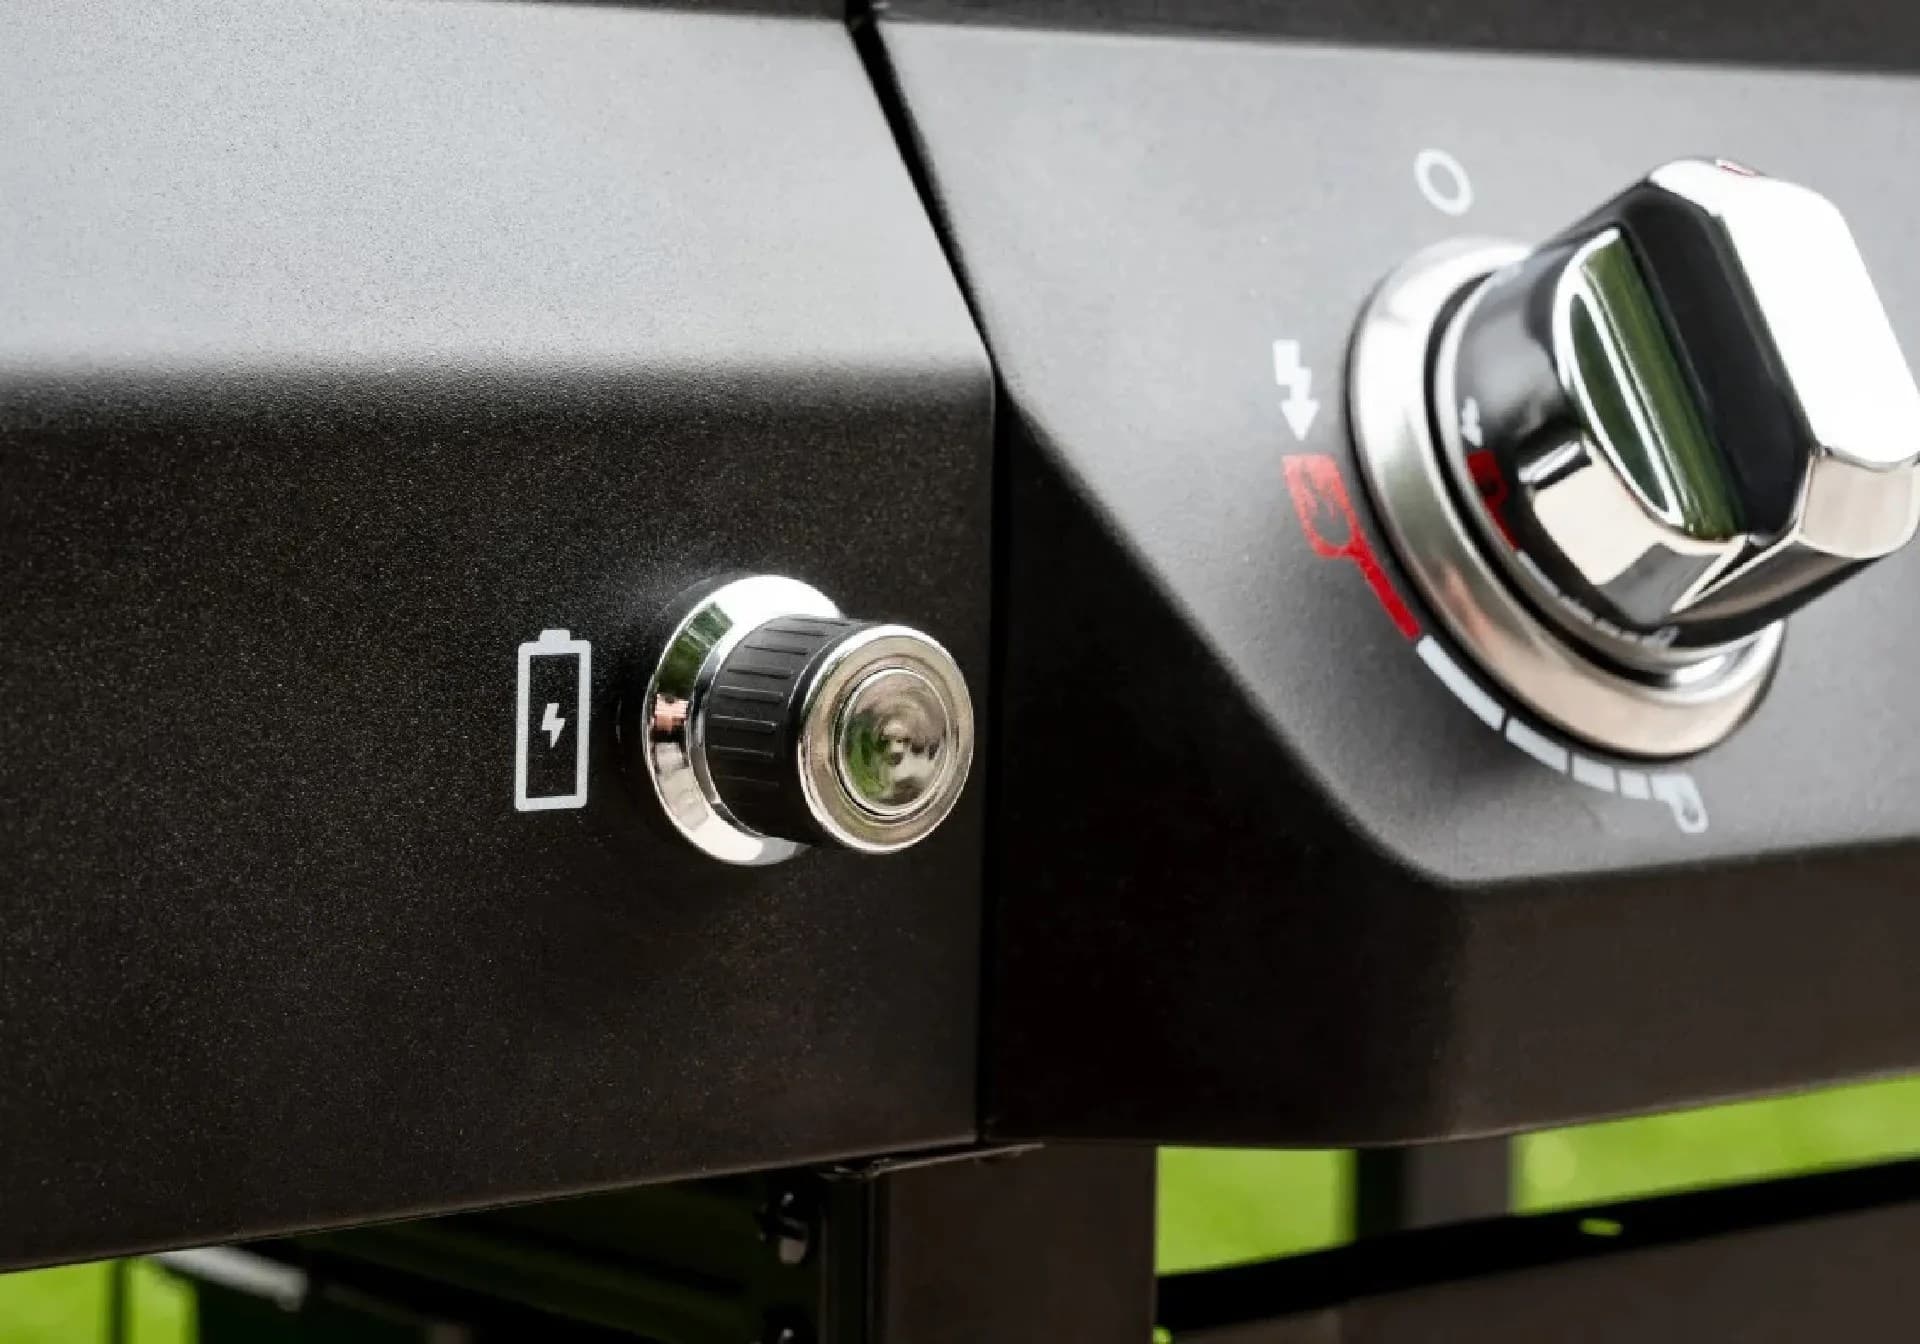
| Igniter produces no click | Electrode gap wrong or wire disconnected at the collector box | Reseat wire, set electrode gap to roughly 3-4mm, test with the lid open |
Replacing a Burner Tube, Igniter, or Regulator on a Used 720-0898
Used units almost always need one of three parts. Burner tubes are the usual suspect when one burner won't run clean after clearing - inspect for rust-through along the length and replace if you can see daylight through pinholes. Igniters fail at the electrode or the collector wire; test by watching the gap while pressing the button, and replace the electrode if there's no spark. Regulators usually fail at the tank coupling or the vent, and a regulator that leaks at the vent with the tank valve open should be replaced, not repaired. Match the replacement part to the suffix on your data plate - a 0898 and 0898A can use different fittings. The brand's about page explains how its parts sourcing evolved across model generations, which helps when hunting a discontinued fitting.
One-Page Pre-Fire Checklist Before You Cook
- Every frame and cabinet bolt snug, doors hang flush and latch without force
- Grill level on all four casters with the leveling feet adjusted
- Tank coupling hand-tight, regulator seated, side-burner hose clear of hot surfaces
- Soapy-water test passed on every connection with the tank valve open
- All four burners light individually with blue flames and slight yellow tips
- Igniter clicks cleanly on every burner with a 3-4mm electrode gap
- Grill lid closed for the first five-minute burn-off, then grates brushed
That checklist takes about fifteen minutes and catches the majority of problems that show up after a first assembly. For safety guidance beyond the grill itself, the NFPA publishes outdoor grilling fire safety guidance, and the CPSC covers propane and grill safety more broadly.