Mastering Grilling Techniques and Tips for Perfect BBQ
Unlock the secrets to exceptional grilling with expert techniques and essential tips.
In This Article
Grill with Confidence
Avoid Common Mistakes
Temperature Mastery
Essentials for a Successful Grill Setup
The best grilling sessions start before the first spark or flame. A strong setup gives you control, reduces guesswork, and makes it easier to recover when the food needs a little more time than expected. Nexgrill’s brand approach emphasizes approachable, dependable outdoor cooking, and that mindset fits the setup phase perfectly: organize the space, know your tools, and plan the cook before you light anything. That way, you spend less time reacting and more time cooking with confidence .
Start with the basics: clean grates, a full fuel source, preheated zones, and a clear landing area for finished food. If you are using a gas grill, make sure burners ignite evenly and that the lid opens smoothly. If you cook on charcoal, arrange the coals so you can shift from high heat to gentler heat as the meal progresses. The goal is not to build a perfect kitchen outdoors; it is to create a stable cooking environment that lets you manage heat and timing without scrambling for every steak, skewer, or vegetable tray.
A thoughtful setup matters more than any single gadget. A clean cooking surface, a reliable thermometer, and a plan for hot and cool zones will improve results immediately.
One helpful habit is to stage food by cooking time. Put thicker cuts and items that can tolerate longer exposure on one tray, and quick-cooking vegetables or delicate fish on another. This simple separation prevents overhandling and helps you move with purpose once the grill is hot. Keep a pair of tongs, a spatula, a clean plate for cooked food, and a separate plate for raw food within reach. That routine is not fancy, but it keeps the cook moving smoothly and reduces the chance of cross-contamination.
| Setup item | Why it matters | Best use |
|---|---|---|
| Clean grates | Helps food release better and improves searing | Before every cook |
| Preheated grill | Creates a more predictable cooking surface | Any direct-heat cook |
| Two trays | Keeps raw and cooked food separated | Meal prep and serving |
| Instant-read thermometer | Removes guesswork from doneness | Meat, poultry, and fish |
Understanding Direct and Indirect Heat
Direct heat means food sits above the heat source, where the grill delivers fast browning and a strong sear. Indirect heat moves food away from the flame or active burners so it cooks more gently, more like an outdoor oven. Knowing when to use each method is the foundation of solid grilling technique. Direct heat is ideal for thin cuts and quick-cooking foods such as burgers, steaks, shrimp, and sliced vegetables. Indirect heat works better for larger cuts, bone-in chicken, or anything that needs time for the center to catch up without burning the outside.
If you only rely on direct heat, you can get attractive grill marks but still end up with an undercooked center or an overdone crust. If you only use indirect heat, you may miss the fast caramelization that gives grilled food its character. The smartest cooks move between both, especially when dealing with foods that need both browning and even doneness. Think of direct heat as your finishing tool and indirect heat as your control tool. Once that relationship clicks, grilling becomes much easier to predict.
A common mistake is chasing color before the interior is ready. Good grill marks are nice, but they should never come at the expense of temperature control.
For gas grilling, direct heat usually means running one or more burners under the food, while indirect heat means turning on side burners and placing food over an unlit section. For charcoal grilling, direct heat comes from coals spread under the cooking area, while indirect heat comes from pushing the coals to one side or arranging them around the edges. Both approaches work; what matters is whether the food’s thickness and cooking time match the heat pattern you choose.
Mastering Two-Zone Grilling Techniques
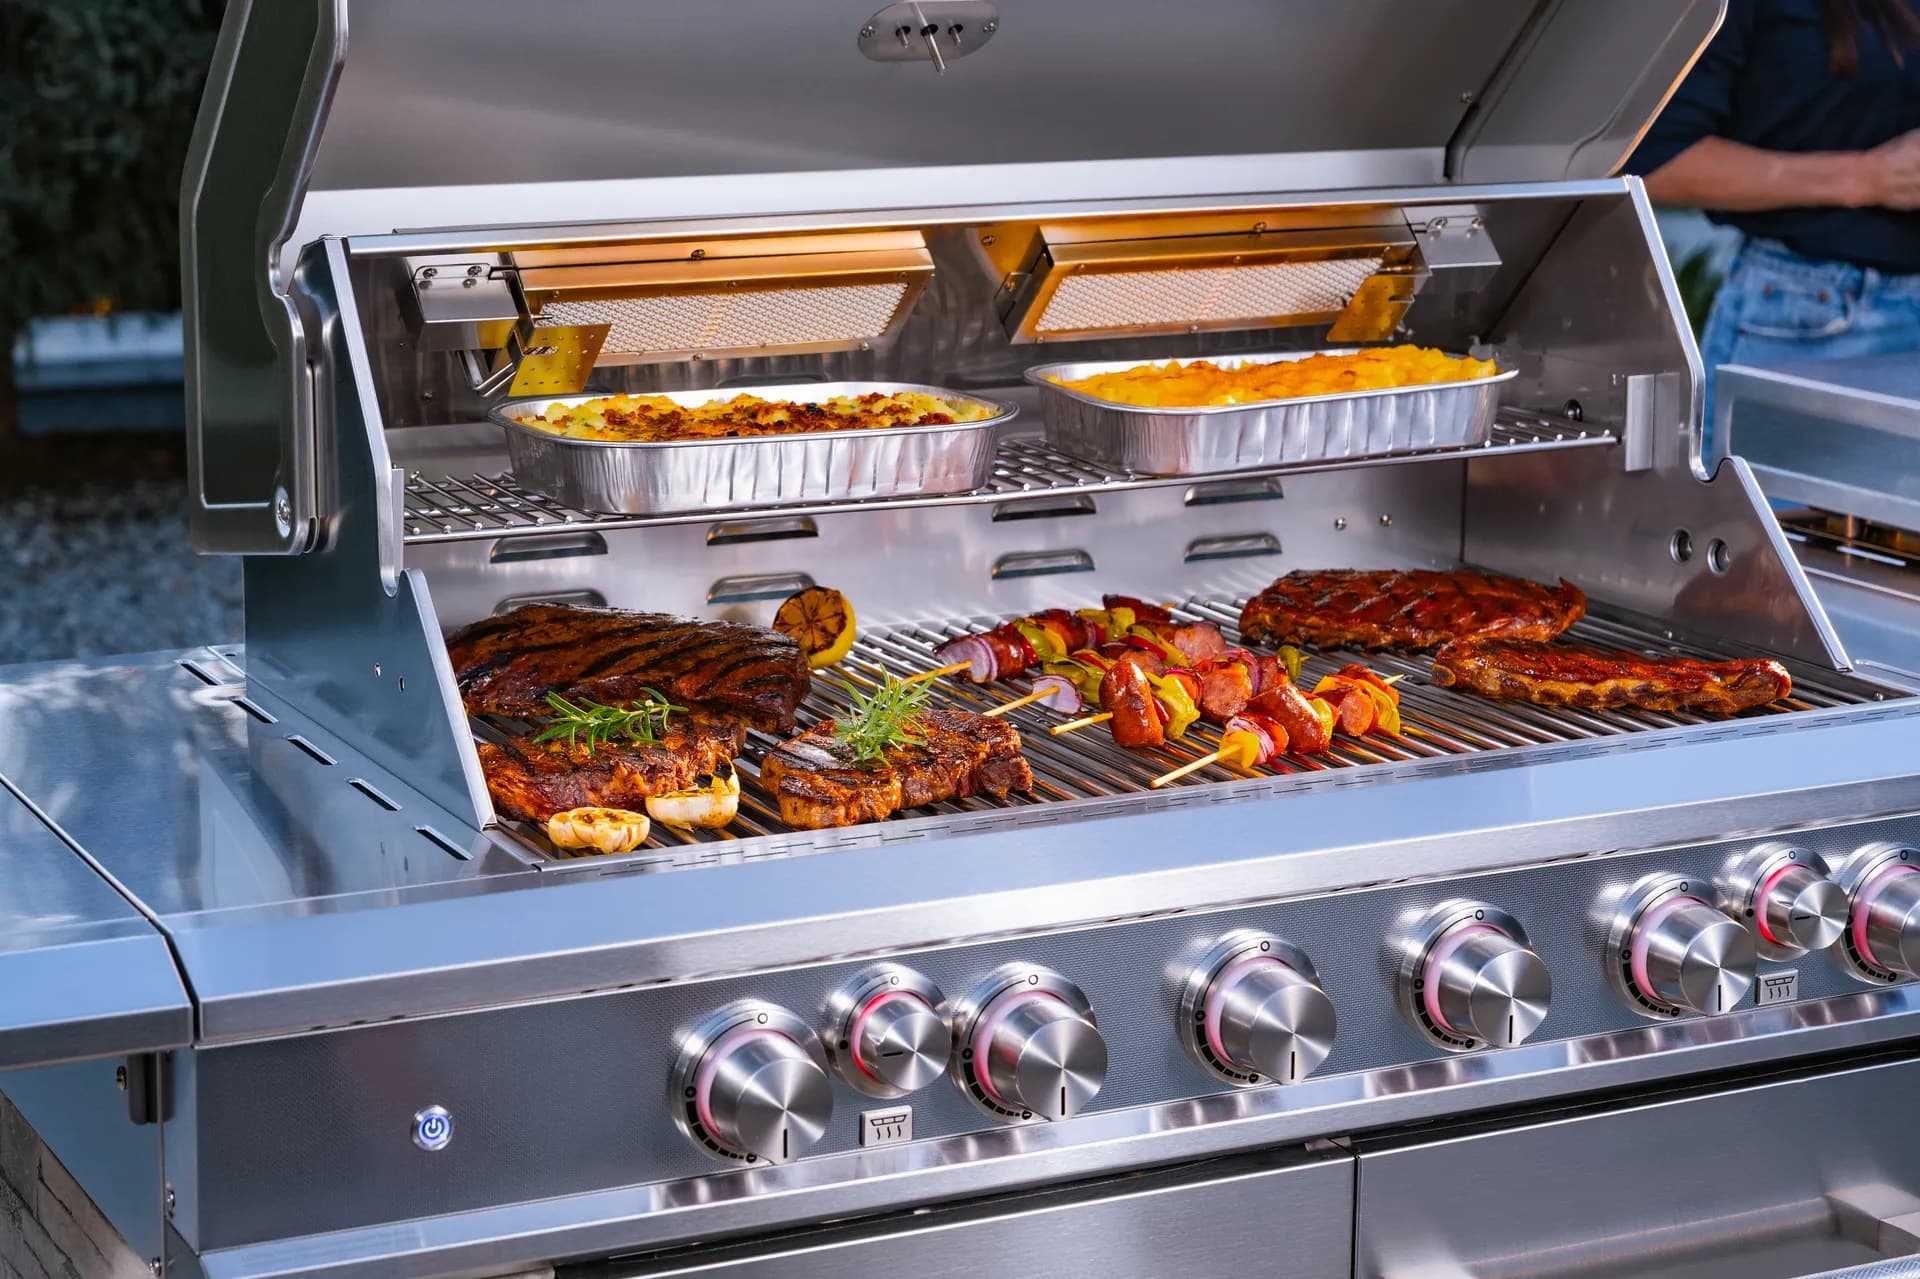
Two-zone grilling is the most practical method for anyone who wants more control without making the process complicated. In a two-zone setup, one side of the grill runs hot for searing, and the other side stays cooler for finishing or holding food. It is especially useful for mixed meals where every item behaves differently. You might sear chicken thighs on the hot side, then move them to the cooler side to finish through the center while vegetables stay on the gentler zone until they soften.
This method also saves food that would otherwise burn. If a steak is browning too fast, shift it to indirect heat and keep cooking without losing the crust you already built. If chicken skin is getting dark before the meat is done, move it away from direct flame. The technique works on both gas and charcoal grills, and it is one of the easiest ways to make weekday grilling feel more deliberate. The main idea is simple: use the hot zone for fast reaction and the cooler zone for rescue, rest, and finish.
Zones give you a fast side for searing and a gentler side for finishing.
A good two-zone setup begins with restraint. Do not cover every inch of the grate with high heat. Leave room to move food when the surface reacts faster than expected. That flexibility is what lets you cook a burger for color and a pork chop for doneness at the same time. Once you get used to the pattern, you will notice that the grill feels less like a single hot surface and more like a set of cooking tools arranged side by side.
Temperature Control for Different Cuts
Different proteins need different grill behavior. Thin steaks, boneless chicken breast, and fish fillets respond quickly and can dry out if they are left over high heat too long. Thicker cuts like bone-in chicken, pork shoulder portions, and steak cuts with more mass need a more patient approach. Temperature control is really about matching heat to thickness and fat content, then adjusting as the cook develops. For thicker cuts, start with moderate heat or a two-zone setup, then use the hotter side only to finish color.
The most useful tool here is not a complicated algorithm; it is a reliable thermometer and a habit of checking early. Pulling food at the right point is easier than trying to fix it after it has gone too far. Let the grill work in stages: sear, move, finish, then rest. That process is especially helpful for foods that look done on the outside long before the center is ready. It also helps prevent flare-ups from turning a solid cook into a bitter, smoky one.
For thicker cuts, think in stages rather than speed. The grill can brown fast, but the interior still needs time to catch up safely and evenly.
Use a looser, more patient heat for bone-in poultry and pork, and reserve the hottest part of the grate for steaks, kebabs, and vegetables that benefit from quick caramelization. If you are cooking several items at once, place the food that needs the highest heat nearest the hot zone and move everything else farther away. This keeps the meal on schedule without forcing every ingredient through the same cooking path.
Prepping Your Grill for Cooking
Prepping the grill is the part many people rush, but it is where a smoother cook begins. Start by clearing leftover ash, grease, or debris from the previous session. Then preheat long enough to stabilize the grate and burn off loose residue. Once the grill is hot, oil the grates lightly if needed and confirm that your cooking tools, trays, and seasonings are arranged before the first piece of food goes on. That short pause improves rhythm for the rest of the cook.
If you are using marinades or wet seasonings, let excess liquid drip off before the food hits the heat. Too much surface moisture can slow browning and increase sticking. Dry brines and simple seasoning blends often perform better when you want a crisp exterior, especially on steaks, chicken thighs, and vegetables. Prepping the grill also means preloading your plan: decide what will go on first, what needs the longest time, and where each item will finish. When the grill is ready and the plan is clear, you are far less likely to overcook food while you figure out the next step.
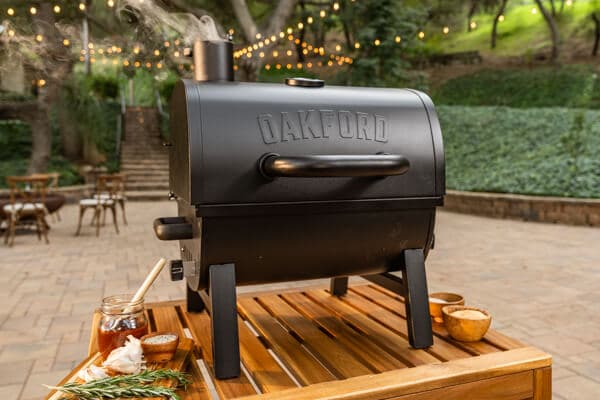
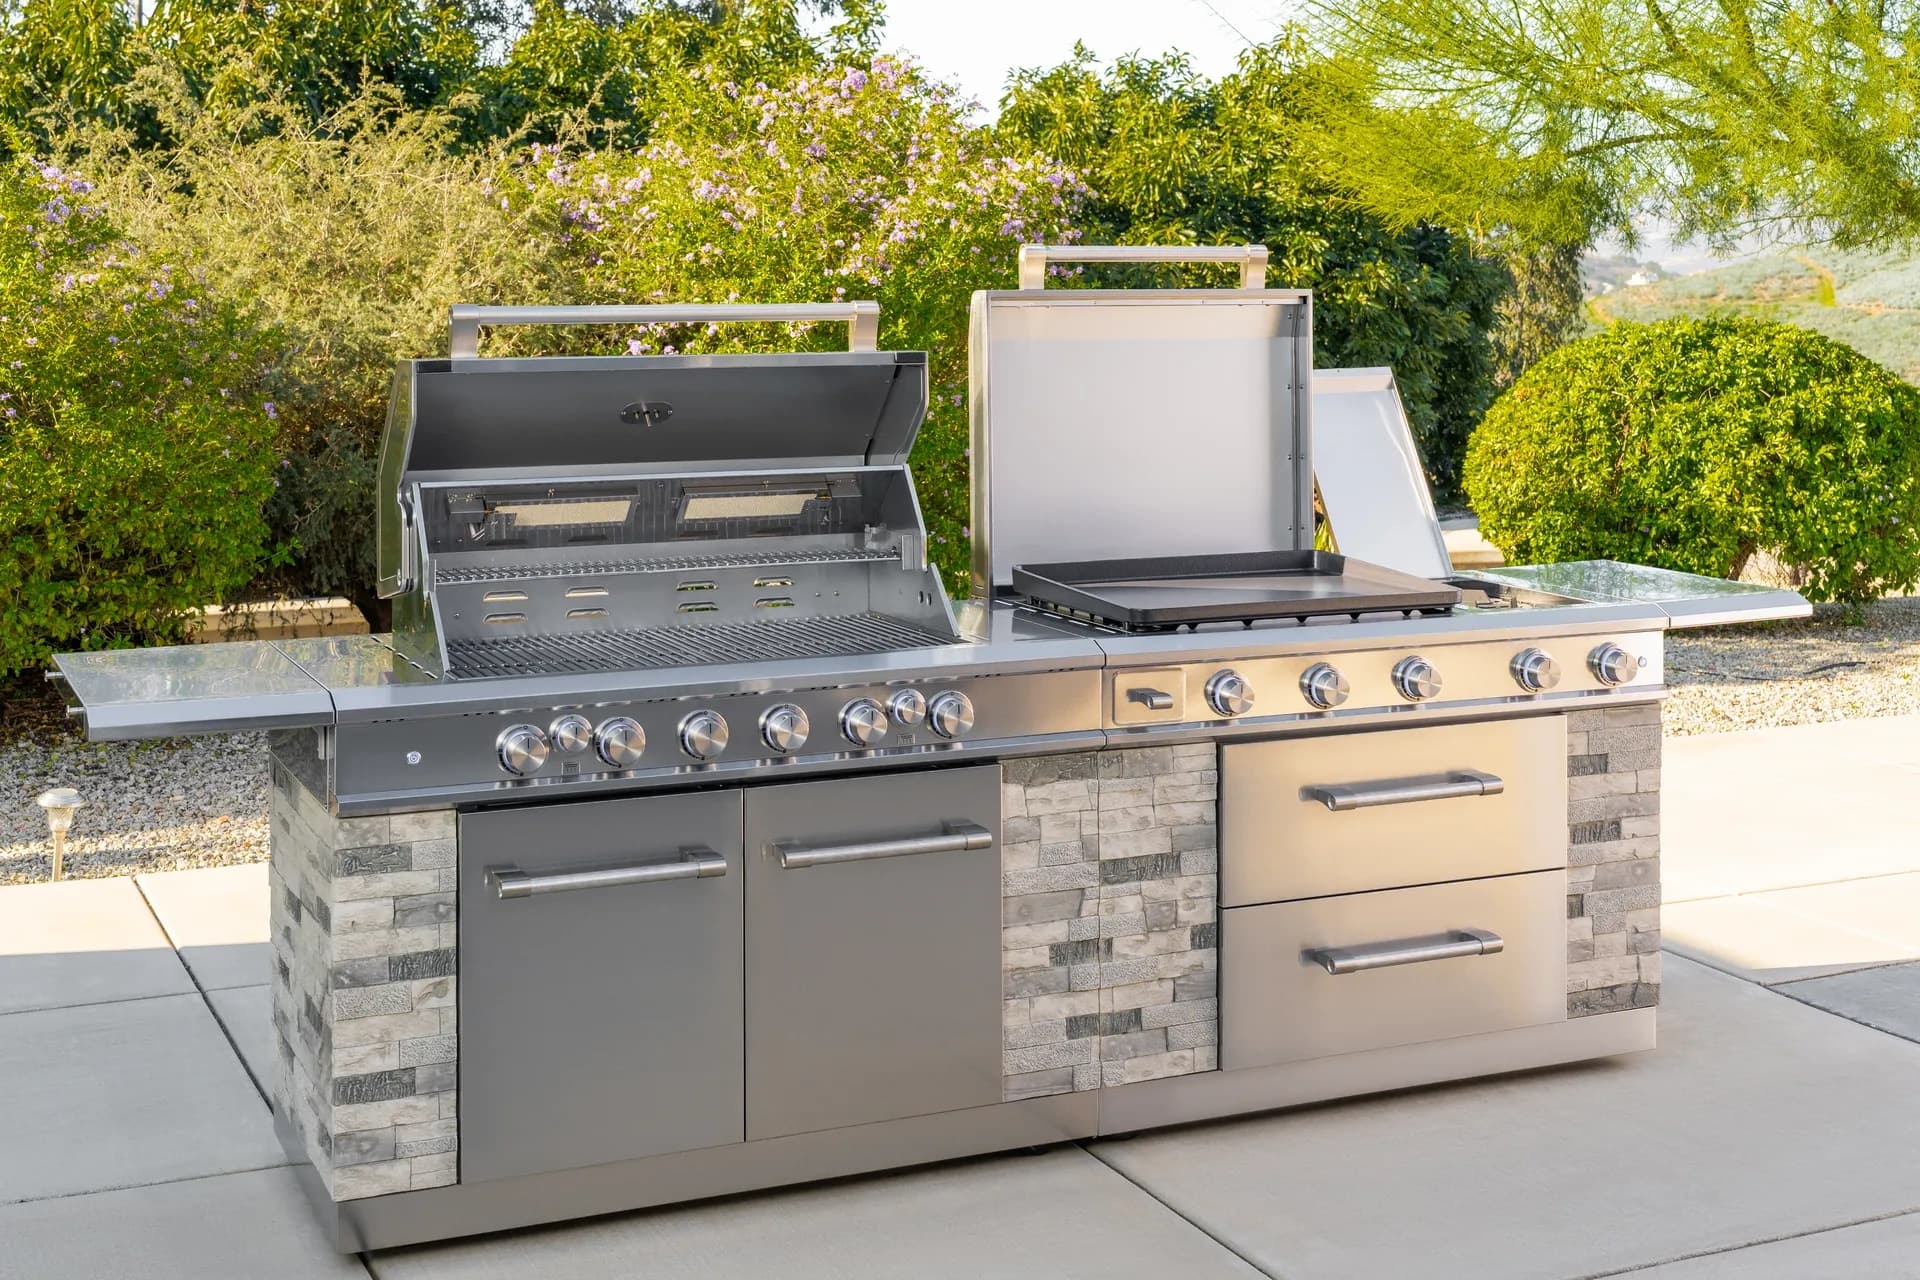
Try comparing two products side by side below to see which fits best: choose a compact gas grill if you want faster startup and easy zone control, or a larger multi-burner model if you need more room for two-zone cooking and mixed meals.
Common Grilling Mistakes to Avoid
Once you have compared two options side by side, the next step is learning how to avoid the mistakes that undo good setup and good intent. Many grilling problems are not caused by the grill itself; they come from timing, placement, or impatience. One of the biggest errors is placing food on the grate before the grill has truly stabilized. Another is moving food too early, which tears the surface and prevents proper browning. A third is using the same heat level for every item on the menu, even when the foods have very different thicknesses and moisture levels.
Another common issue is crowding. When food sits too close together, steam builds, flare-ups are harder to manage, and the cook gets less reliable. That is especially frustrating with vegetables or smaller cuts, which can lose texture quickly if they are packed into a hot spot. It is better to cook in batches or stagger items by timing than to overload the grate. Good grilling is often about making small, disciplined choices that keep the surface active without becoming chaotic.
If your food sticks, it is often a sign that it was moved too soon or that the surface was not hot enough at the start.
Flare-ups deserve special attention. A little flame is normal; a constant flare-up usually means excess fat, grease, or an overly crowded cook area. Instead of dousing the grill or walking away, shift the food to indirect heat and let the flames settle. That is one reason two-zone cooking is so useful: it gives you a safe place to recover when the fire gets more aggressive than expected.
The Importance of Resting Meat
Resting meat is not a luxury step. It is part of finishing the cook properly. When meat comes off the grill, the juices are still moving and the fibers are still settling from the heat. Giving the meat a short rest helps those juices redistribute, which makes the final bite more consistent and less likely to spill out onto the cutting board. This matters for steaks, chops, chicken, and even grilled roasts. If you cut immediately, a lot of the moisture ends up on the plate instead of staying in the meat.
The rest does not need to be long or complicated. Place the food on a clean board or tray and let it sit while you finish sides or set the table. Keep it loosely covered if needed, but do not wrap it so tightly that the crust softens too much. Resting is one of the easiest habits to adopt, yet it is also one of the most noticeable when people compare a rushed cook with a patient one. If your guests say the steak tastes juicier than usual, resting is often part of the reason.
A short rest can improve both texture and moisture retention, especially on thicker cuts that hold heat for a longer finish.
Checklist for Perfect Grilling
| Checklist item | What to confirm | Why it helps |
|---|---|---|
| Grill is preheated | Heat is stable before food goes on | Better searing and fewer sticking issues |
| Zones are set | One side hot, one side cooler | More control over different foods |
| Tools are ready | Tongs, spatula, tray, thermometer nearby | Less scrambling during cooking |
| Food is dry enough | Excess marinade or water removed | Improves browning |
| Resting plan is set | A clean surface is ready after cooking | Helps finish meat properly |
Enhancing Flavor with Marinades and Seasonings
Flavor starts before the food meets the flame. Marinades, dry rubs, and simple seasoning blends each do something different, so the choice should match the food and the result you want. Marinades add flavor and can help tenderize some cuts, especially when they include salt, acid, oil, and aromatics. Dry rubs are better when you want a stronger crust and less surface moisture. Salt, pepper, garlic, paprika, and herbs can be enough if the grill itself is doing the heavy lifting.
A practical approach is to keep flavor simple enough that the fire still comes through. Heavy sauces before cooking can burn, while light seasoning supports browning. For chicken and pork, dry rubs often give the cleanest finish. For seafood, a short marinade or a quick seasoning just before grilling is usually better than a long soak. For vegetables, oil plus salt and herbs is often enough. The purpose is not to hide the food but to support it.
If you want deeper flavor without complicating the process, season early enough for the salt to work, then use the grill to build texture. That combination creates a better result than dumping on sauce at the end and hoping it sticks. The most reliable meals are usually the ones that are planned simply and cooked cleanly.
Tips for Different Cooking Methods: Searing, Smoking, and Roasting
Searing, smoking, and roasting are all possible on a grill, but each method demands a different heat mindset. Searing is fast and direct, meant to create color and crust on steaks, chops, and vegetables. For searing, the grill should be hot enough to react quickly, but not so hot that the outside burns before you can turn the food or move it. Smoking uses lower heat and indirect exposure, usually with wood chips or pellets depending on the equipment, so the food can absorb flavor over time. Roasting sits between those two ideas: the grill acts like an outdoor oven, which is why it works well for bone-in poultry, whole vegetables, and thicker cuts that need even cooking.
The key is to decide which method serves the food best before you begin. A steak may need a hard sear and then a short move to indirect heat. Chicken thighs may benefit from roasting first and a final touch of direct heat for skin. Vegetables can be grilled quickly over high heat or roasted more slowly if they are denser, such as potatoes or squash. If you are using a pellet grill, gas grill, or charcoal setup, the method changes less than the principle: control the heat, respect the food’s thickness, and do not force every ingredient through the same process.
Match the method to the food. Searing gives crust, smoking gives depth, and roasting gives even doneness.