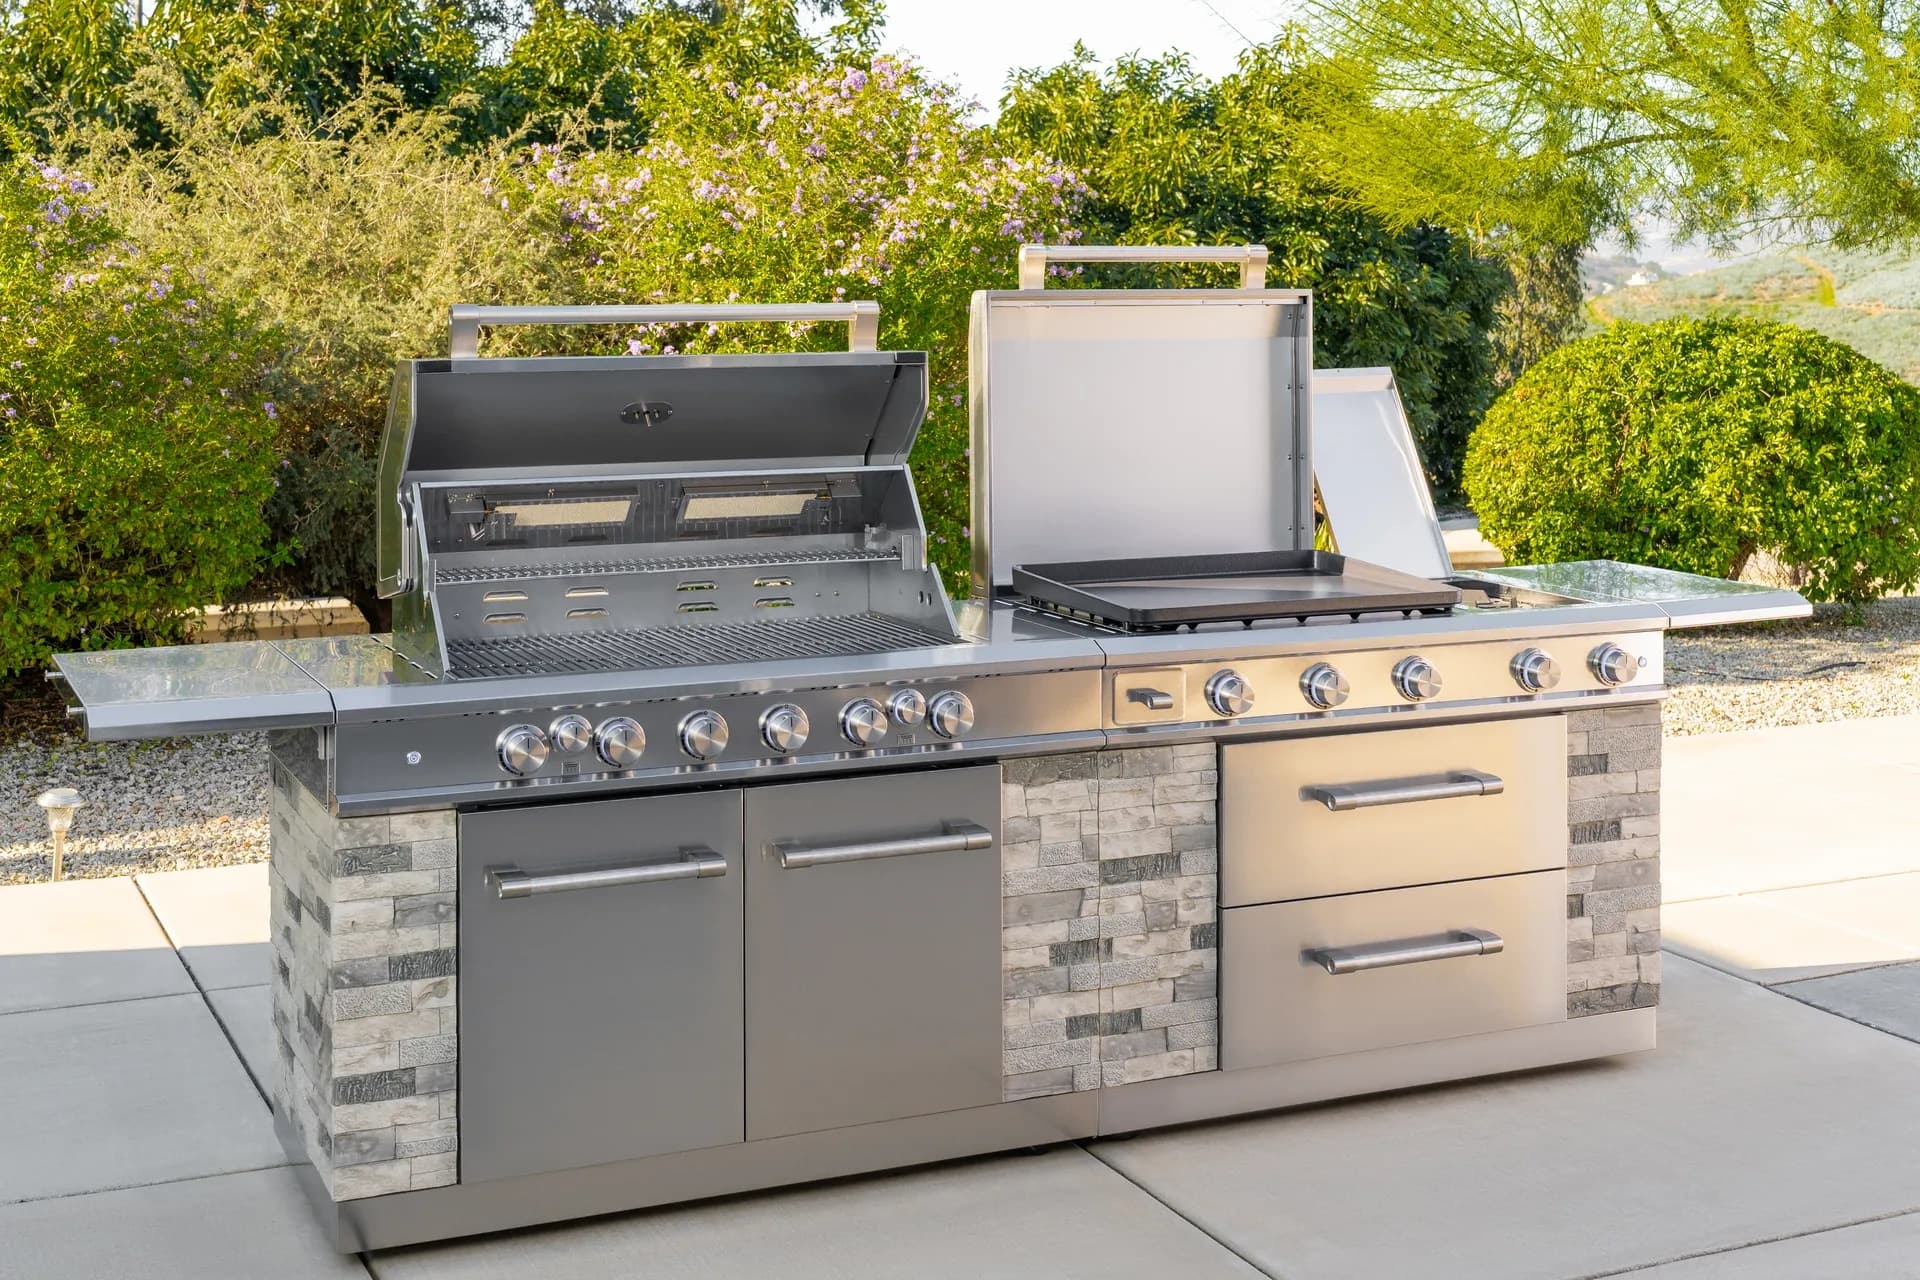
Effective Grill Cleaning Methods for a Perfect Barbecue
A practical guide to maintaining your grill for better flavor and safety.

In This Article
Enhance Grill Performance
Natural Cleaning Solutions
Avoid Common Mistakes
Why Cleaning Your Grill Matters
A clean grill cooks better because grease, carbon, and food debris stop acting like leftover clutter and start acting like a barrier. When grates are coated, heat transfer becomes less predictable, smoke can turn sharp instead of savory, and sticky residue makes it harder to get clean sear marks on steak, chicken, vegetables, or seafood. For Nexgrill owners, that matters whether you are using a compact two-burner setup for weeknight dinners or a larger backyard grill for weekend gatherings. Routine care also helps you spot wear early, before a clogged burner port, sticky igniter, or rusted grate becomes a bigger repair job.
Cleaning is also about safety and consistency. Built-up grease can flare unexpectedly, and residue around burners can interfere with even flame patterns. In practical terms, a few minutes after each cook saves more time later than a once-in-a-while deep scrub. Nexgrill’s brand approach emphasizes dependable, approachable outdoor cooking, and grill maintenance fits that mindset: keep the tool ready, keep the cooking surface inviting, and keep the experience easy enough that people actually use it often.
If your grill smells sour when it heats up, smokes heavily before food is on the grate, or leaves black residue on a paper towel, it is overdue for a deeper clean.
Essential Tools for Effective Grill Cleaning
You do not need a garage full of specialty products to clean a grill well. The most effective kit is simple: a sturdy grill brush or scraper, a bucket of warm soapy water, microfiber cloths or paper towels, a non-abrasive sponge, a putty knife for stuck-on buildup, and a pair of heat-resistant gloves. For gas grills, a small bottle brush or pipe cleaner can help clear burner holes and vents without damaging them. If you use a grill cover, keep it clean too, because a dusty or greasy cover can transfer grime right back onto a fresh surface.
Choose tools based on the material you are cleaning. Stainless steel looks best with soft cloths and a cleaner that will not scratch the surface. Cast iron grates need a gentler touch than many people expect, especially if they are already seasoned. A metal brush can still be useful for heavy buildup, but it should be used carefully and followed by a wipe-down and oiling step so the grate does not dry out after cleaning. If you are maintaining a Nexgrill with a side burner or griddle zone, use separate towels and sponges for each surface so grease from one area does not spread to another.
| Tool | Best Use | Why It Helps |
|---|---|---|
| Grill brush or scraper | Loosening char and baked-on residue | Speeds up cleaning while the grill is warm |
| Microfiber cloth | Exterior wipe-downs and polish | Removes film without scratching |
| Warm soapy water | Grates, trays, and removable parts | Breaks down grease safely |
| Non-abrasive sponge | Gentle scrubbing | Cleans without damaging finishes |
Step-by-Step Grill Cleaning Process
The easiest way to clean a grill is to treat it as a short routine, not a big project. Start while the grill is still warm, not blazing hot. Warm residue softens faster, so a scraper or brush can remove most loose debris before it hardens. Turn off the burners and close the lid for a few minutes if needed, then open it and scrape the grates in a steady motion. If you are cleaning after a long cook, remove the grates and flavorizer bars or heat shields only after the grill has cooled enough to handle safely.
Next, wash the removable parts in warm, soapy water and let them soak briefly if the buildup is stubborn. While those parts are soaking, empty the grease tray and check the bottom of the firebox for drips or ash. Use a damp cloth to wipe the inside walls and the lid, especially around areas where smoke and grease collect. For gas grills, inspect burner tubes and venturi openings for debris, then clear them gently if needed. Reassemble only after everything is fully dry; moisture trapped under grates or in a grease tray encourages rust.
A light coat of cooking oil on clean grates can help protect the surface and reduce sticking on your next cook.
Finish with the exterior. Wipe stainless steel with the grain, not across it, and avoid soaking control knobs or ignition areas. If you grill often, this full sequence can be shortened into a 10- to 15-minute reset after each session. That small habit is what keeps the grill from crossing the line from “used” to “neglected.”
Natural Cleaning Solutions: Eco-Friendly Options
If you prefer simple household ingredients, a few natural options work well for routine grill care. A paste made from baking soda and water can lift light grease from metal surfaces without harsh fumes. White vinegar cut with water is useful for wiping down exterior panels, loosening mineral spots, and breaking through thin layers of residue. Lemon juice can help with lighter grease on removable parts, and it leaves a cleaner scent than many commercial degreasers. These methods are especially useful when you are cleaning near food-contact surfaces and want to avoid strong chemical smells before the next cook.
The key is to match the cleaner to the job. Baking soda paste works best on flat surfaces and stubborn spots that need a little dwell time. Vinegar is better for wiping and softening film than for heavy carbon. Lemon is a good finishing aid, not a replacement for scrubbing. Use these solutions with warm water and a soft sponge, then rinse and dry thoroughly. On cast iron, do not soak the grates for too long, because excess moisture can remove seasoning and invite rust. On stainless steel, avoid anything gritty enough to scratch the finish.
Do not mix vinegar with bleach or other cleaners. Keep every solution simple, labeled, and used in a well-ventilated space.
Try comparing two products side by side below to see which fits best: one approach for quick post-cook wipe-downs and another for deeper seasonal cleaning.
Frequency of Deep Cleaning
Once you have a good grill routine, the next question is how often to go beyond the quick wipe-down. For most home cooks in the United States, a deep clean every 3 to 5 uses is a practical baseline, but frequency should rise if you cook fatty foods often, run the grill at very high heat, or store it outdoors through changing weather. A grill used for burgers, sausages, ribs, and marinated chicken will collect grease faster than one used mostly for vegetables and lean proteins.
Seasonal timing matters too. Spring is a good reset point after winter storage, and late fall is smart before the grill sits unused for a while. If you host frequent weekend cookouts, schedule a deeper clean after the biggest gatherings instead of waiting until the end of the season. The goal is not perfection; it is preventing buildup from becoming a hard, sticky layer that takes more time and pressure to remove. If your grill is getting smoky before the food even goes on, that is a sign to clean sooner rather than later.
| Use Pattern | Deep Clean Timing | What to Check |
|---|---|---|
| Light weeknight grilling | Every 4 to 5 uses | Grates, grease tray, lid underside |
| Frequent weekend cooking | Every 2 to 3 uses | Burners, heat shields, residue buildup |
| Heavy-duty seasonal use | Monthly or after major events | Rust, airflow, ignition performance |
Restoring Rusted Grates: Tips and Techniques
If grates have surface rust, act before the damage spreads. Light rust can often be removed with a firm scrub using a grill brush, a baking soda paste, or a vinegar soak followed by thorough drying. After cleaning, heat the grill briefly to drive off any remaining moisture, then brush the grates with a thin layer of oil. That seasoning step matters because bare metal oxidizes quickly once it is exposed to water and air.
For heavier rust, remove the grate and work in stages. Scrub away loose rust, rinse, dry completely, and inspect whether the metal is still structurally sound. If the grate is pitted badly or flakes apart, replacement may be the safer option. The same logic applies to other metal components: if the issue is cosmetic, you can usually restore it; if the material is compromised, it may be time to swap the part. Many grill owners overlook this step and keep scrubbing long after a component should be replaced.
Drying is just as important as scrubbing. Rust prevention starts the moment water leaves the surface, so towel-dry and air-dry before reassembly.
Common Grill Cleaning Mistakes to Avoid
The most common mistake is waiting until buildup becomes hard enough to require aggressive scrubbing. That often leads people to use too much force, which can bend grates, strip seasoning, or scratch finishes. Another frequent error is cleaning with the wrong tool for the material, such as a harsh abrasive pad on stainless steel or soaking cast iron too long in water. Strong oven cleaners can also be tempting, but they are often too harsh for routine grill maintenance and may leave residues you do not want near cooking surfaces.
People also forget the hidden spots. A shiny grate does not mean the grill is clean if grease trays are full, burner ports are partially blocked, or the lid interior is caked with carbon. Another mistake is reassembling the grill while parts are still damp. That shortcut creates rust faster than nearly anything else. Finally, avoid cleaning a hot grill with cold water, which can warp certain metal parts and create a messy spray of loosened residue. A steady, warm, deliberate process is safer and more effective.
If you smell gas, see uneven flame patterns, or notice a burner that will not light normally, stop cleaning and inspect the grill before the next cook.
Final Checklist for Grill Maintenance
Before putting the grill back into service, use a simple closing checklist: grates clean and dry, grease tray emptied, burners unobstructed, lid and exterior wiped down, and all parts reassembled securely. If you used water or natural cleaners, confirm there is no lingering moisture in crevices or around fasteners. This is also the moment to replace worn brushes, frayed gloves, or damaged scraper edges so your next cleaning session is easier and safer.
For long-term care, keep a small maintenance rhythm: quick scrape after cooking, full wipe on the same day, and periodic deep clean based on use. Store the grill covered, but make sure it is completely cool and dry first. That combination protects the finish, reduces corrosion risk, and keeps the grill ready for the next gathering. Around a Nexgrill, that is the standard worth keeping: practical upkeep that supports better flavor, safer cooking, and more reliable results every time you light it.