Flat Top Griddle Assembly Instructions
A Complete Guide for Easy Assembly and First-Time Use
In This Article
Essential Tools for Assembly
Step-by-Step Assembly Process
Safety Tips and Common Mistakes
Introduction
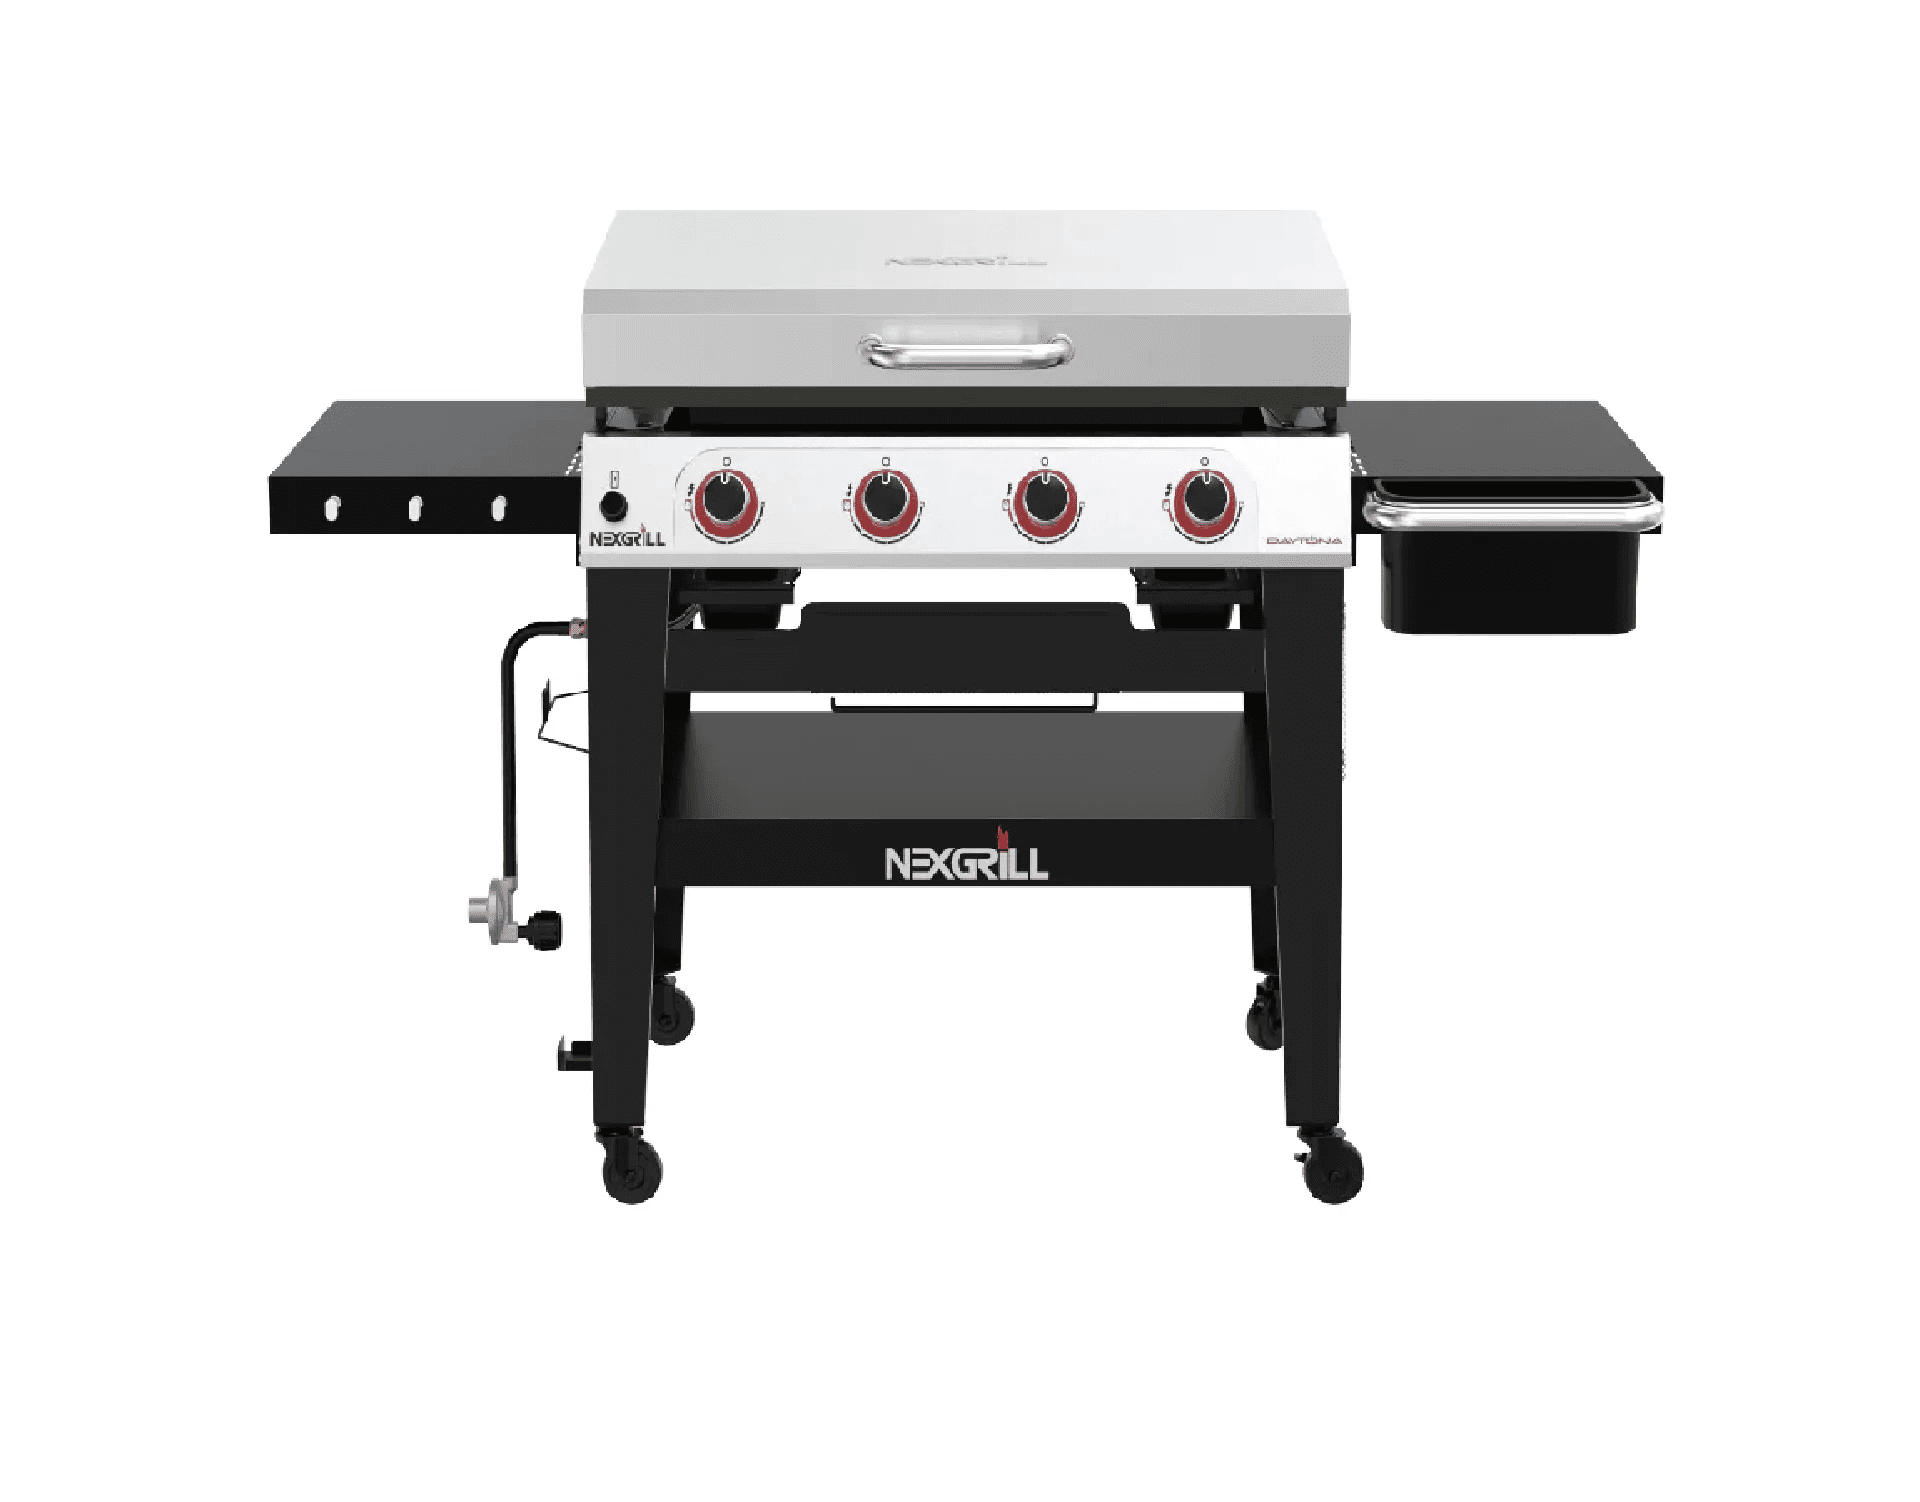
Assembling a flat top griddle is one of those jobs that looks simple at first glance, then quickly rewards patience and a careful reading of the parts layout. Whether you just unboxed a Nexgrill Daytona model or you are setting up another brand’s cart-style griddle, the same principle applies: a solid assembly creates a safer cooking platform, a flatter cook surface, and fewer headaches later when you start seasoning or cooking. Nexgrill’s brand approach emphasizes dependable, approachable outdoor cooking for real households, so this guide is written for the person who wants clear instructions without having to decode a confusing manual.
Flat top griddles vary a lot in size and design. A compact two-burner unit may use a lighter cart, fewer bolts, and a smaller wind guard, while a larger four- or five-burner griddle may have more panels, a heavier top, side shelves, and a propane tank bracket. That means there is no single “one-size-fits-all” setup sequence. The most reliable method is to identify the base parts first, assemble the frame squarely, mount the firebox or cooktop carefully, and only then tighten everything down after checking alignment. If you skip that order, you can end up with a cart that wobbles, doors that do not close cleanly, or a griddle top that sits unevenly.
Tip: Before you start, lay every part on a soft surface and sort hardware by size. That alone prevents many first-time assembly mistakes.
Usually saves hours of troubleshooting later.
If you are comparing product families, you will notice that flat top griddles are built for different use cases. A smaller two-burner model is often easier to assemble and move, while larger four-burner or five-burner griddles offer more cooking area but also more hardware, more doors or panels, and more opportunities to misalign parts if you rush. That is why the steps below focus less on model-specific visuals and more on the assembly logic that works across most cart-style griddles sold in the United States.
Tools Required for Assembly
Most flat top griddles ship with the essential fasteners in the box, but you should not assume the included wrench is enough to finish the job comfortably. A well-prepared setup area helps you avoid stripping screws, scratching painted surfaces, or needing to pause halfway through because a better tool is missing. For many home assembly projects, the difference between a smooth build and a frustrating one is simply having the right hand tools ready before opening the hardware bag.
For a typical griddle assembly, gather a Phillips-head screwdriver, an adjustable wrench or socket wrench, a pair of scissors or a utility knife for opening packaging, and a soft cloth to protect the finish while you flip or position parts. Some models may benefit from a small rubber mallet for gentle alignment, though you should never force a piece into place. If the frame or shelves seem off by more than a few millimeters, back up and recheck the orientation rather than hammering components together.
| Tool | Why it helps | Common use |
|---|---|---|
| Phillips screwdriver | Tightens most panel and shelf screws | Side shelves, brackets, access doors |
| Adjustable wrench | Helps secure nuts without over-tightening by hand | Frame bolts, wheel hardware |
| Socket wrench set | Speeds up repetitive bolts on larger carts | Legs, braces, propane support pieces |
| Utility knife or scissors | Opens cartons and zip ties cleanly | Box unpacking |
| Soft cloth or cardboard | Protects painted or stainless surfaces | Flipping cooktop, resting panels |
Warning: Do not use a power driver for final tightening unless your manual specifically allows it. Over-driving bolts can distort the frame and damage threads.
A second person is not a tool, but it is often the most useful “piece of equipment” in the room. Many griddles are easiest to assemble with one person holding a panel in place while the other inserts hardware. This matters even more when attaching the cooktop to the cart or lifting a heavier top section. If the package includes a hopper-style cabinet, lid, or side burner shelf, assume that any step involving a large or awkward panel is safer with two people.
Step-by-Step Assembly Instructions
The cleanest way to assemble a flat top griddle is to move from the bottom up: base, frame, shelves, cooktop, then hardware checks. That order keeps the structure stable while you build it and reduces the chances of having to unbolt something later. Use the diagram below as a mental model, even if your exact model has slightly different brackets or panels.
| Assembly stage | What you should be doing | What to check |
|---|---|---|
| 1. Unbox and sort | Identify all panels, burners, shelves, and hardware | Compare pieces with the parts list |
| 2. Build the cart | Attach legs, braces, wheels, and lower supports | Frame sits level on the floor |
| 3. Add shelves and doors | Install side shelves, access panels, or cabinet pieces | Doors swing freely and line up |
| 4. Mount the cooktop | Set the griddle body onto the cart and secure it | No gaps or rocking at corners |
| 5. Connect fuel and ignition parts | Attach regulator, hose, igniter wires if applicable | Connections are snug and untwisted |
| 6. Final inspection | Tighten hardware and test moving parts | No loose bolts or misaligned supports |
Step 1: Open every carton and lay out the parts in groups. Put bolts, nuts, washers, and screws into separate piles or cups. This is the best time to verify that the hardware count matches the manual. If a package is missing a bracket or a bag of fasteners, you want to know before the frame is half-built. Keep the instruction booklet nearby and follow its part labels, even if the drawing style is simplified.
Step 2: Assemble the lower frame or cart. Start with the main side panels and cross braces, then add wheels or feet. Tighten bolts only until they are finger-tight at first. The frame should be able to move slightly while you square it up. Once all major points are connected, place the cart on a flat floor or driveway and confirm that all four points touch evenly. If one wheel is shorter or one foot rocks, correct that before proceeding.
Step 3: Install the shelves, cabinet panels, or door assemblies. This is where many first-time builders get into trouble because they tighten one side completely before the opposite side is aligned. The trick is to start all fasteners loosely, compare the spacing on both sides, and only then tighten the screws. If your model has a lower storage shelf or propane tank ring, make sure it sits square and does not interfere with wheel movement.
Step 4: Place the cooktop or griddle body onto the cart. This section is often the heaviest part of the job. Lift from the frame, not from the knobs or side shelves, and lower it straight down so the mounting holes line up. A soft cloth under the cooktop can help protect the finish while you position it. Once aligned, secure the body with the supplied bolts according to the manual order. Do not fully tighten one corner before the others are started.
Step 5: Connect the fuel system and ignition pieces. For propane models, route the hose so it avoids sharp edges or pinch points, then attach the regulator firmly. If your griddle includes an electronic ignition cable, make sure the wire is not stretched tight or resting against hot surfaces. A clean routing path now prevents annoying startup issues later.
Tip: After each major section, pause and recheck square alignment. Small corrections are much easier before all bolts are fully tightened.
Step 6: Perform a final hardware pass. Once the frame is standing correctly and the top is seated properly, go back and snug every visible bolt. Then test the shelves, doors, and wheels. If the cart rolls oddly, rattles, or leans, something is still out of alignment. A slow final pass is the best insurance against a future wobble.
Safety Precautions
Assembly safety is about more than avoiding cuts from cardboard or metal edges. A griddle that is assembled incorrectly can become unstable, and a fuel connection that is not seated properly can create serious risks once the unit is lit. Treat the assembly process as the first stage of safe ownership, not just a chore to get through.
Work in a dry, open area with good lighting and enough room to spread out all parts. Avoid assembling the unit on a slope, deck edge, or uneven patio stones because those surfaces make it harder to tell whether the cart is square. Wear gloves if sheet-metal edges are sharp, and keep children and pets away from the work zone. Never connect the propane tank until the manual says the cart and cooktop are fully secured, and never test the burners indoors or in a garage.
Warning: If any fuel hose, igniter wire, or burner component appears damaged out of the box, stop the assembly and contact the manufacturer or retailer before using the griddle.
Keep bolts separated by length and thread type so you do not accidentally force the wrong fastener into a hole. If a screw resists immediately, back it out and verify the location. Forcing mismatched hardware is one of the fastest ways to strip threads or crack a bracket. Once assembly is complete, inspect for leftover parts. An extra washer may be harmless, but an extra structural bolt is not something to ignore.
If your griddle includes a lid, cover, or side burner, make sure moving parts open and close without scraping the frame. Poorly adjusted hinges can trap fingers or make the lid sit crooked. After the build, the unit should feel sturdy when nudged lightly from the side. If it sways significantly, revisit the base before adding fuel or seasoning the plate. Try comparing two products side by side below to see which fits best:
Common Mistakes to Avoid
Once you have compared two models and looked at how their carts, shelves, and cooktops differ, the next thing that matters is avoiding the small assembly mistakes that create big frustrations later. Most problems do not come from missing talent; they come from rushing, tightening too early, or assuming that the griddle body will settle into place on its own. That is especially true with larger flat top griddles, where a frame can look assembled even when one brace is flipped the wrong way or one wheel is mounted backward.
One common mistake is building the cart completely tight before checking alignment. On paper, that sounds efficient. In practice, it often leaves you with crooked shelves, a door that does not close flush, or a cooktop that rocks because the base was never squared before final tightening. The better method is to leave every main connection slightly loose until the full frame is standing and the unit sits evenly. Then tighten in a controlled pass from the center outward.
| Mistake | Why it causes problems | How to prevent it |
|---|---|---|
| Tightening too early | Locks in frame twist and misalignment | Leave hardware loose until every part is installed |
| Mixing up hardware | Wrong screw length can damage panels | Sort bolts by size before starting |
| Skipping level checks | Creates wobble and uneven lid fit | Check all feet or wheels on a flat surface |
| Routing the hose poorly | Can pinch or strain fuel connections | Follow the manual’s hose path exactly |
| Ignoring leftover parts | May indicate an omitted structural fastener | Recheck the parts list before first ignition |
Another frequent error is using the wrong screwdriver or wrench size. Even if a tool “sort of fits,” a loose match can round the fastener head and make the entire assembly harder to finish. The better approach is to test each tool on the first few bolts before you commit to a full section. If the tool slips, change sizes immediately. On stainless or painted surfaces, place a cloth beneath your tools so a dropped wrench does not leave a visible mark.
Some first-time builders also confuse cosmetic panels with structural ones. A side shelf, control panel, or access door might feel decorative, but in many griddles those parts help stabilize the unit or support ignition and fuel routing. If a panel seems out of place, inspect the orientation marks and mounting holes carefully. The smallest bracket reversed by one turn can throw off the fit of the entire cart.
Tip: If the griddle looks slightly off after assembly, do not assume the part is defective. Recheck wheel direction, shelf orientation, and the order of bolt tightening first.
Post-Assembly Tips for First-Time Use
After the griddle is fully assembled, resist the temptation to cook immediately. The first-use process usually includes cleaning the cook surface, checking the ignition, and seasoning the griddle plate so it develops a more protective cooking layer. Seasoning is not just a tradition; it helps reduce sticking, improves surface readiness, and protects the steel from moisture. For most flat top griddles, this means applying a thin coat of high-smoke-point oil, heating the plate gradually, wiping off excess oil, and repeating the process until the surface darkens.
Before seasoning, wipe the griddle plate with a dry or lightly damp cloth to remove any dust, packing residue, or oil from manufacturing and shipping. Dry it completely. Then light the burners according to the manual and bring the surface up slowly rather than blasting it to maximum heat right away. A measured heat-up gives the plate time to expand evenly and reduces the risk of thermal shock or uneven seasoning.
Info: Seasoning works best in thin layers. Thick oil pools can become sticky instead of building the smooth surface you want.
A simple first-seasoning routine looks like this: preheat the griddle lightly, spread a very thin layer of oil over the surface, let it smoke off, wipe away buildup, and repeat several times. The surface should move from shiny to progressively darker and more uniform. Once the plate has cooled, inspect the frame again. Heat can reveal loose bolts or panels that seemed fine when cold. If anything shifts, retighten after the griddle is cool.
1. Wipe the cooktop clean and dry.2. Light the burners at low to medium heat.3. Apply a thin coat of high-smoke-point oil.4. Heat until the oil begins to smoke lightly.5. Turn off heat and wipe away excess oil.6. Repeat 3-5 times for a better initial seasoning layer.For first cooking sessions, start with foods that help reinforce the seasoning, such as sliced onions, peppers, or a small batch of potatoes. These foods help carry oil across the surface and let you see whether one side of the plate heats faster than the other. Keep a spatula and scraper nearby, and clean while the plate is still warm, not after it has fully cooled and hardened.
If you plan to store the griddle outdoors, let it cool, clean it thoroughly, and use a fitted cover. Good post-assembly care is not separate from assembly; it is the next step in making sure the unit stays level, protected, and ready for regular use. A little patience during the first use pays off in smoother cooking and easier cleanup for the rest of the season.
Conclusion
A successful flat top griddle assembly is really about three habits: organize before you start, build in the correct order, and verify alignment before you light anything. Those habits matter whether you are putting together a compact two-burner model for a small patio or a larger cart-style unit for weekend entertaining. By slowing down at the critical steps, you make the griddle safer, sturdier, and easier to season properly afterward.
Once the cart is square, the cooktop is mounted cleanly, and the fuel system is routed without strain, the rest of the experience becomes much more enjoyable. You are no longer fighting the assembly; you are preparing the surface for real cooking. That is the payoff of doing the job carefully from the start. If you need to choose between two models, compare the frame layout, footprint, and number of components first, then decide which setup best matches your comfort level and cooking plans. Sources
FAQs
How long does assembly usually take? Most flat top griddles take about 45 minutes to 2 hours depending on size, hardware count, and whether you have help.
Do I need special tools? Usually no, but a better screwdriver and wrench than the basic included tool can make the job easier and reduce stripped hardware.
Should I season the griddle right away? Yes, after a quick wipe-down and inspection, seasoning is typically the next step before the first cook.