Mastering Nexgrill Pellet Grill Assembly: A Complete Guide for Buyers
Step-by-step instructions and expert tips for assembling your Nexgrill pellet grill efficiently.
In This Article
Grill Components
Essential Tools
Maintenance Tips
Understanding Your Nexgrill Pellet Grill Components
Assembling a Nexgrill pellet grill is a rewarding project that enhances your outdoor cooking experience. Before you begin, familiarize yourself with the key components of your grill. These generally include the grill body, hopper, auger, fire pot, heat baffle, drip tray, grill grates, and chimney. Each part plays a crucial role in the grill’s functionality.
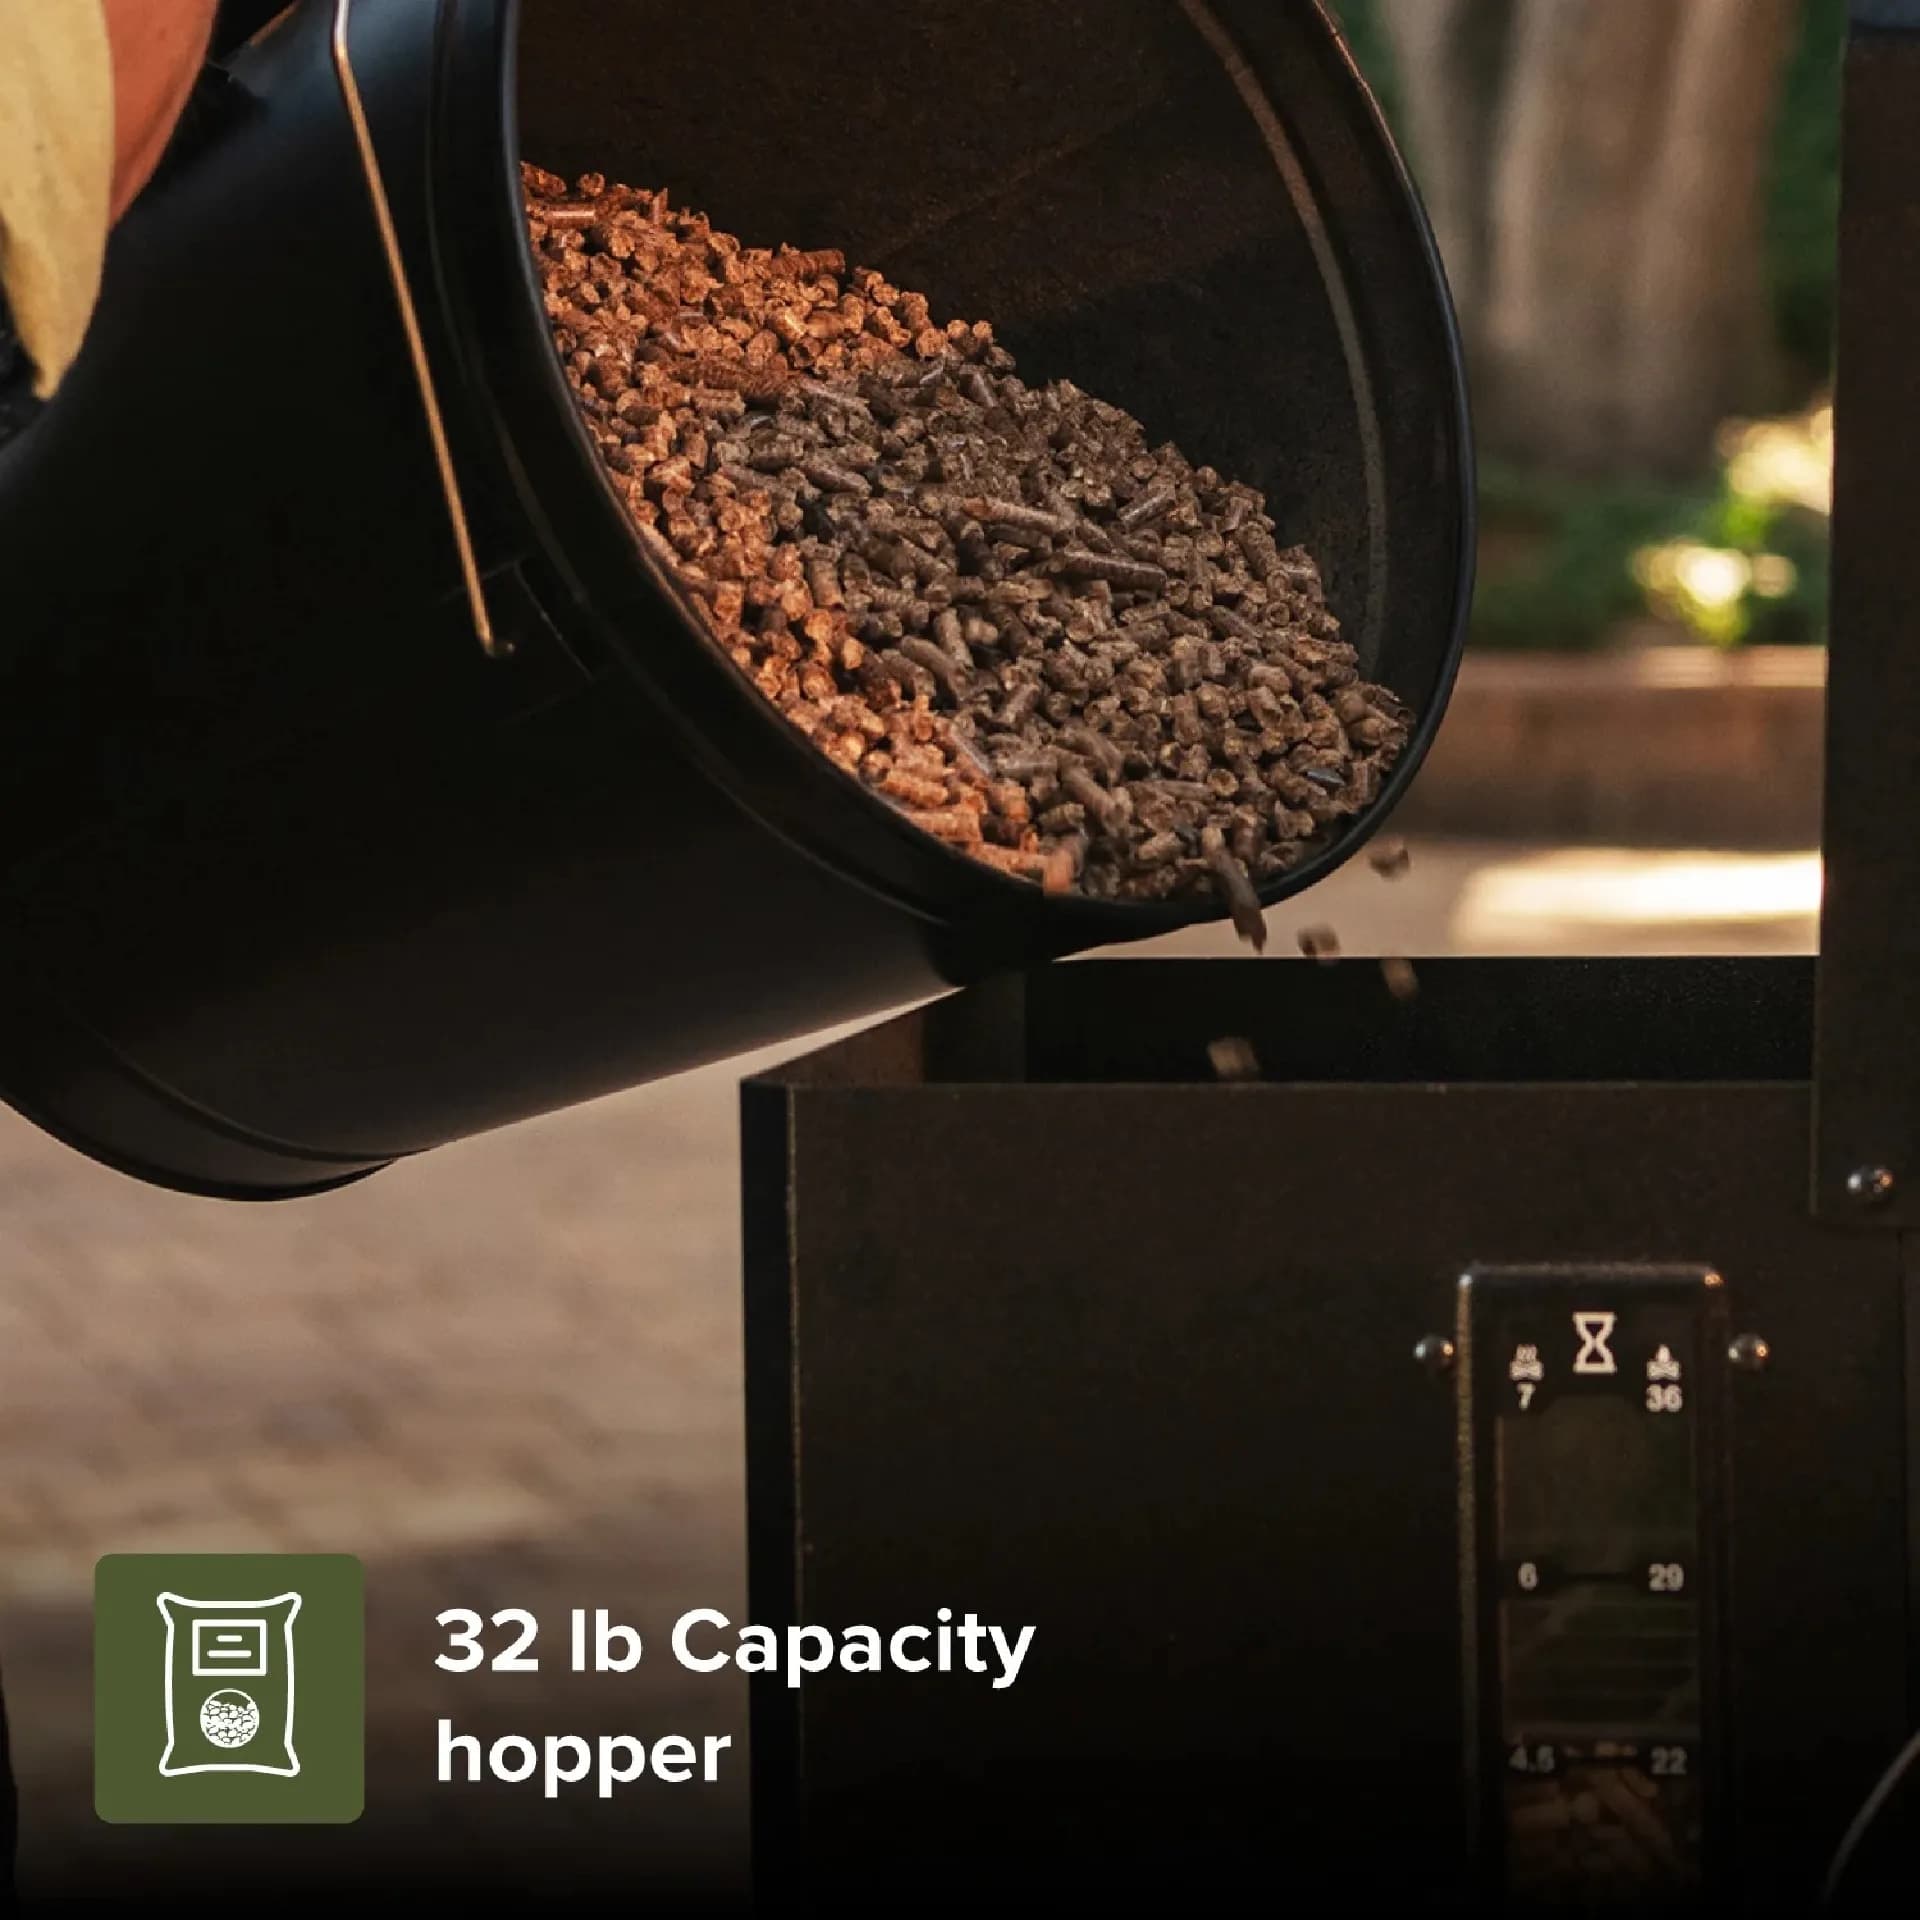
The grill body is the main structure, housing the cooking chamber and the pellet hopper. The hopper stores the wood pellets, feeding them into the auger, which then moves them to the fire pot where they ignite. The heat baffle and drip tray distribute heat evenly and catch grease, respectively, while the grill grates provide the cooking surface.
Understanding each component’s role helps in efficient assembly and troubleshooting.
Tools You’ll Need
Proper tools are essential for a smooth assembly process. Ensure you have a screwdriver, wrench set, pliers, and a soft cloth to clean parts. Most Nexgrill models include a comprehensive manual, but having a basic toolkit on hand is always beneficial.
| Tool | Purpose |
|---|---|
| Screwdriver | Tighten screws and fasteners |
| Wrench Set | Adjust nuts and bolts |
| Pliers | Grip and hold small parts |
| Soft Cloth | Clean parts during assembly |
Tip: Lay out all parts and tools before starting to ensure nothing is missing.
Preparing the Site for Assembly
Choose a flat, stable surface for assembly, preferably close to where you plan to use the grill. Ensure ample space around the site to move freely and safely. Clear any debris or obstacles that could hinder the assembly process.
Proper lighting is crucial, especially if you’re assembling indoors or in a garage. Bright, even lighting helps in identifying parts and following instructions accurately. Consider setting up during daylight hours or using additional lighting if necessary.
Warning: Ensure all parts are accounted for to avoid delays during assembly.
Step-by-Step Nexgrill Pellet Grill Assembly
Assembling a Nexgrill pellet grill involves several steps, each crucial for the grill’s optimal performance. Begin by attaching the legs to the grill body, ensuring each leg is securely fastened. Use your wrench set to tighten bolts, maintaining stability.
Next, install the pellet hopper. Align it with the grill body and secure it using the provided screws. Check the manual for the correct alignment to ensure efficient pellet feeding.
Once the hopper is in place, connect the auger motor. This component is critical for moving pellets from the hopper to the fire pot. Ensure all electrical connections are secure to avoid operational issues. Also, attach the fire pot and heat baffle, both vital for heat management and distribution.
Install the drip tray and grill grates, ensuring they sit level. This setup not only supports cooking but also aids in grease management, reducing flare-ups and ensuring even cooking.
Finally, attach the chimney. This part allows smoke to escape, enhancing flavor and preventing smoke buildup. Adjust the chimney cap to regulate airflow and maintain stable temperatures during cooking.
After assembly, perform a test run. Power on the grill and check for any unusual noises or operational issues. This test ensures that all components are functioning as intended.
Troubleshooting Common Issues
Even with careful assembly, you might encounter issues such as uneven heat distribution or ignition problems. Uneven heat is often due to misaligned heat baffles or improperly seated grill grates. Recheck these components and adjust as necessary to ensure balanced cooking temperatures.
Ignition issues usually stem from electrical connections. Ensure all wires are connected securely, and the auger is functioning properly. If the grill fails to ignite, check the pellet supply and ensure the hopper is feeding pellets correctly.
Info: Regular maintenance checks prevent long-term issues and extend the grill’s lifespan.
Maintaining Your Nexgrill Pellet Grill
Proper maintenance is key to your grill’s longevity. Clean the grill grates and drip tray after each use to prevent grease buildup. Regularly inspect the hopper and auger for blockages, and clean out any leftover ash from the fire pot.
Cover the grill when not in use to protect it from the elements. Consider using a Nexgrill cover specifically designed for your model to ensure a perfect fit and maximum protection.
Enhancing Your Grilling Experience
Once your grill is assembled and maintained, enhance your grilling experience with Nexgrill’s range of accessories. From grill covers to cooking utensils, these additions can make grilling more convenient and enjoyable.
Experiment with different types of wood pellets to discover unique flavor profiles. Nexgrill offers a variety of pellet options, each imparting distinct aromas and tastes to your food.
| Accessory | Purpose |
|---|---|
| Grill Cover | Protects the grill from weather |
| Wood Pellets | Enhances flavor profiles |
| Cooking Utensils | Eases food handling |
Engaging with the Nexgrill community can also provide valuable insights and tips. Share your grilling experiences and learn from others to elevate your outdoor cooking adventures.
Concluding Thoughts
Assembling your Nexgrill pellet grill is a gateway to countless culinary adventures. With proper assembly, maintenance, and a willingness to explore various grilling techniques, you’ll discover the joys of outdoor cooking. Nexgrill’s support and community resources are there to assist you every step of the way.
Remember, the key to a great grilling experience lies not only in the equipment but also in the passion and creativity you bring to each cookout. So fire up your grill and enjoy the flavors of expertly cooked meals right in your backyard.