Your Guide to Replacing Your Grill's Temperature Gauge
Ensure accurate cooking temperatures with a step-by-step replacement guide.
In This Article
Types of Temperature Gauges
Installation Tips
Troubleshooting
Introduction
A grill temperature gauge replacement is one of the smallest parts you can buy for your outdoor cooker, but it can have an outsized effect on how confidently you cook. When the gauge is stuck, fogged, reading inconsistently, or simply missing from the lid, you lose one of the easiest ways to monitor heat at a glance. That matters whether you are searing burgers on a weeknight, smoking ribs for a weekend gathering, or trying to hold a steady temperature for chicken and vegetables without opening the lid every few minutes.
This guide focuses on buying the right replacement, not just any replacement. A gauge that fits the lid opening but does not match the temperature range, probe style, or mounting depth may give misleading readings or install poorly. The goal is to help you identify the best replacement for your specific grill, understand the differences between analog and digital options, and complete the swap safely so your grill is ready for reliable cooking again.
Can restore confidence in every cook when the readings are accurate.
Tip: Before you order anything, look at the old gauge from both the front and the back. The visible dial size is only half the story; the stem length, mounting hardware, and hole diameter matter just as much.
Understanding Temperature Gauges
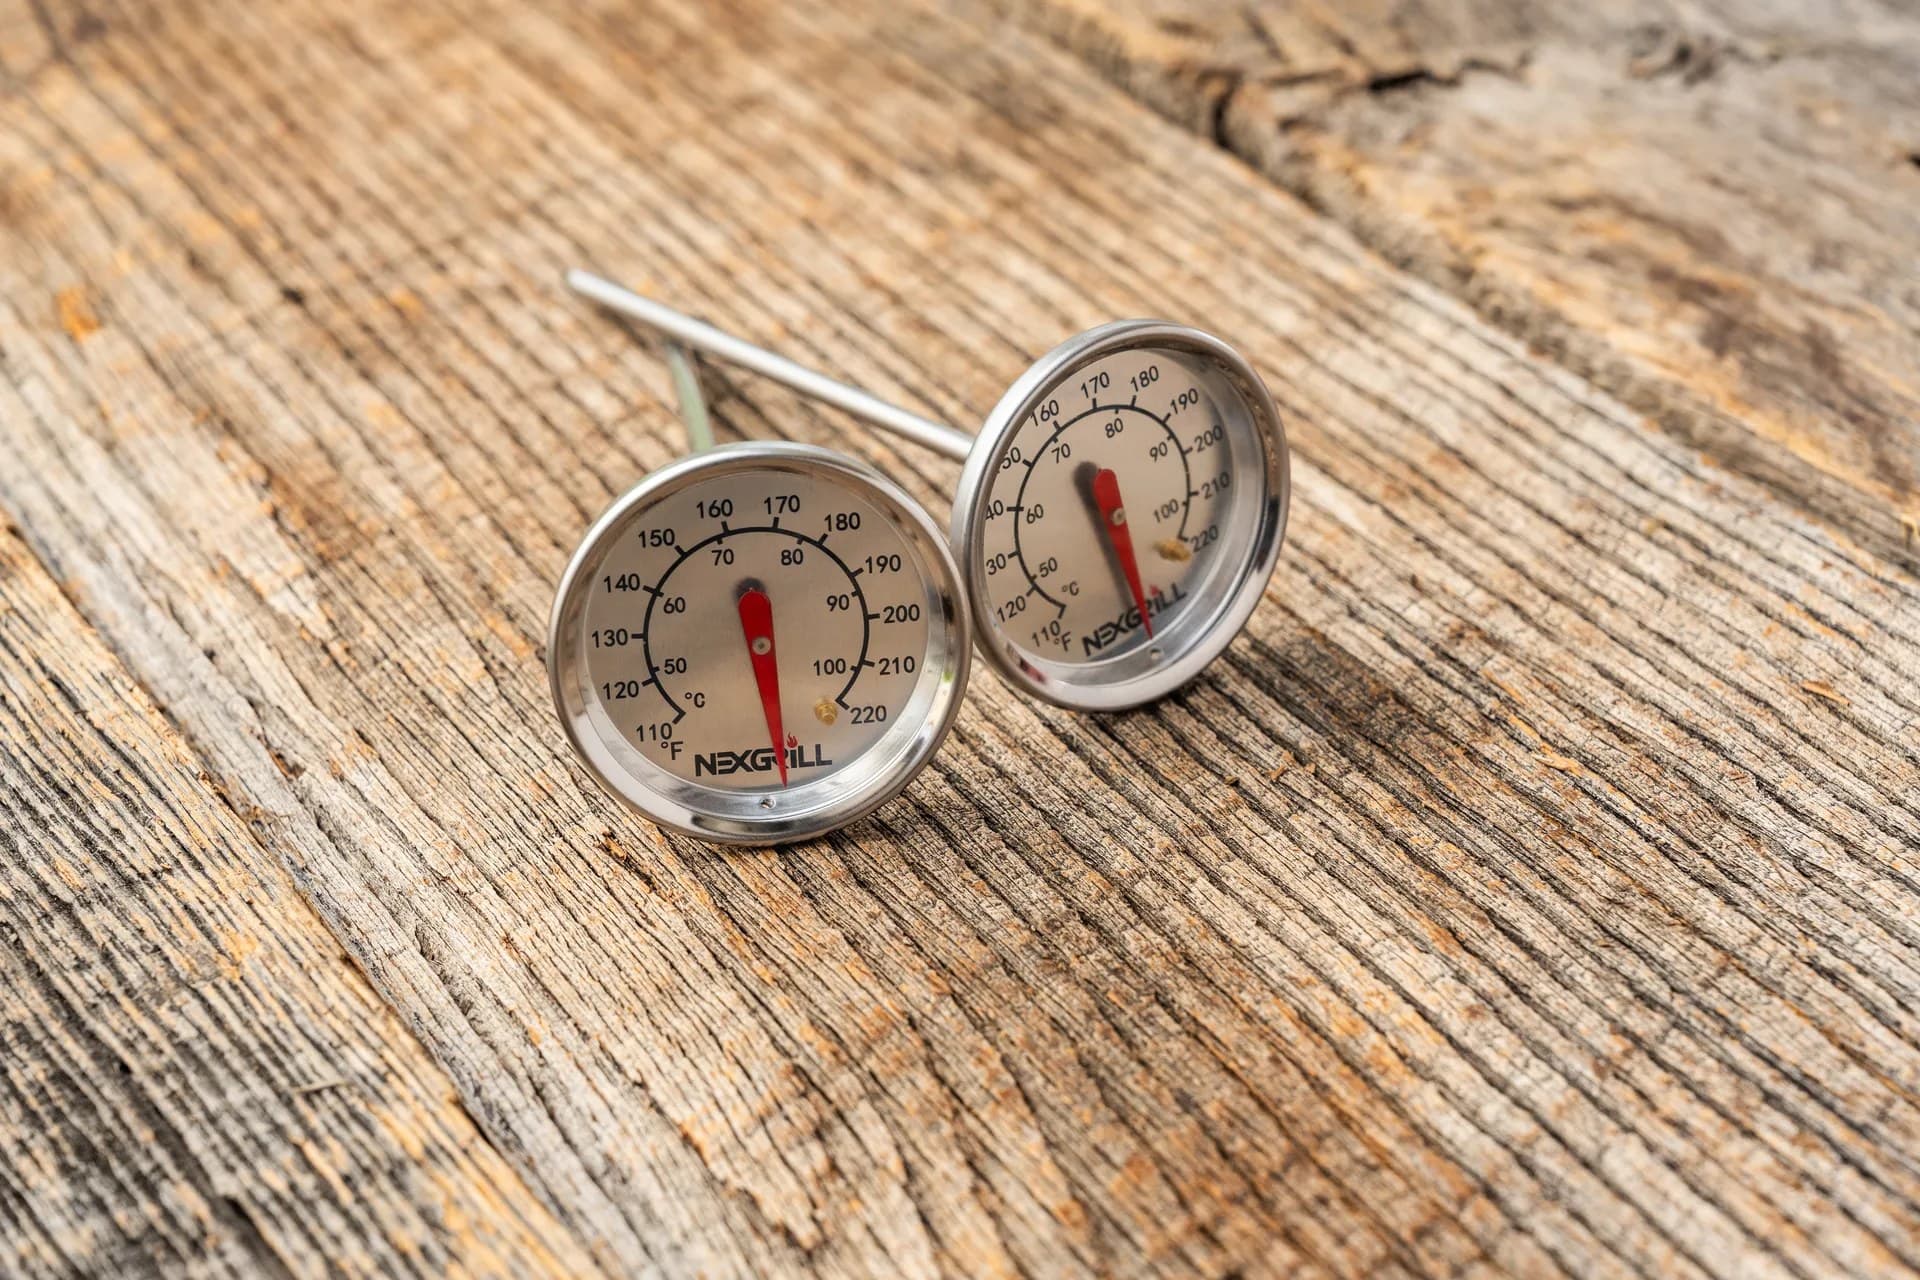
Most grill lids use an analog temperature gauge, the classic round dial you read from outside the lid. These gauges are simple, easy to check while cooking, and usually do not require batteries or pairing. For many backyard grills, an analog gauge is the practical choice because it gives a quick general estimate of dome temperature and holds up well in outdoor conditions when installed correctly. The tradeoff is that analog gauges can drift over time, especially if grease buildup, steam, corrosion, or repeated heat cycles affect the internal spring mechanism.
Digital temperature gauges take a different approach. They can offer more precise readouts, faster response, and in some cases remote monitoring through a probe or connected display. That makes them especially useful if you want to track food and ambient temperature separately, or if you often cook low and slow. The drawback is complexity. Digital systems may depend on batteries, probe placement, or extra components that are not designed to replace a simple lid thermometer one-for-one. If your goal is to restore the stock look and function of a grill lid, a direct-fit analog replacement is often the cleanest solution.
| Gauge type | Best use | Main advantage | Main drawback |
|---|---|---|---|
| Analog dial | Everyday grill lid replacement | Simple, durable, easy to read | Can drift or fog over time |
| Digital probe-based | More precise temperature tracking | More accurate readings | May need power and extra setup |
Choosing the Right Replacement Gauge
The most important buying decision is compatibility. A replacement gauge should match the mounting hole size, stem length, bezel style, and temperature range of your grill lid. Start by checking the grill’s model number, usually found on a label inside the cabinet, on the back panel, or inside a side shelf area. If you no longer have the original part number, measure the opening with a ruler or caliper and compare the back-side threads or clip style before ordering. A gauge can look close in a product photo and still fail to seat properly if the stem is too short or the dial face is too large for the opening.
Brand compatibility is also worth checking carefully. Common replacement searches often involve Weber, Char-Broil, Nexgrill, Kenmore, and other widely sold grill lines, but even within those brands, different series can use different hole sizes or fastening methods. If you are shopping online, look for the part description to specify the exact compatible model family rather than a vague phrase like fit most grills. For local stores, bring the old gauge with you or take clear photos of the front, back, and any stamped numbers on the bezel. That makes comparison much easier and reduces the chance of a return.
Warning: Do not assume a gauge is accurate just because it installs cleanly. If the probe length or calibration range is off, the dial may look correct but still read too hot or too cool for your actual cooking zone.
Installation Guide
Replacing a grill temperature gauge is usually a straightforward job, but the process should be done with the grill completely cool and disconnected from any fuel source. For gas grills, shut off the propane tank or natural gas supply before starting. If the old gauge is held in by a retaining clip or a threaded nut, remove those parts gently so you do not bend the lid or scratch the finish. On some grills, the gauge lifts out from the front; on others, you may need to access the inside of the lid and loosen hardware from behind.
A practical way to picture the job is to think in three layers: the visible dial on the front, the stem passing through the lid, and the securing hardware on the inside. Before removing anything, take a quick photo of the original setup so you can replicate the order of parts. Then clean the mounting area with a dry cloth to remove grease or rust flakes that could prevent a flush fit. If the new gauge includes a gasket or washer, install it as directed by the manufacturer to help keep moisture out and improve stability. Tighten hardware just enough to hold the gauge firmly; overtightening can warp the bezel or make the dial harder to read.
1. Let the grill cool completely.2. Turn off and disconnect fuel.3. Remove the old gauge from the lid.4. Clean the mounting hole and surrounding surface.5. Insert the new gauge from the exterior side.6. Secure the washer, clip, or nut from inside the lid.7. Confirm the face is level and readable.8. Recheck after a test burn for proper seating.| Installation check | What to verify | Why it matters |
|---|---|---|
| Hole fit | Gauge sits snugly without forcing | Prevents wobble and air leaks |
| Readability | Numbers face outward and level | Makes quick temperature checks easier |
| Hardware | Nut, clip, or washer is secure | Keeps the gauge from shifting with heat |
After installation, run the grill at a moderate temperature for a short test. Watch the needle for smooth movement rather than sudden jumps. A stable reading that rises gradually is a good sign the gauge is seated correctly and responding to heat as expected.
Troubleshooting Common Issues
If a replacement gauge still seems off, start with the basics before assuming the part is defective. A needle that never moves may be blocked by debris, installed too loosely, or stuck from shipping damage. If the gauge reads wildly high or low, compare it with a separate thermometer placed near the cooking grate. Remember that lid thermometers measure dome heat, not food temperature, so some difference is normal. What matters is whether the gauge is consistent and responsive from one cook to the next.
Fogging usually points to moisture intrusion or a worn seal. In humid climates or after rain exposure, condensation can form inside the dial if the bezel is not seated correctly. Rust around the mounting point can also create gaps that let moisture in. If the gauge is difficult to read, wipe the glass gently and check whether grease has built up around the perimeter. For a gauge that drifts over time, the safest approach is to verify its reading against a known reference thermometer during a few different heat levels. If the error is consistent and large, replacement is usually the better solution than trying to recalibrate a simple grill dial.
Tip: If the dial works but the numbers are hard to see, consider a higher-contrast replacement face. Readability matters as much as raw accuracy when you are checking temperature through smoke and sunlight.
Try comparing two products side by side below to see which fits best:
Maintenance Tips
Once you've weighed two options against each other, the next step is keeping the gauge accurate after installation. Temperature gauges fail faster when they are exposed to grease, moisture, and repeated thermal shock without basic care. A few minutes of maintenance after each cook can extend the life of the replacement and help you trust the reading when it matters most. Start by wiping the outside of the gauge face with a soft, dry cloth after the grill cools. Avoid abrasive pads or harsh cleaners, because they can scratch the lens or remove printed markings that improve readability.
It also helps to keep the lid and surrounding mounting area clean. If grease accumulates around the bezel, it can trap moisture and accelerate corrosion at the point where the stem passes through the lid. During seasonal cleaning, inspect the inside of the lid for rust flakes, loose hardware, or soot buildup around the gauge opening. Those are early warning signs that the fit may be loosening. If your grill stays outdoors year-round, use a well-fitting cover and allow the unit to dry completely before covering it. Trapped moisture is one of the most common reasons a dial becomes cloudy or unreliable.
| Maintenance task | Recommended frequency | Benefit |
|---|---|---|
| Wipe gauge face | After grilling sessions | Keeps numbers readable |
| Check hardware tightness | Monthly or seasonally | Prevents movement and leaks |
| Inspect for rust or fogging | At the start of each season | Catches moisture damage early |
Info: A gauge replacement lasts longer when the grill is preheated and cooled in a normal cycle, rather than repeatedly blasted with direct water or cleaned while it is still extremely hot.
When to Replace Your Temperature Gauge
Replace the gauge when the needle sticks, the lens becomes permanently fogged, the readings no longer match a trusted thermometer, or the bezel is cracked and cannot seal properly. Another reason to replace it is cosmetic damage that makes the numbers unreadable, because a poor readout can be just as frustrating as a completely failed part. If the dial face has corrosion inside the lens or the stem is bent from impact, a new gauge is usually the smartest option. Trying to force a damaged one back into service often creates more confusion than it solves.
Buyers should also consider replacement when they are refreshing an older grill for the season. A new gauge can be part of a broader tune-up that includes cleaning burners, checking ignition, and inspecting grease management parts. For people who cook frequently, especially those who rely on predictable heat for roasts, poultry, or low-and-slow smoking, a replacement gauge is worth prioritizing sooner rather than later. The cost is typically modest compared with the value of more confident temperature control. If the old dial has failed more than once or appears to be the wrong fit for the lid, choosing a model-specific replacement will usually save time and frustration over chasing a generic substitute.
Conclusion
A good grill temperature gauge replacement should do three things well: fit correctly, read clearly, and stay consistent through normal outdoor cooking conditions. When you match the part to your model, install it carefully, and keep it clean, you restore a small but important control point in your grilling setup. That means fewer guesswork moments, better heat management, and more reliable results every time you lift the lid.