DIY Guide to Installing Grill Burners
Master the installation of grill burners with our expert guide.
In This Article
Essential Tools
Avoid Common Mistakes
Material Matters
Understanding Grill Burners
Grill burners are an essential component of any grilling setup, acting as the primary source of heat that cooks your food. They come in various shapes, sizes, and materials, each offering different benefits. Understanding the type of burner you have or need can significantly impact your grilling experience. Common materials include stainless steel, cast iron, and aluminized steel. Stainless steel burners are praised for their resistance to rust and corrosion, making them a popular choice for frequent grillers.
On the other hand, cast iron burners are known for their excellent heat retention, providing even cooking temperatures. Aluminized steel, while less durable, offers a cost-effective solution for those on a budget. Knowing these differences is crucial when considering a replacement or upgrade.
Tip: Always check the material and size compatibility before purchasing a replacement burner for your grill model.
Tools You Will Need
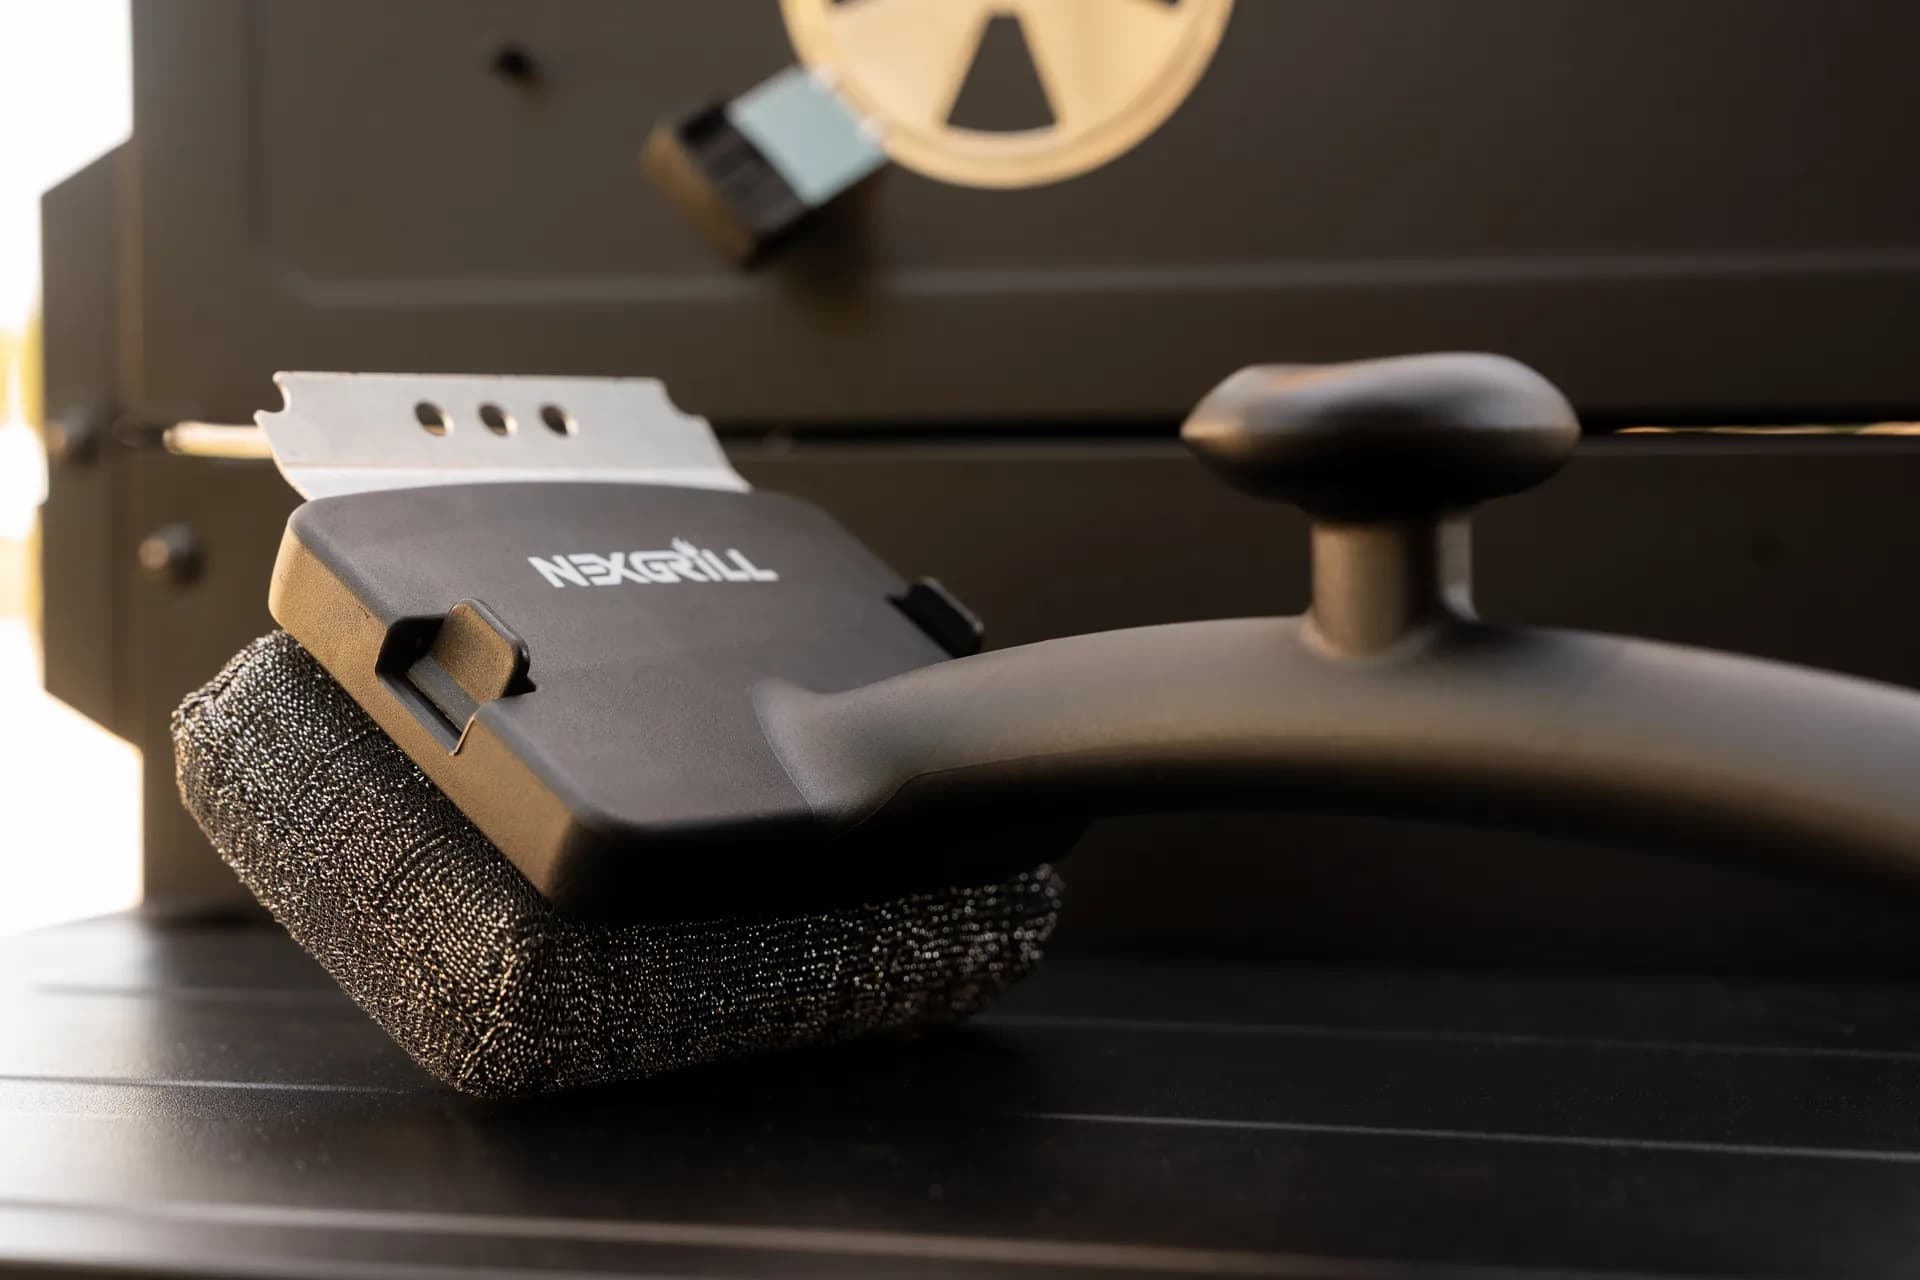
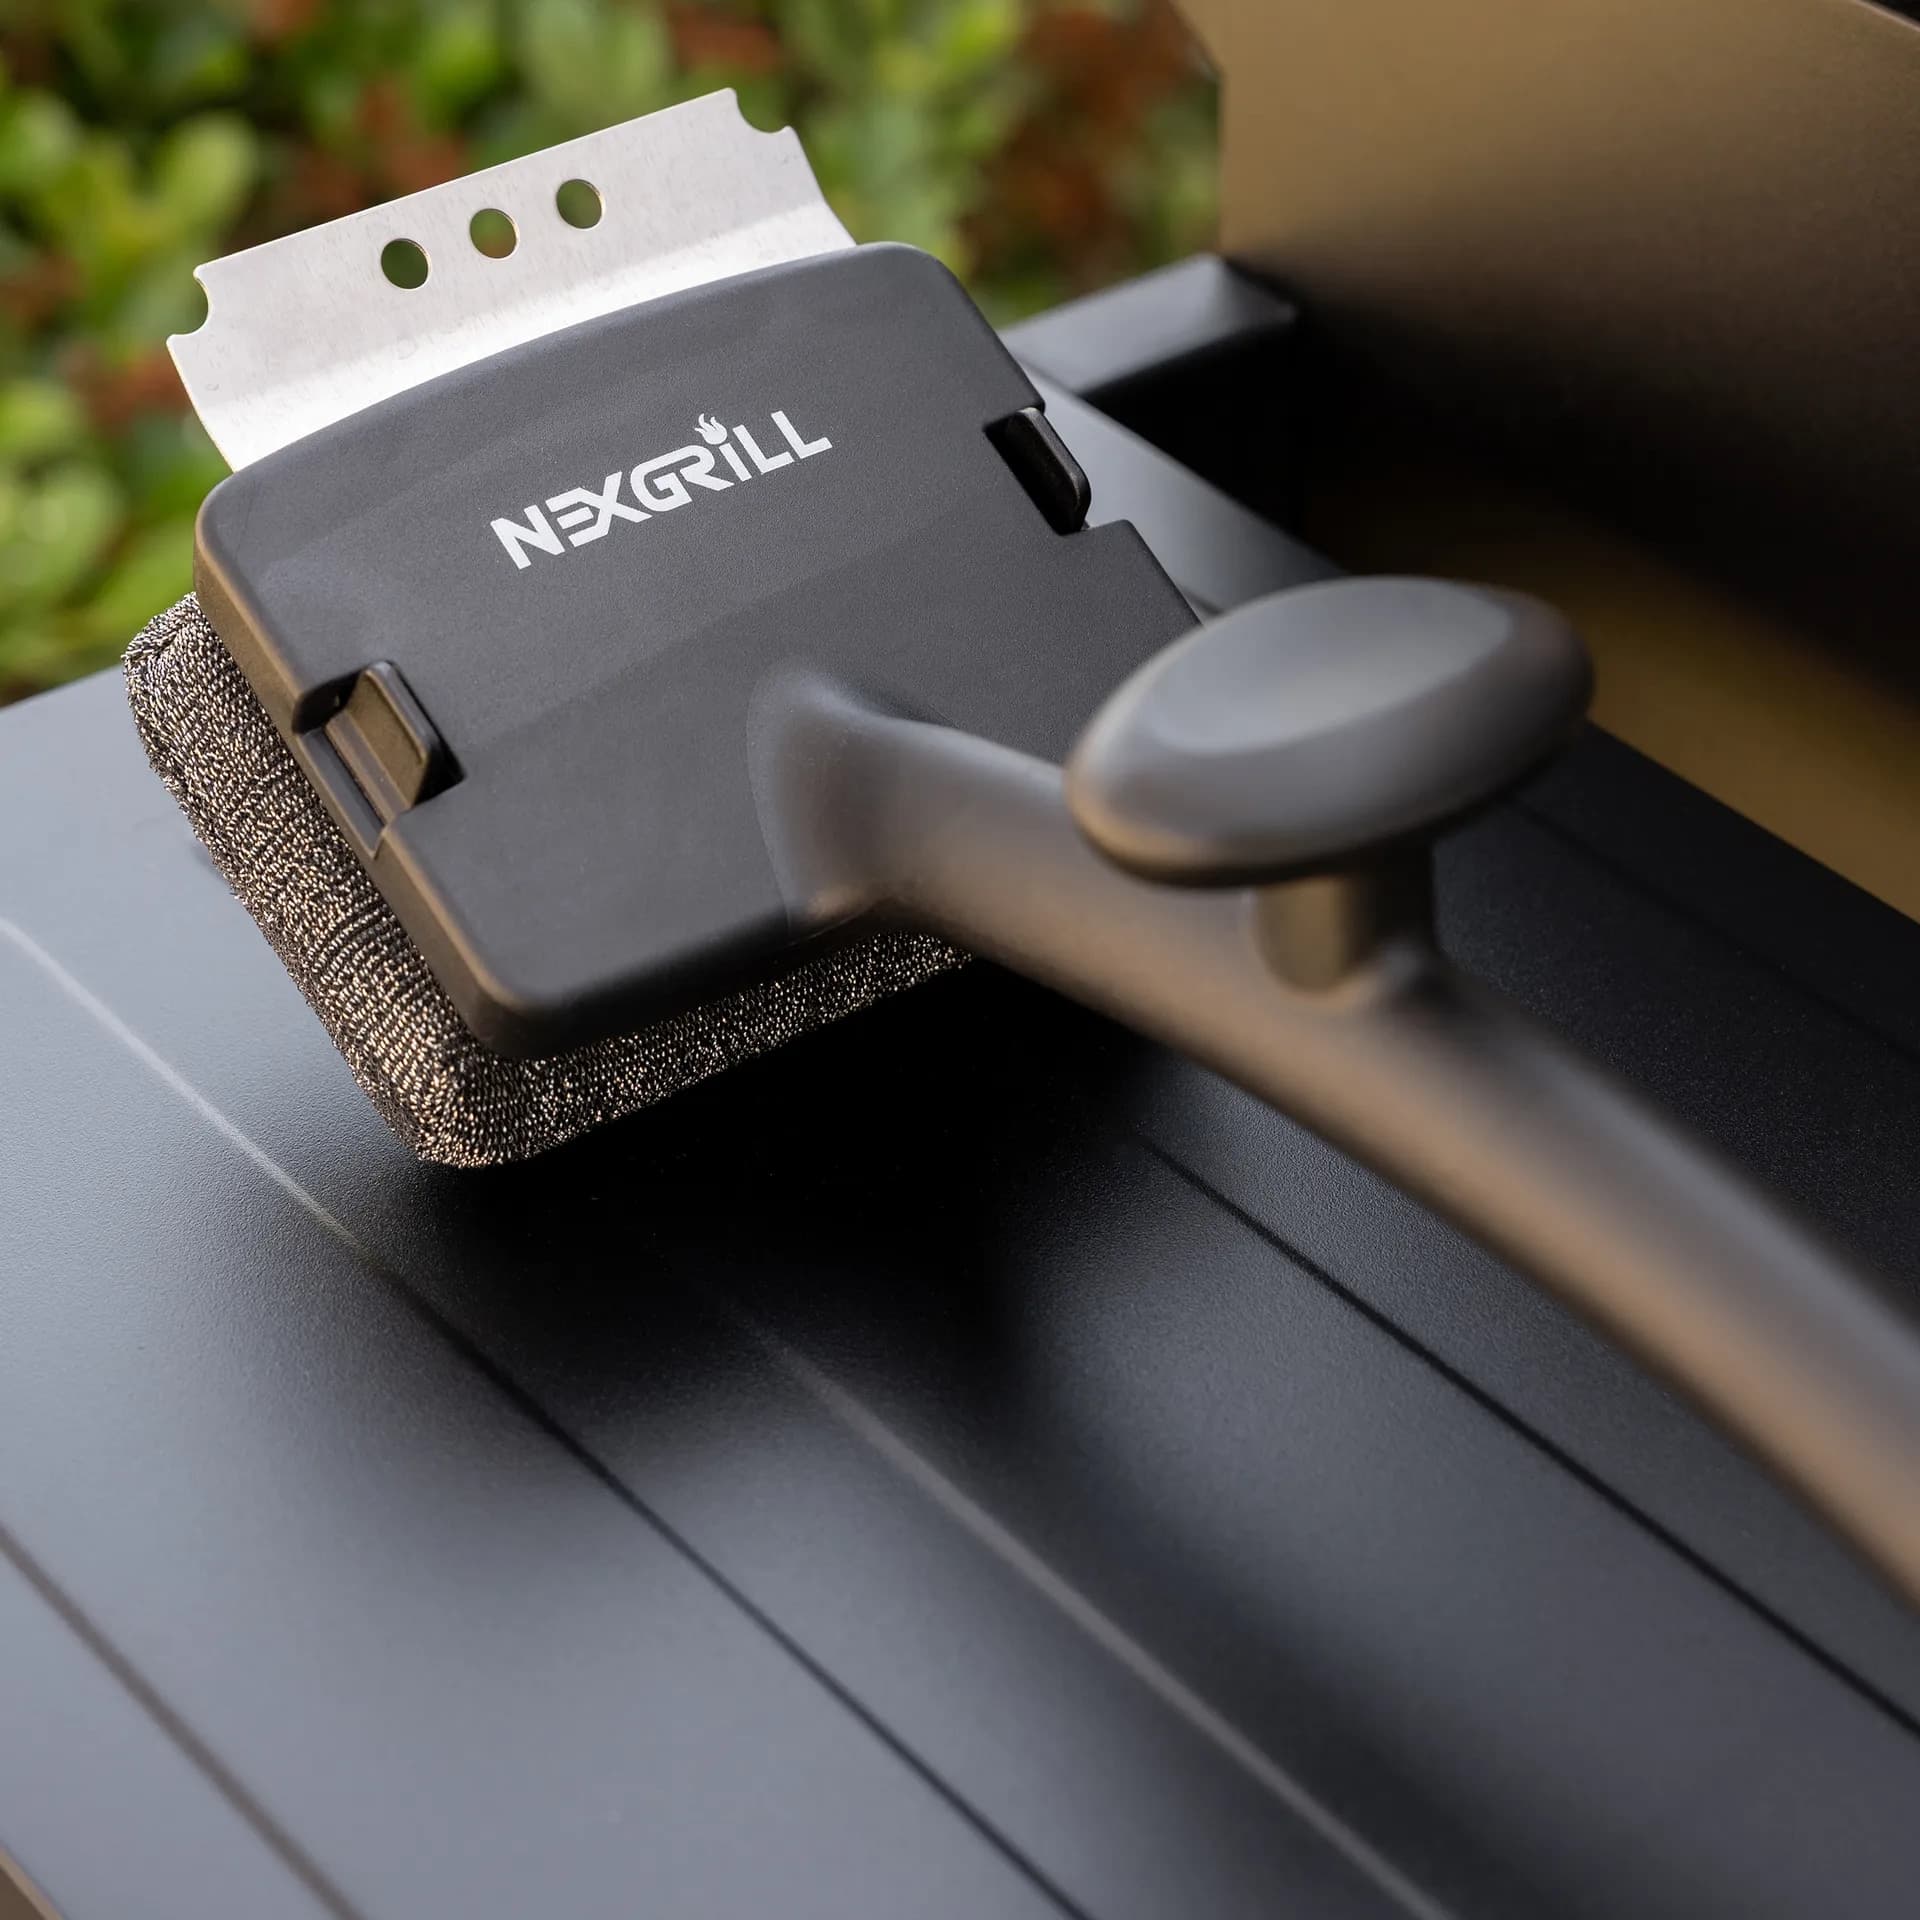
Before starting the installation process, gather all necessary tools. Most installations require basic tools such as a screwdriver, wrench, and a cleaning brush. Having these tools handy will ensure the process goes smoothly without interruptions.
- A Phillips or flathead screwdriver
- An adjustable wrench
- A wire brush or cleaning pad
- Replacement burner that matches your grill model
Additionally, ensure you have a stable work area and proper lighting to see the grill components clearly.
| Tool | Purpose |
|---|---|
| Screwdriver | Removing screws |
| Wrench | Loosening bolts |
| Wire Brush | Cleaning debris |
Step-by-Step Installation Process
1. Ensure Safety: Before starting, disconnect the grill from any power source or propane tank to prevent accidents.
2. Remove the Grill Grates: Lift the grill grates to access the burner tubes. Set them aside in a clean area.
3. Detach the Old Burners: Use a screwdriver to remove screws or clips holding the burners in place. Gently slide the burners out, being careful not to damage any connections.
Warning: Do not use excessive force when removing burners as this can damage the manifold or ignition system.
4. Clean the Area: Use a wire brush to clean any debris or grease buildup in the burner area. This ensures efficient burner performance and prevents flare-ups.
5. Install the New Burners: Slide the new burner into the designated slots, ensuring alignment with the gas valve and ignition system. Secure the burners with screws or clips.
6. Test the Installation: Reconnect the power or propane and test the burners by igniting the grill. Look for even flame distribution and adjust if necessary.
7. Replace the Grill Grates: Once satisfied with the installation, place the grill grates back in position.
By following these steps, you can ensure a safe and successful burner installation, enhancing your grilling experience.
Proper burner installation can improve grill efficiency by up to 30%.
Common Mistakes to Avoid
While installing grill burners is a straightforward task, there are common pitfalls that DIY enthusiasts should be aware of. Avoiding these mistakes can save time and prevent potential damage to your grill.
Firstly, always verify the compatibility of the new burner with your grill model. Using an incompatible burner can lead to poor performance and damage. Check the manufacturer's specifications or consult customer service if unsure.
Secondly, do not skip the cleaning process. Neglecting to clean the burner area can result in uneven heating and potential flare-ups. Regular maintenance prolongs the life of your grill.
Tip: Maintain a regular cleaning schedule to ensure optimal grill performance throughout the grilling season.
Choosing Replacement Burners
Selecting the right replacement burner involves understanding your specific grilling needs and the features of available burners. Here are some key considerations:
- Material: Choose between stainless steel, cast iron, and aluminized steel based on your durability requirements and budget.
- Size and Fit: Ensure the burner fits your grill model by checking measurements and mounting style.
- Heat Output: Consider the BTU rating to match your cooking style, whether it's high-heat grilling or slow cooking.
For those who frequently grill, investing in high-quality stainless steel burners can offer long-term savings through reduced replacement frequency and enhanced grilling performance.
Maintaining Grill Burners
To keep your grill burners functioning at their best, regular maintenance is key. After each grilling session, clean the burners to remove food particles and grease. This not only prevents blockages but also extends the life of your burners.
Periodic checks for rust or damage are essential. If a burner shows signs of wear, replacement is recommended to avoid compromising grilling efficiency.
| Maintenance Task | Frequency |
|---|---|
| Cleaning | After every use |
| Inspection | Monthly |
| Replacement | As needed |