Nexgrill Assembly Video Guide: Step-by-Step Instructions
A comprehensive guide to assembling your Nexgrill grill with video support.

In This Article
Overview of Nexgrill Models
Essential Tools for Assembly
Post-Assembly Safety Checks
Introduction to Nexgrill Models
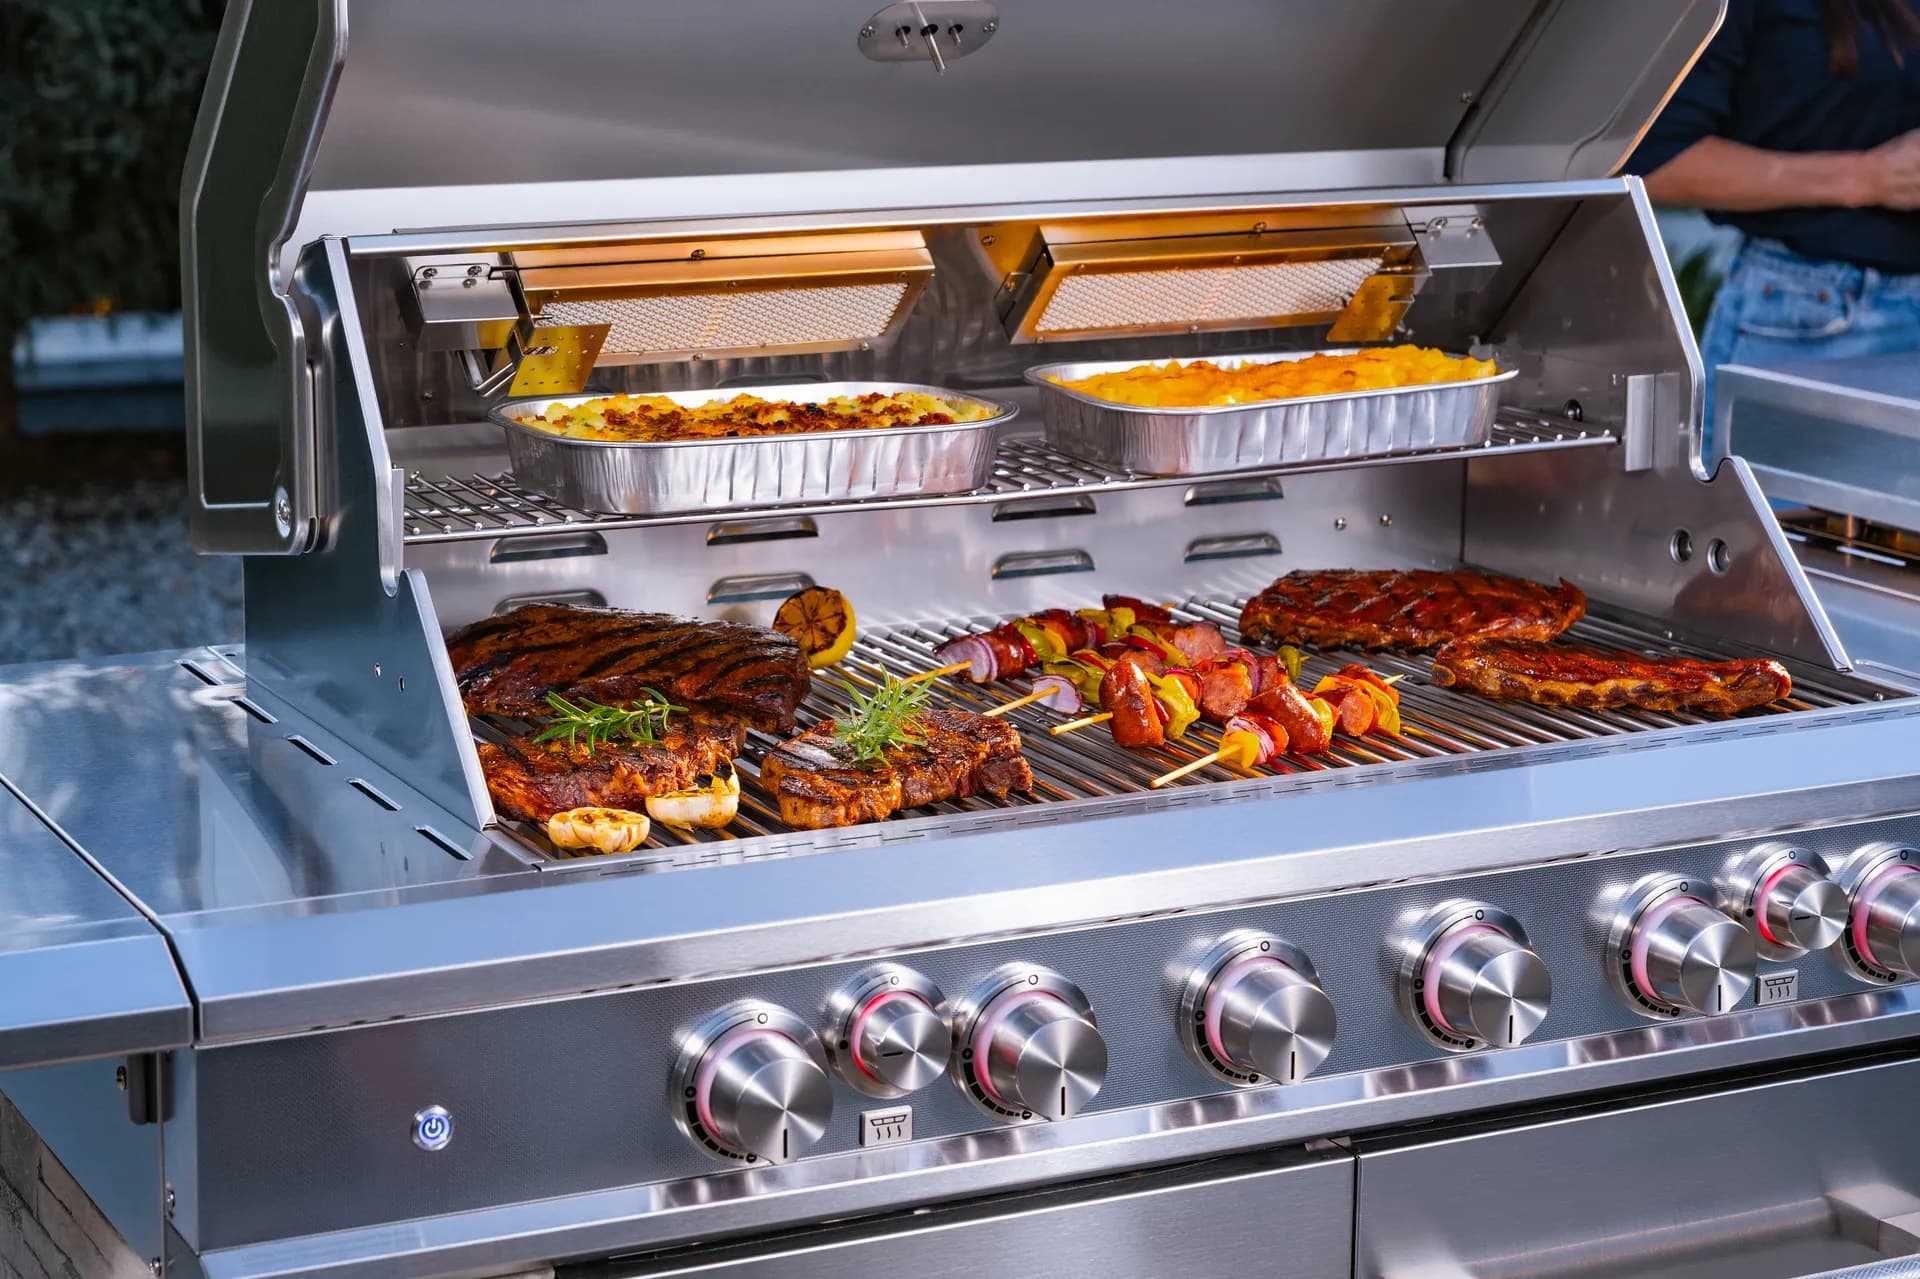
Nexgrill offers a diverse range of grills, from compact two-burner models to expansive five-burner variants, catering to both casual grillers and seasoned BBQ enthusiasts. Each model is designed with unique features to enhance your outdoor cooking experience. Understanding the specifics of each model can help you choose the right grill for your needs.
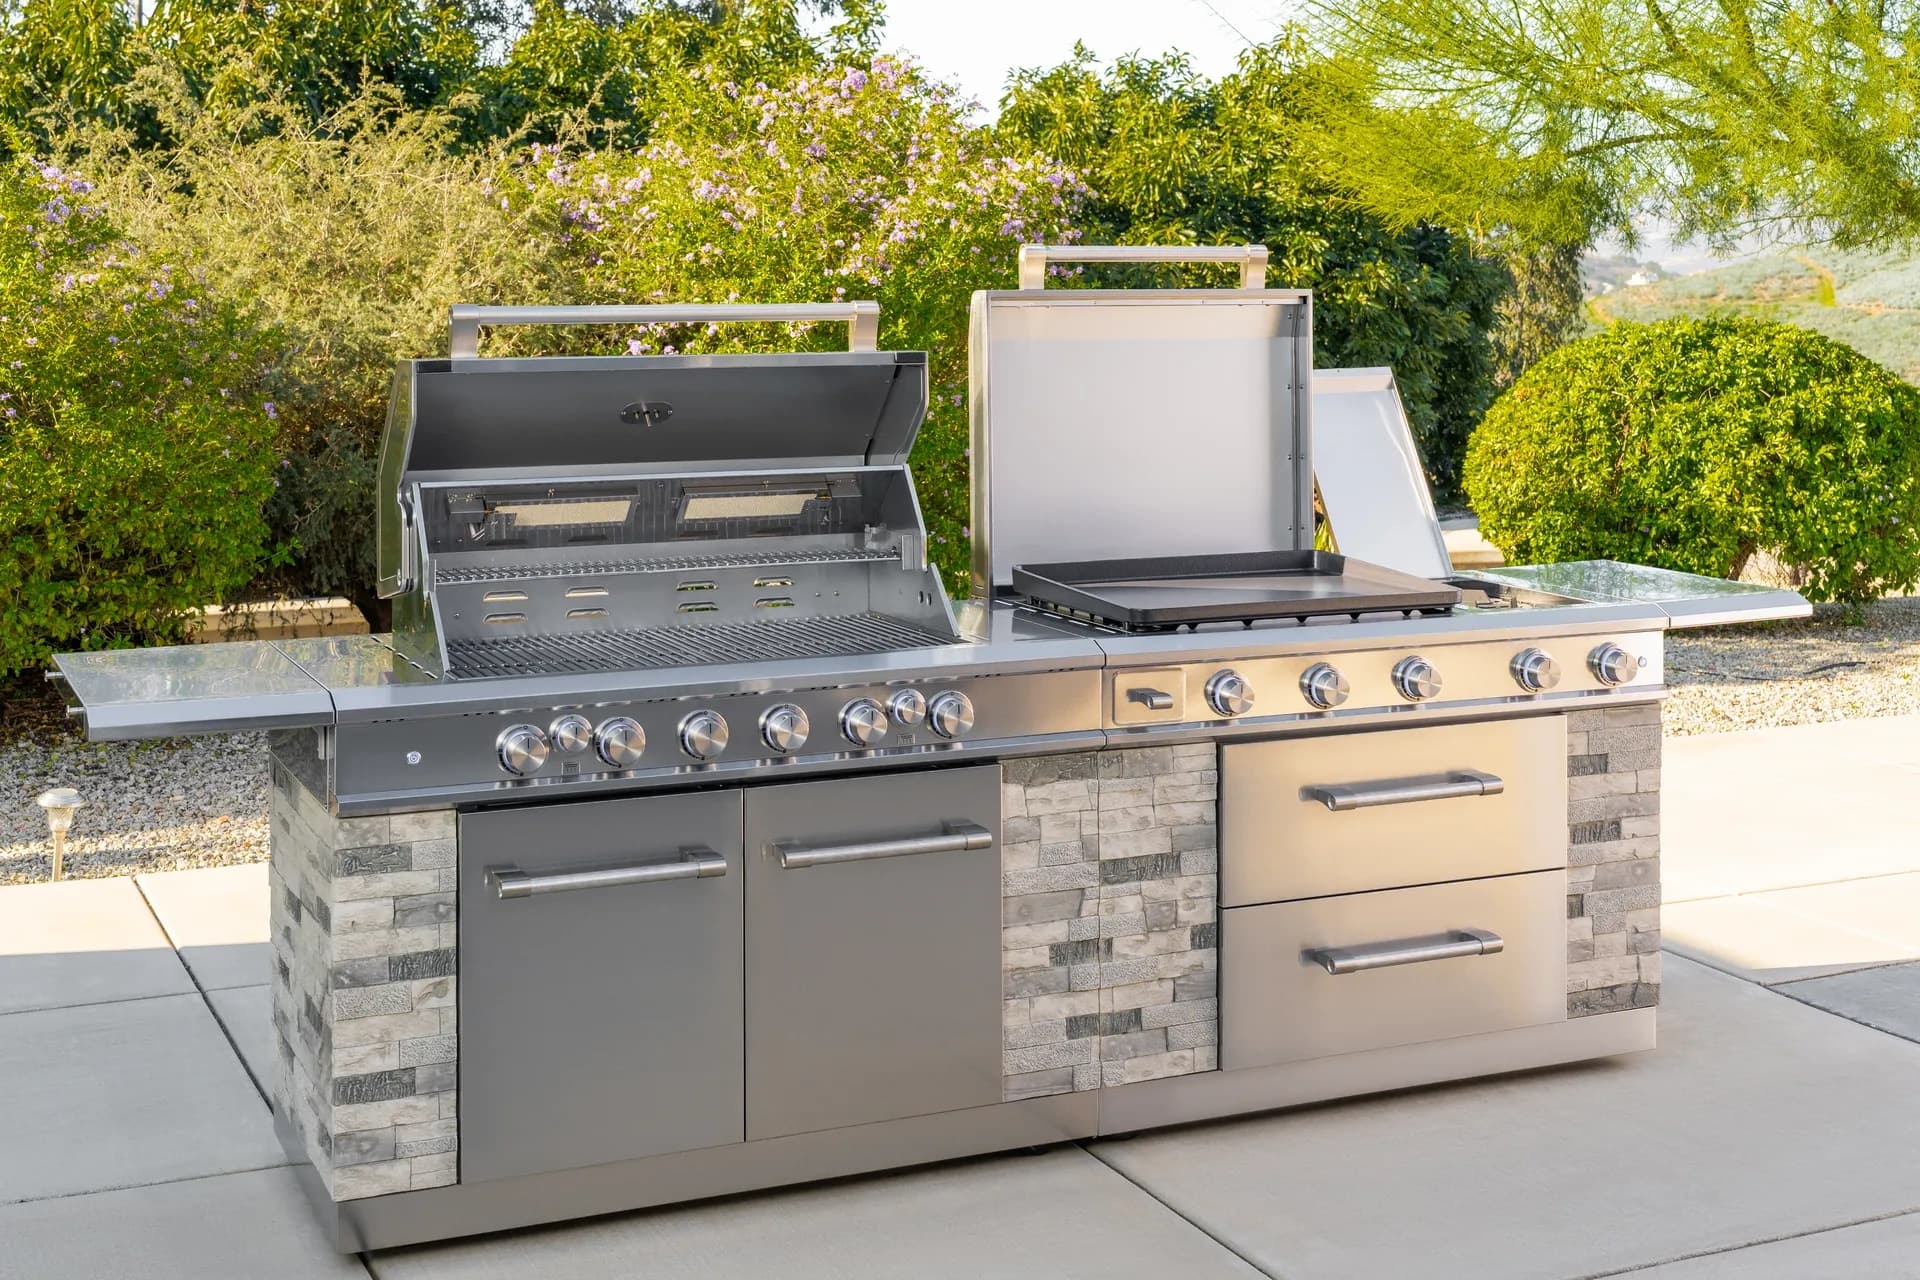
Nexgrill's lineup includes versatile options such as the 4-burner and 5-burner models, each offering distinct assembly requirements and features.
Preparation for Assembly
Before you begin assembling your Nexgrill, proper preparation is crucial. Ensure you have a spacious, clean area to work in, free from distractions and hazards. Lay out all parts and tools, and verify that you have all components needed for the assembly.
Tools Required for Assembly
To assemble your Nexgrill efficiently, you'll need some essential tools: a Phillips screwdriver, a wrench set, and a pair of pliers. Having these tools on hand will make the process smoother and prevent any unnecessary delays.
| Tool | Purpose |
|---|---|
| Phillips Screwdriver | For assembling screws and fasteners |
| Wrench Set | Tightening bolts |
| Pliers | Adjusting small components |
Safety Precautions to Consider
Safety is paramount during the assembly process. Always wear protective gloves to prevent cuts from sharp edges and ensure that your working area is well-lit. Avoid distractions and follow the assembly instructions carefully to avoid mishaps.
Ensure all parts are securely fastened to prevent any safety hazards during use.
Step-by-Step Assembly Instructions
Follow these detailed steps to assemble your Nexgrill:
- Unpack all components and lay them out on a flat surface.
- Attach the legs to the grill body using the screws provided.
- Secure the side shelves by aligning them with the pre-drilled holes and fastening with screws.
- Install the burners and connect them to the gas supply, ensuring all connections are tight.
- Place the cooking grates and warming rack inside the grill body.
Each step is crucial for ensuring the grill is stable and ready for use. Try comparing two products side by side below to see which fits best:
Post-Assembly Steps
Once your Nexgrill is assembled, it's important to perform several post-assembly tasks to ensure proper functionality. Check that all screws and connections are tight, and verify that the grill is stable on its legs.
Preparing Your Grill for First Use
Before lighting your grill for the first time, clean the cooking grates and remove any protective coatings. Preheat the grill on high for 15 minutes to burn off any residual manufacturing oils.
Safety Checks (Leak Tests)
Perform a leak test by applying a soap and water solution to gas connections. Turn on the gas supply and check for bubbles, indicating leaks. If bubbles form, turn off the gas and tighten connections before retesting.
Regularly perform leak tests to ensure safety and optimal grill performance.
Common Assembly Challenges and Solutions
Some common challenges during assembly include misaligned parts and missing screws. To avoid these issues, carefully follow the instruction manual and organize all parts before starting. If a part is missing, contact customer support immediately.
FAQs About Assembly and First Use
How long does it take to assemble a Nexgrill? Depending on the model, assembly can take between 1 to 3 hours. Having an extra pair of hands can expedite the process.
What maintenance steps should be followed after assembly? Regularly clean the grates and burners to ensure efficient cooking. Cover the grill when not in use to protect it from the elements.