Nexgrill Gourmet Pro 5-Burner Assembly: Two-Person Build Plan and First-Fire Checks
A subsystem-by-subsystem build plan for a 5-burner cart grill with side burner and cabinet - where the extra hours go, how to lift the firebox without tweaking the venturis, and what to verify before the first cook.
In This Article
Subsystem Build Order
Two-Person Lift Plan
First-Fire Matrix
It's Saturday Morning and the Box Is on the Driveway: How to Plan a 5-Burner Gourmet Pro Build
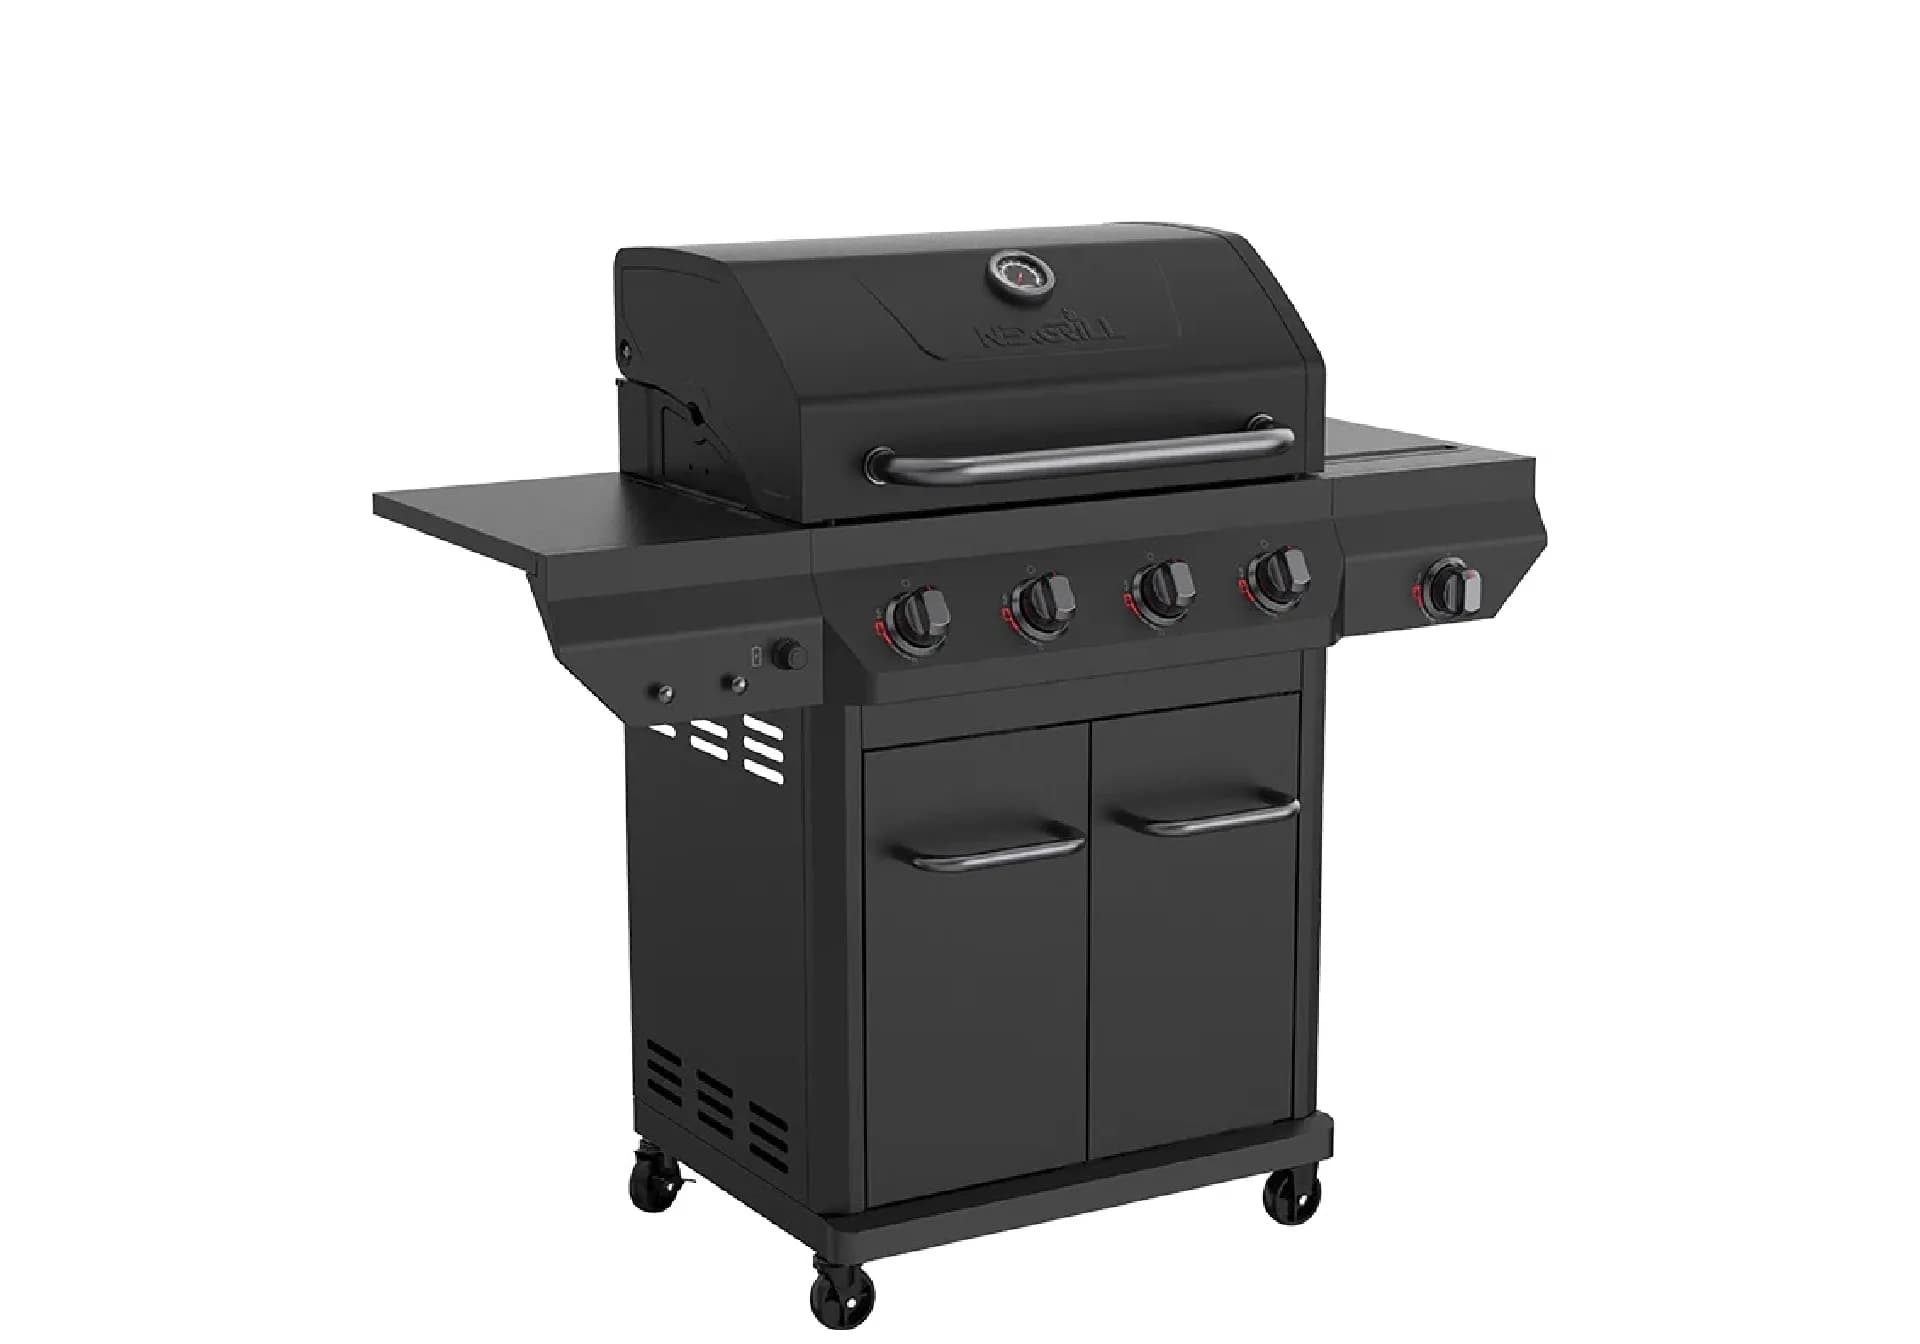
You've cleared a two-and-a-half-hour window, recruited a helper, and dragged the carton off the truck. Before you slit the tape, confirm the exact model on the rating plate inside the cabinet door or on the rear panel. The Gourmet Pro name covers several 5-burner cart grills in Nexgrill's lineup, and the manual page and exploded view must match that plate. With the right book open, this build is a sequence of five subsystems-cart, side burner, firebox, lid, gas supply-each with its own hardware bag.
Why a 5-Burner Cart Grill With Side Burner Takes Longer Than Smaller Builds
A 5-burner grill with a side burner and enclosed cabinet has roughly twice the part count of a 2-burner open cart. The cabinet alone adds side panels, a back panel, a door frame, two doors, and a base shelf-each with its own fasteners. The side burner introduces a separate valve, a dedicated gas line, and a lid that must align with the main lid. Expect 2-3 hours for a careful two-person build: unbox and inspect 20-30 minutes, cart 30-40, side burner 15-20, firebox 20-30, lid and warming rack 15-20, leak test and first light 20-30.
What to Have Ready Before the Tape Comes Off
Tools: a #2 Phillips screwdriver, a small flathead for prying clip nuts, a 7/16-inch or adjustable spanner for the regulator hose, a 3/8-inch or 10 mm socket and ratchet for the firebox-to-cart bolts, work gloves, a box cutter, two moving blankets or flattened cartons, and a torch or phone light for peering into cabinet corners. You'll also want a fresh propane tank of the correct size and a spray bottle of soapy water.
Propane is heavier than air and pools at ground level. Never leak-test with a flame-always use soapy water at every joint. For background on LP cylinder handling, see NFPA 58; for general outdoor grilling safety, the CPSC's grilling page is a solid reference.
Phase 1: Unbox, Inspect, and Build a Per-Subsystem Parts Manifest
Lay every part on the blankets and group by subsystem-not by bag colour. Photograph each group. Count the hardware against the manual's parts list and note any missing pieces before you start. This 20-minute step is your insurance against discovering a missing door hinge after the firebox is bolted on.
Phase 2: Assemble the Cabinet Cart, Casters, and Door Frames First
Build the cart upside down on the blanket. Attach casters-locking casters at the front, fixed at the rear unless the manual says otherwise-then the base shelf, side panels, and back panel. Leave the door frames loose until the firebox is seated, because the cabinet can shift slightly under load. Snug, don't torque, every bolt until the end.
Phase 3: Mount the Side Burner and Route Its Valve Line Before the Firebox Goes On
With the cart upright, bolt the side burner shelf to the left or right side panel as the manual directs. Feed the side burner valve line through the cart's routing hole and connect it to the manifold-leave the fitting hand-tight for now. Keep the line away from any surface that will get hot; if it touches the firebox wall, re-route it. Then attach the side burner body and its lid.
Phase 4: Land the Firebox Without Disturbing the Venturi Alignment
This is the two-person step. With the firebox still on the blanket, slide it to the cart edge. One person lifts the front, the other the rear, and you set it down together onto the cart rails. Before tightening any bolts, look underneath: each burner tube must sit fully over its valve orifice. A tube pushed back even a few millimetres produces weak or yellow flames later. Once aligned, install the firebox-to-cart bolts finger-tight, check alignment again, then torque.
Phase 5: Lid, Warming Rack, and the Alignment Points Unique to a Cabinet Grill
Mount the lid hinges to the firebox, then attach the lid and handle. Fit the warming rack into its brackets. On a cabinet grill, the lid and door gaps are visible together, so adjust the hinge shims until the lid sits flush. Now tighten the door frames and check that both doors close evenly-this is the last chance to adjust before the gas is connected.
Once the Firebox Is Seated: What Still Needs Doing Before First Light
Regardless of which Gourmet Pro SKU you're building, the final sequence is the same: connect the regulator, leak-test every joint, verify ignition on all six burners (five main plus side), and confirm the cabinet doors and lid align. The order matters-leak testing before first light means you'll never have to shut down a lit grill to chase a leak.
First-Fire Verification: What Each of the Five Burners Should Look Like at Low, Medium, and High
Light each burner individually and watch the flame. At low, you want a steady blue flame with a faint yellow tip. At medium, the flame should grow evenly along the burner tube. At high, it should be brisk but still mostly blue-yellow or lifting flames indicate a venturi or orifice issue. Repeat for the side burner. Use the matrix below as a checklist.
| Burner | Low | Medium | High |
|---|---|---|---|
| Main 1-5 | Steady blue, slight yellow tip | Even growth, blue core | Brisk, mostly blue, no lift |
| Side burner | Small blue ring | Full ring, blue | Strong blue, no yellow |
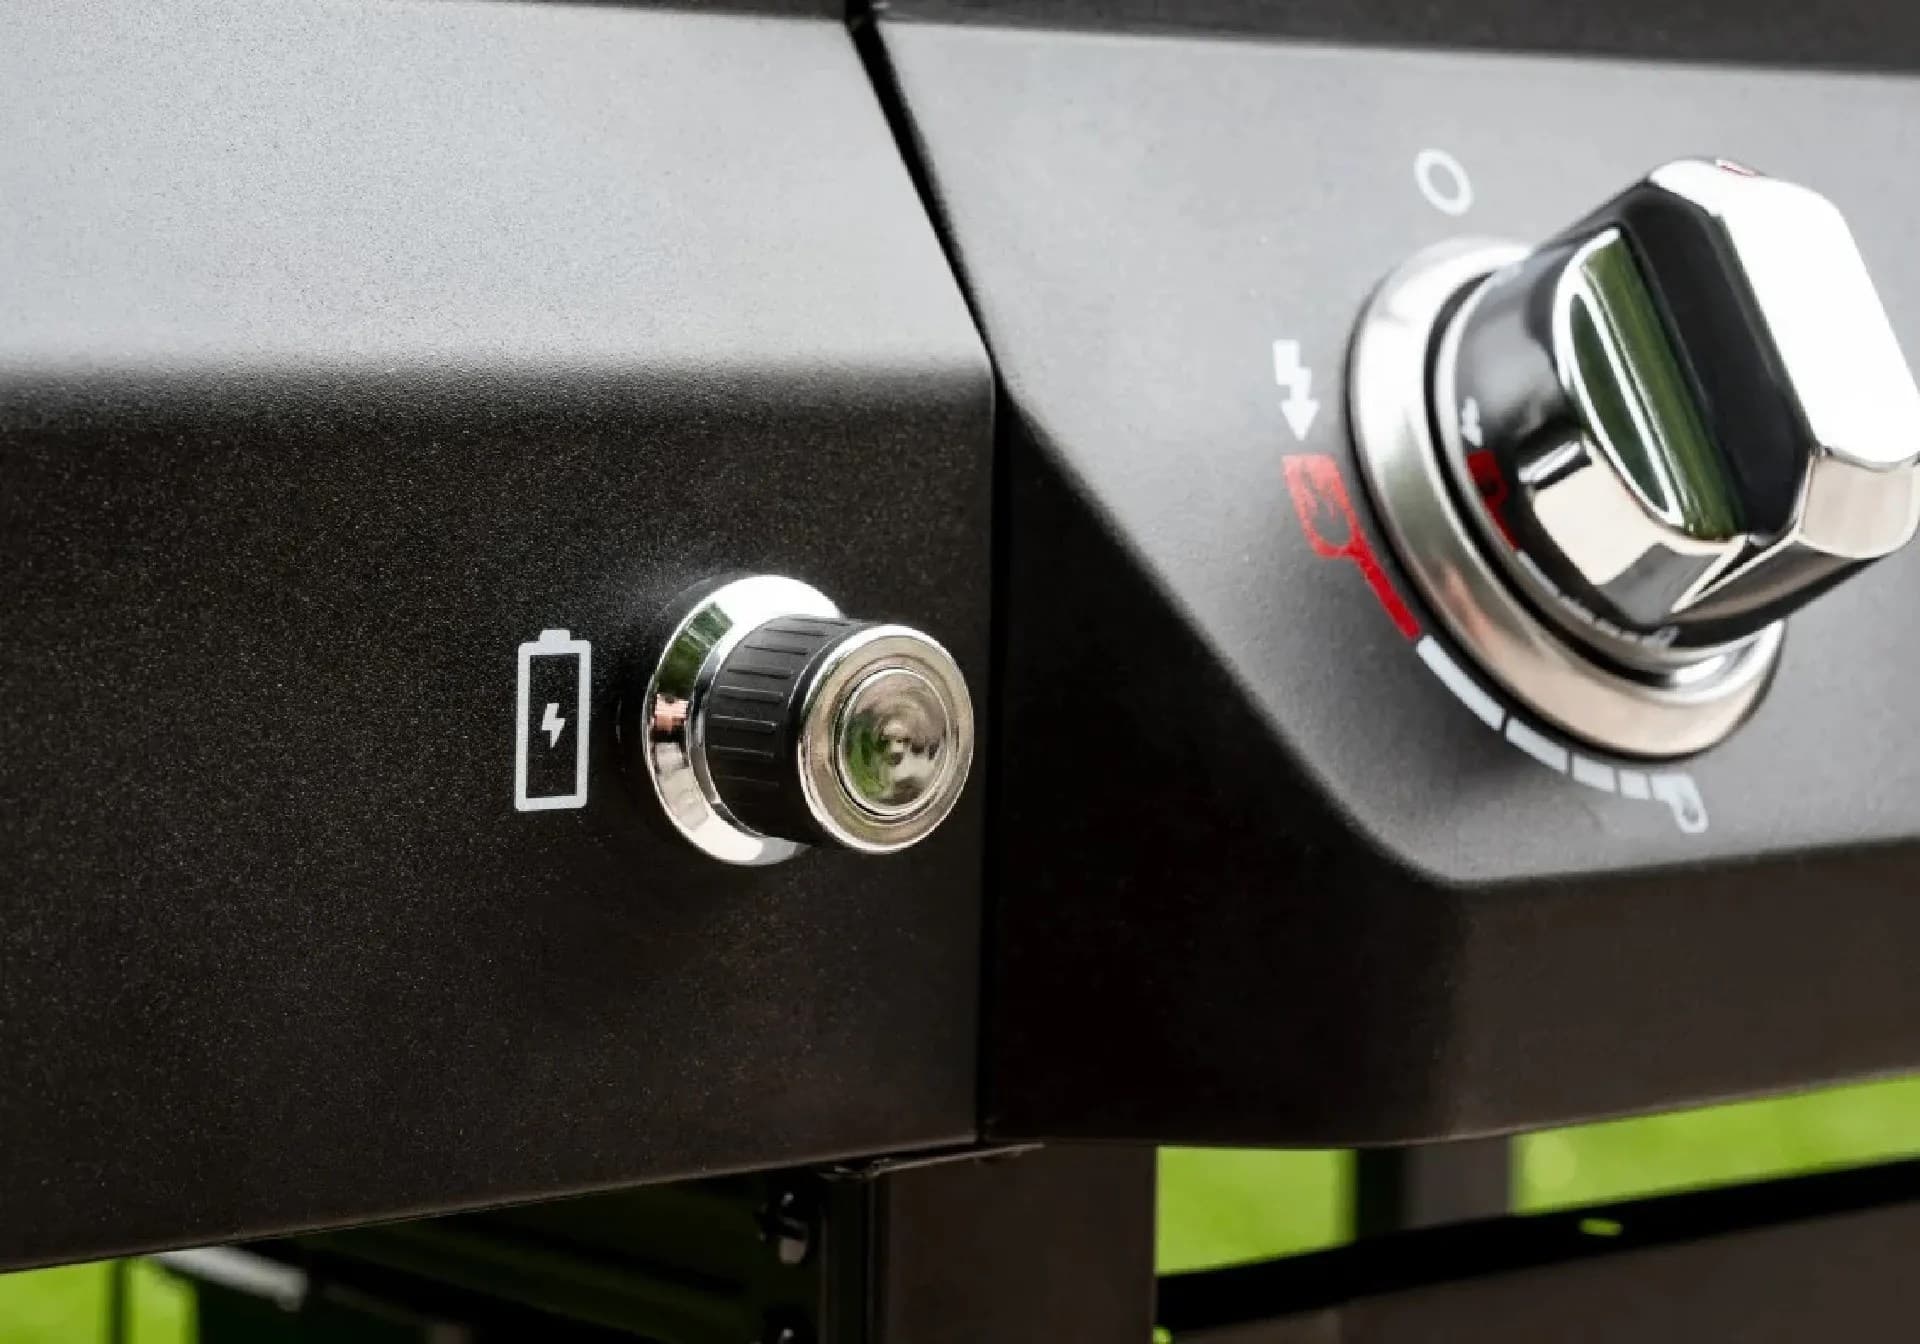
If a flame is weak or yellow, turn off the gas, let it cool, and re-seat that burner tube over its orifice. Also check the ignition collector wire-if it's pinched against the firebox edge, the spark will be weak or intermittent.
Leak Testing Every Joint on the Regulator, Hose, and Manifold Without a Flame
Connect the regulator to a fresh tank, hand-tighten, then snug with the 7/16-inch spanner-do not cross-thread. Brush soapy water on the tank-to-regulator connection, the hose-to-manifold joint, and every manifold-to-valve fitting. Open the tank valve slowly. Bubbles mean a leak: tighten, re-test. No bubbles means you're clear to light.
Cabinet Door and Lid Alignment: Fixing the Most Common Post-Build Complaint
Doors that rub or lids that don't sit flush usually stem from loose frame bolts or hinge shims installed backwards. Loosen the frame bolts, push the cabinet square, and re-tighten. For the lid, adjust the hinge shims until the gap is even. The warming rack should drop in without force-if it doesn't, the firebox may be slightly twisted on the cart; loosen the firebox bolts, re-level, and re-tighten.
Tip: After the first cook, re-check every bolt you torqued. Heat cycling can loosen them slightly-a quick pass with the socket wrench prevents rattles and misalignment down the road.
Where the Build Goes Wrong: Mistakes That Fail a First-Attempt Inspection
Watch for these: a cross-threaded regulator nut (it will leak); a burner tube not fully seated (weak or yellow flames); an ignition collector wire pinched against the firebox edge (no spark); missing lid-stop hardware (the lid can over-travel and damage the hinge); the side burner gas line routed against a hot surface (melt risk); and casters left locked during the firebox lift (the cart can tip).
Pre-Cook Checklist: Ten Things to Confirm Before the Burners Stay On
1. All burner tubes seated over orifices. 2. Every gas joint soap-tested with no bubbles. 3. Regulator nut snug, not cross-threaded. 4. Ignition sparks on all six burners. 5. Flame colour blue at low, medium, and high. 6. Lid closes flush and stop hardware installed. 7. Cabinet doors aligned and latched. 8. Side burner line clear of hot surfaces. 9. Casters unlocked and grill level. 10. Manual stored in the cabinet for future reference.
For the exact manual PDF and model-specific support, visit Nexgrill's Contact page. You can also explore the full product lineup or learn more about Nexgrill.