Nexgrill Gourmet Pro 4-Burner Assembly: ID Your Unit First, Then Build It Once
A pre-flight-to-first-fire build guide for the 4-burner cart grill with infrared side burner - including the five teardown traps that cost the most time.

In This Article
Identify Before You Build
Valve Line Before Firebox
Leak Test, Then Cook
The 'Gourmet Pro' Name Problem: Pin Down Your 4-Burner in Under Two Minutes
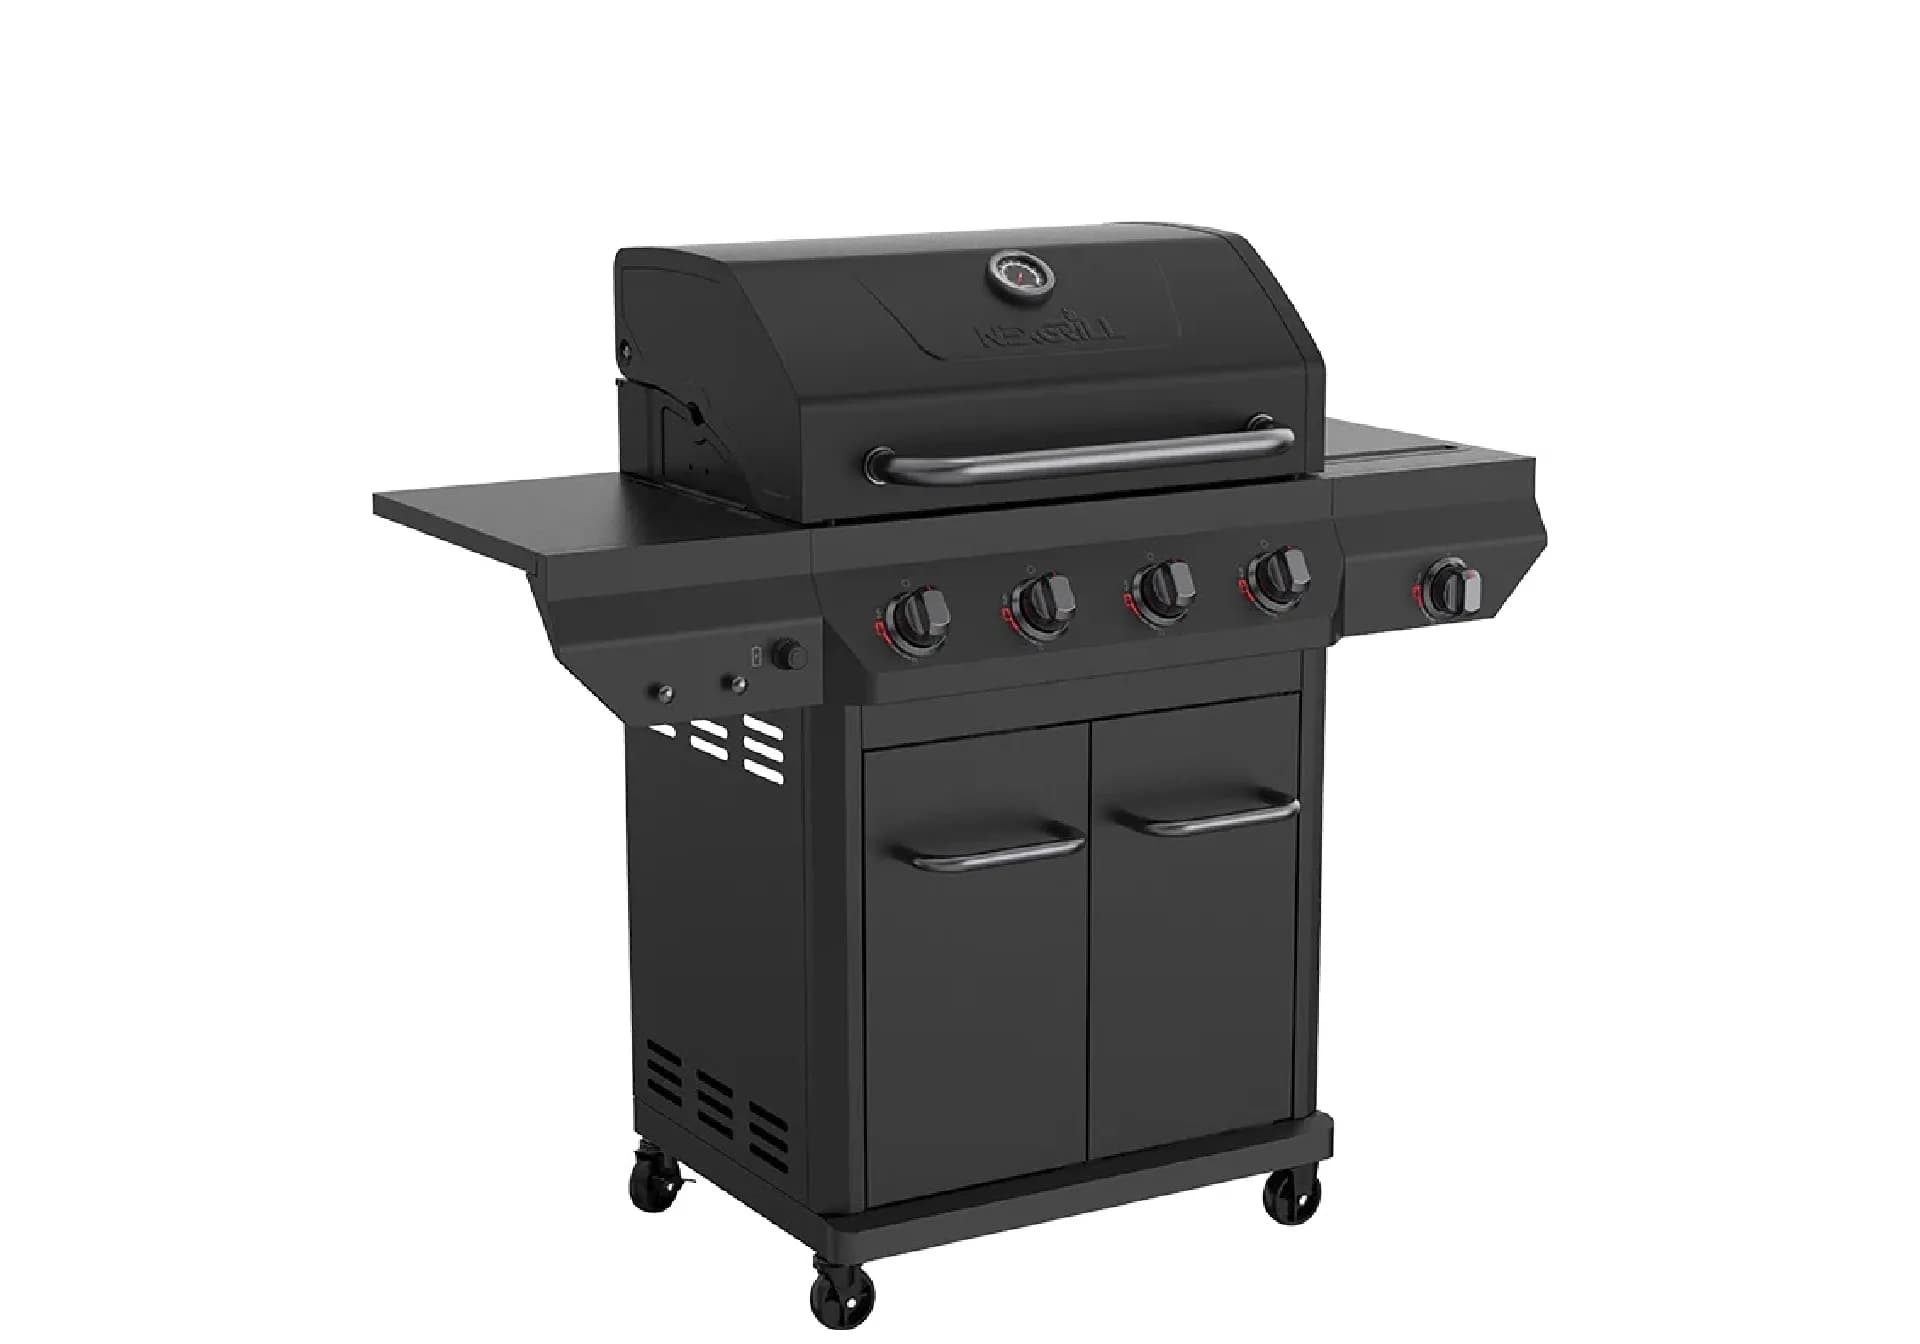
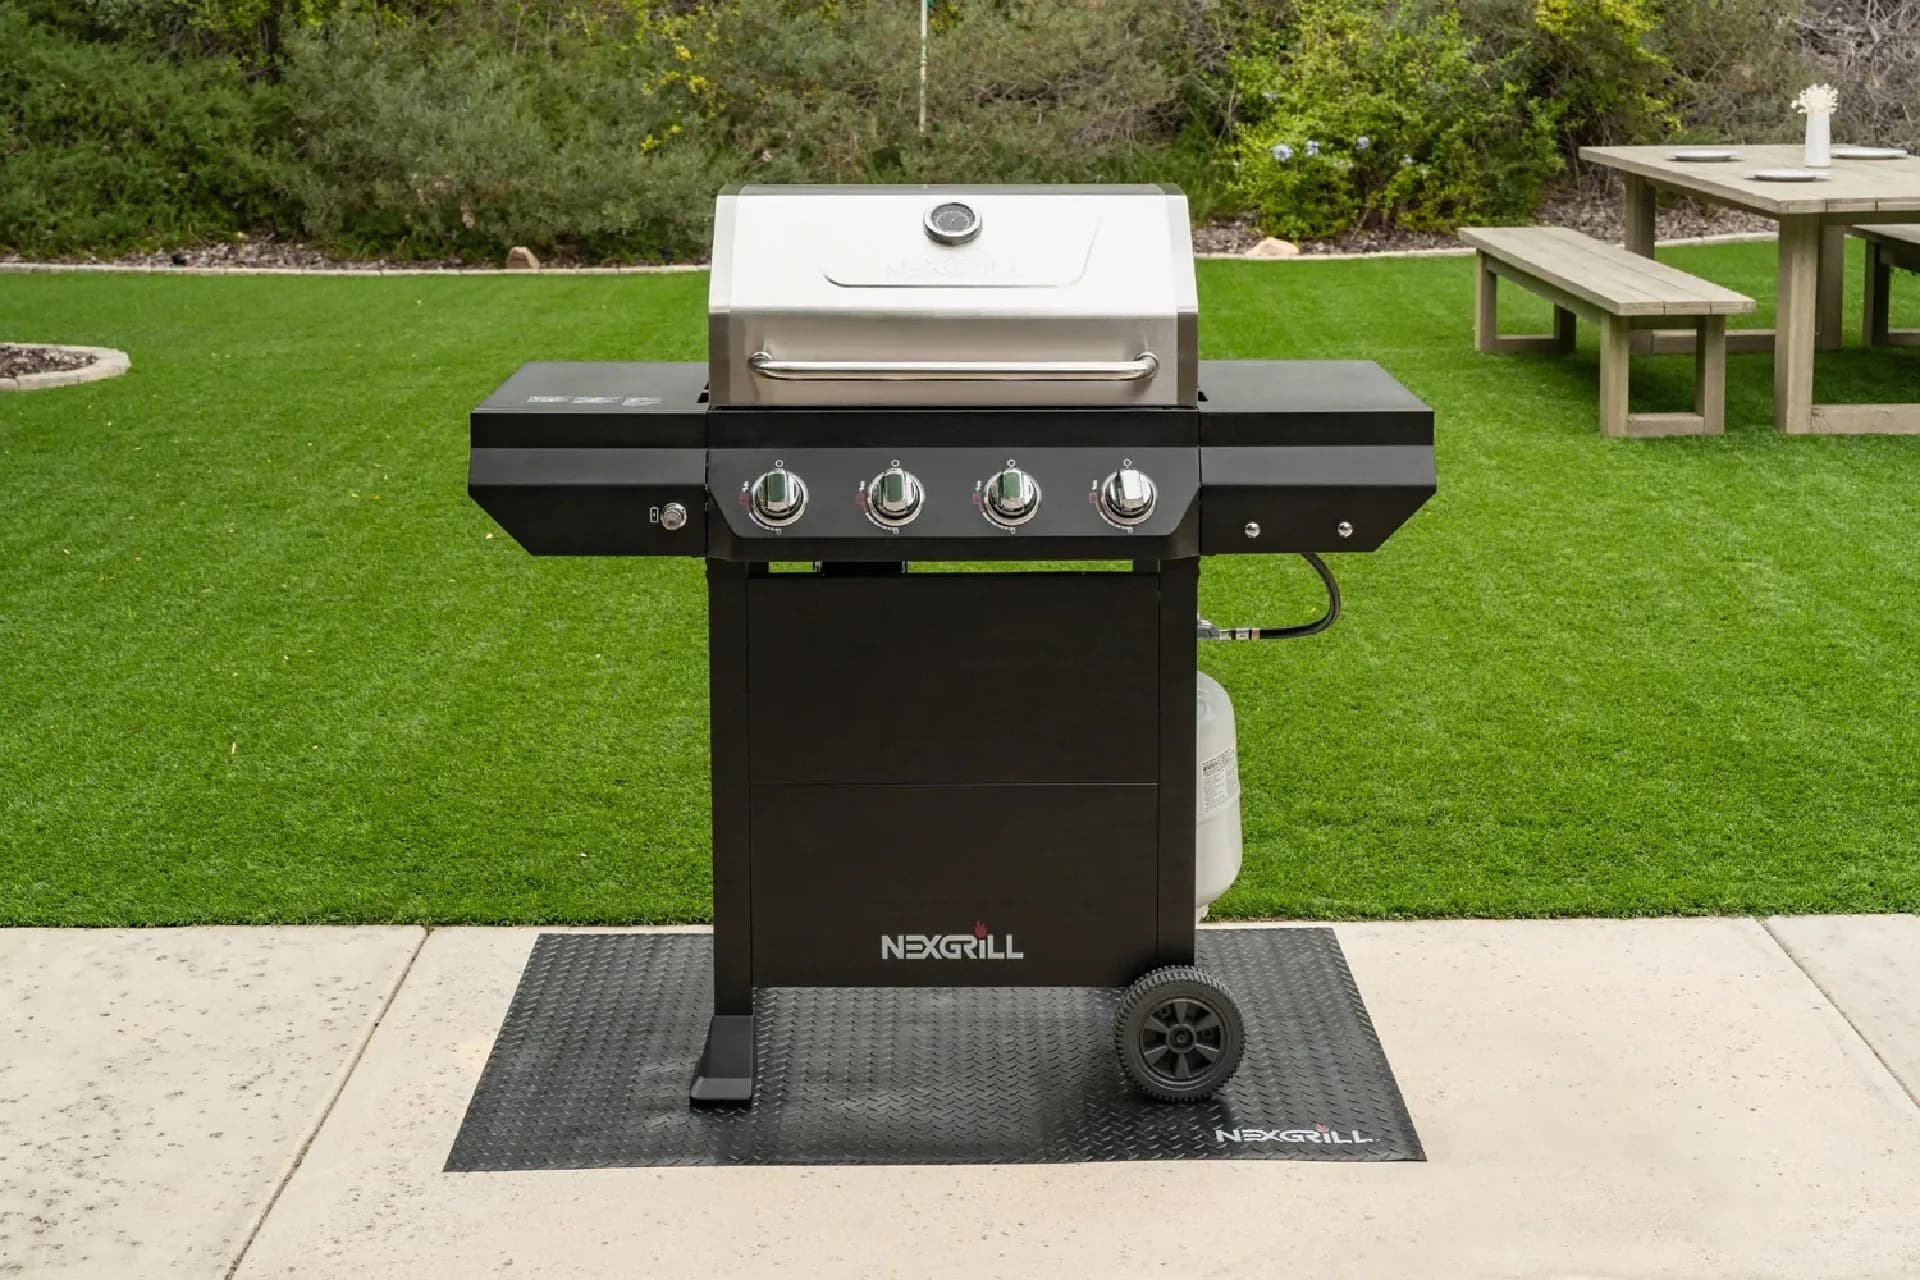
Before you turn a single bolt, walk to the back of the firebox and find the rating plate. It's usually a silver sticker near the rear right leg or on the lower firebox panel. Write down four fields exactly as printed: model number, serial number, total BTU, and gas type. If your number starts with 720- or 820-, you have a legacy Gourmet or Gourmet Pro unit sold through Home Depot in the 2010s - the infrared side burner is the giveaway. If the plate shows a current main-line model (like the 4-Burner Propane Gas Grill in Black with stainless lid), follow that manual instead. And if there's no manual and no plate, photograph every connection and search the model number on Nexgrill's support pages. This two-minute check prevents the most expensive mistake: building to the wrong diagram.
On legacy Gourmet Pro 4-burner units, main burners typically total 40,000-60,000 BTU and the infrared side burner adds 10,000-12,000 BTU. Verify against your plate - do not assume.
What to Lay Out Before the Tape Comes Off (and the One Tool the Carton Doesn't Include)
A flat, clean surface - a patio or garage floor covered with the flattened carton - is your build pad. Have two adjustable wrenches or a 7/16-inch and 1/2-inch combination set, a Phillips #2 screwdriver, a magnetic parts tray, and a box cutter. The carton omits a magnetic tray, which is the single most useful addition: it holds screws by callout number and stops the 'where did that washer go' delay that adds 15 minutes.
Step 1: Sort Hardware by the Manual's Callout Numbers, Not Bag Colour
Open every hardware bag and sort into compartments by the letter or number printed in the manual's parts list. Bag colours vary between production runs - callout numbers don't. This step takes 10 minutes and saves a mid-build scramble.
Step 2: Build the Cart and Confirm Front/Back Before It Gets Heavy
Assemble the cart frame, legs, and casters while it's light and upside-down on the cardboard. Before flipping it upright, check that the front panel and shelf brackets face the same way as the manual diagram. A reversed cart means every later step fights you. Leave casters loose until the frame is square, then tighten. This is a two-person lift for the firebox later - roughly 30-50 lb - so plan for a helper.
Step 3: Seat the Four Burner Tubes Over the Valve Orifices - the Infrared Side Burner Is the Trick Part
Lower the firebox onto the cart with two people. Before you bolt it down, route the infrared side burner's valve and orifice line first. On Gourmet Pro units, mounting the side burner after the firebox is the number-one cause of teardown: the line can't reach and the firebox has to come back off. Then seat each burner tube so the venturi opening fully covers its orifice - no gap, no forcing. Snug the tube screws; over-torquing distorts the tube off-centre.
Step 4: Route the Ignition Collector Wire Off the Firebox Edge
The ignition collector wire must run clear of the firebox lip and any heat path. Zip-tying it to the edge is a common shortcut that melts the insulation on first fire. Clip it to the frame rail instead, with slack for lid movement.
When you have two candidate grills side by side, compare them below to see which build and feature set fits your patio:
Once You've Weighed Two Grills, Here's What Changes the Build and the First Cook
A 4-burner cart grill with side burner is a 90-120 minute build for two people, or 2.5-3 hours solo. The difference isn't the bolt count - it's the sequence. The table below maps the likely Gourmet Pro scenarios to the right manual route.
| Your Situation | Model Plate Clue | Manual Route |
|---|---|---|
| Legacy Gourmet/Gourmet Pro | 720-xxxx or 820-xxxx, infrared side burner | Search the exact number on Nexgrill support or the retailer product page |
| Current main-line 4-burner | Current SKU on the plate, standard side burner | Use the manual shipped in the carton |
| Secondhand, no manual | Plate intact but box gone | Contact Nexgrill with the model and serial; request a PDF or parts list |
Five Rework Traps That Force a Teardown
- Mounting the side burner after the firebox - the valve line won't reach.
- Over-torquing burner tube screws and distorting the venturi off the orifice.
- Zip-tying the ignition wire to the firebox lip where heat melts it.
- Fitting casters before flipping the cart, cracking the leg weld.
- Skipping the regulator-to-manifold soap test because it 'looked tight.'
If you hear a hiss at first light or smell gas, close the valve immediately. A soap test is not optional.
First-Fire Checklist: Leak Test, Burn-Off, and What 'Normal' Looks Like
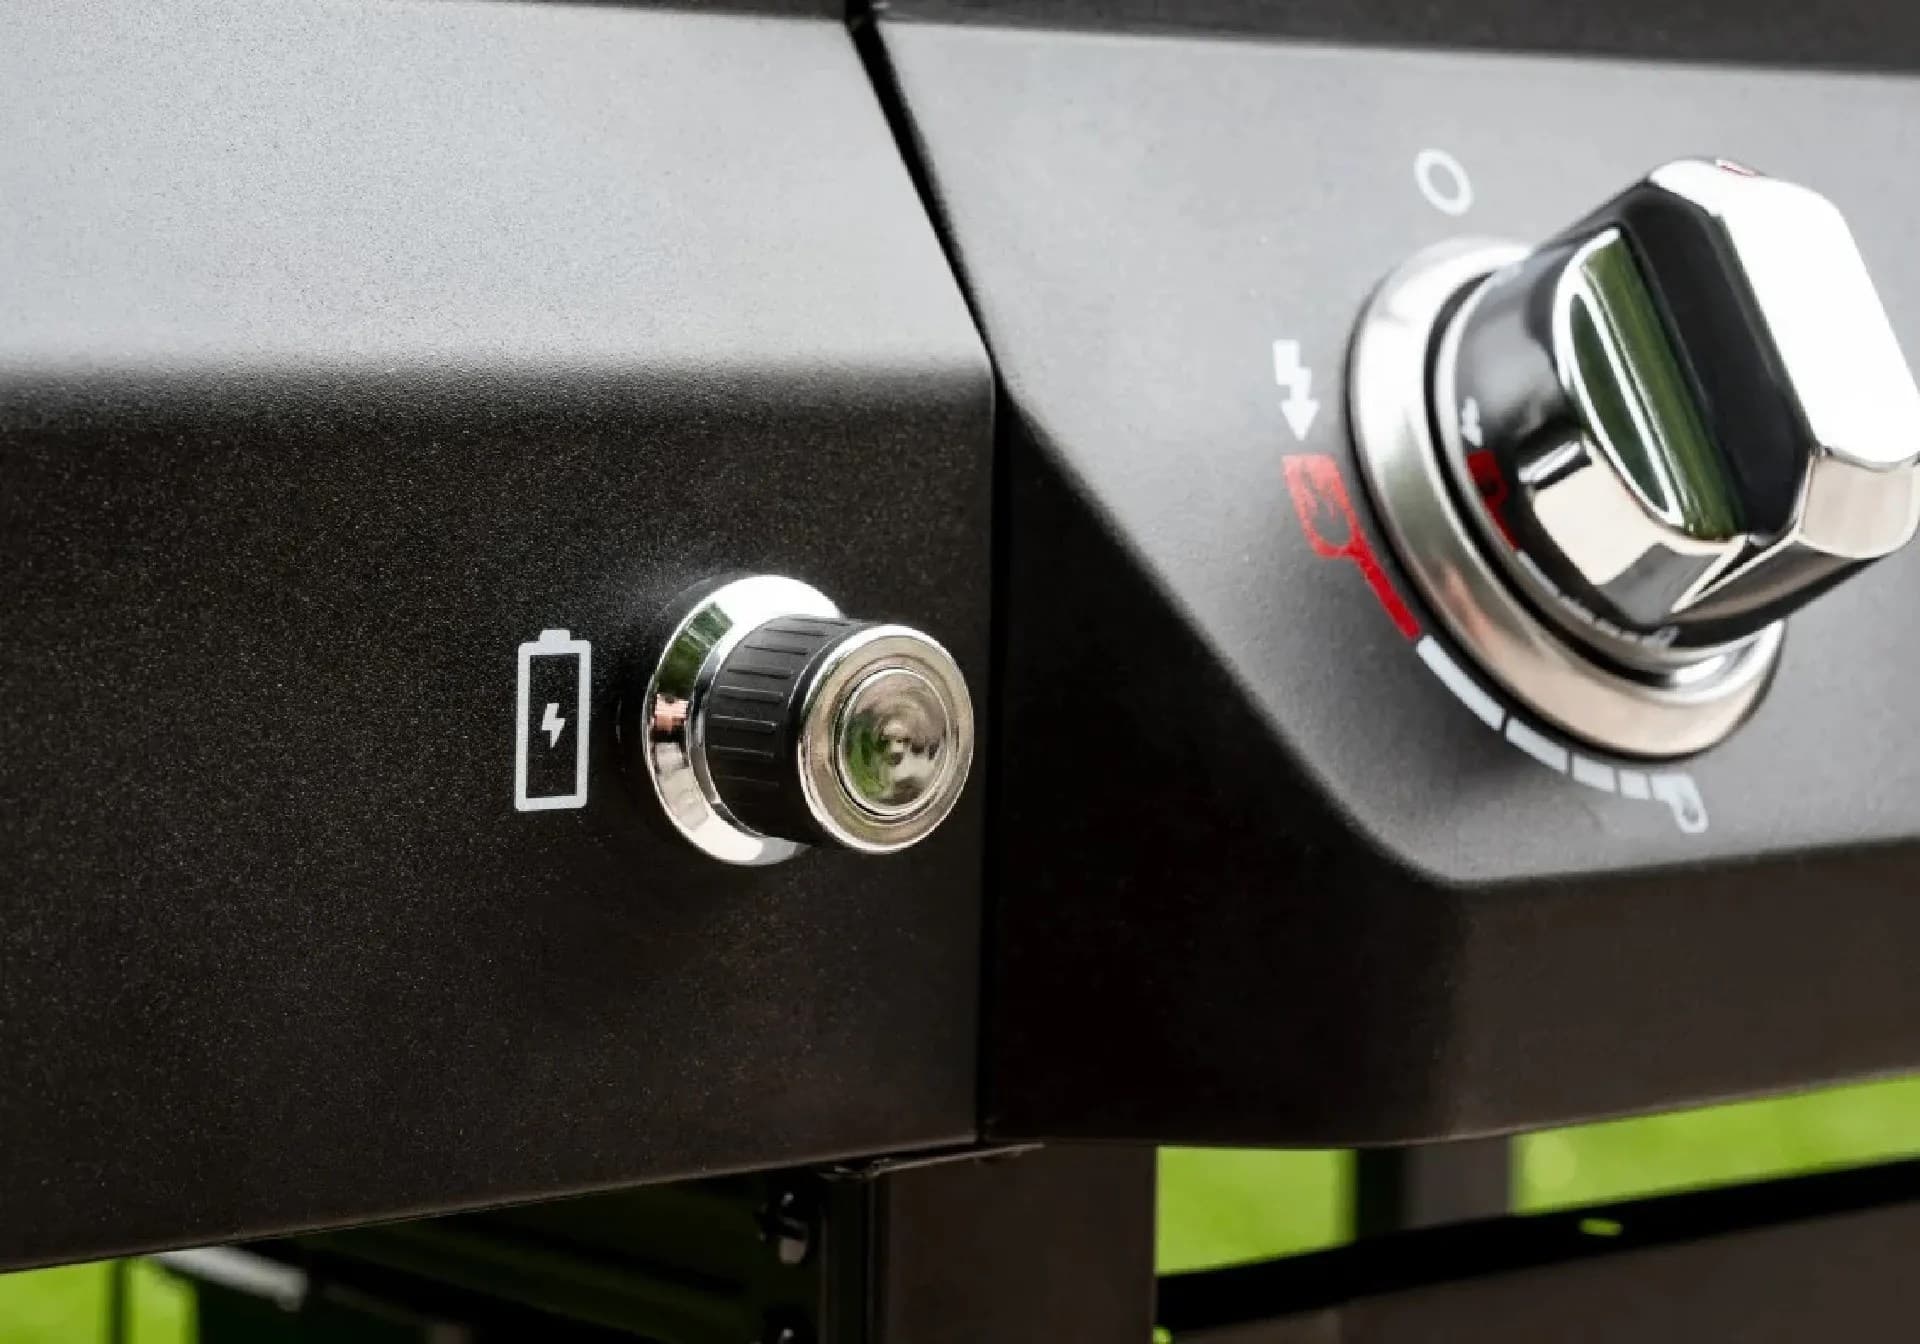
Mix 50/50 dish soap and water, brush every connection - regulator to tank, regulator to manifold, side burner line - open the valve, and watch for bubbles. Never use a flame. NFPA 58 and CPSC both stress soap-solution testing. Then burn off 10-15 minutes with the lid closed before the first cook. Normal flame is blue with slight yellow tips; a lazy orange flame or popping indicates a blocked tube or air mixture issue.
Where to Get the Real 4-Burner Manual and Parts for a Legacy Gourmet Unit
Enter the 720- or 820- number on Nexgrill's support page or the Home Depot product page. For parts requests, use the Nexgrill contact form and include the serial number. Browse the current 4-burner line at Nexgrill All Products.