Nexgrill Daytona 4-Burner Assembly Instructions: Identify Your Exact Model, Build the Cart Square, Then Mount the Griddle or Firebox
A task-order build guide for Daytona 4-burner griddles and gas grills - how to match your unit to the right manual, stage a two-person lift for heavy flat-top steel, and avoid a racked cart.
In This Article
Identify Before You Build
Two-Person Griddle Lift
Loose-Start, Square, Torque
Which Daytona 4-Burner Is in the Box? Match the Unit to Its Manual Before the First Bolt
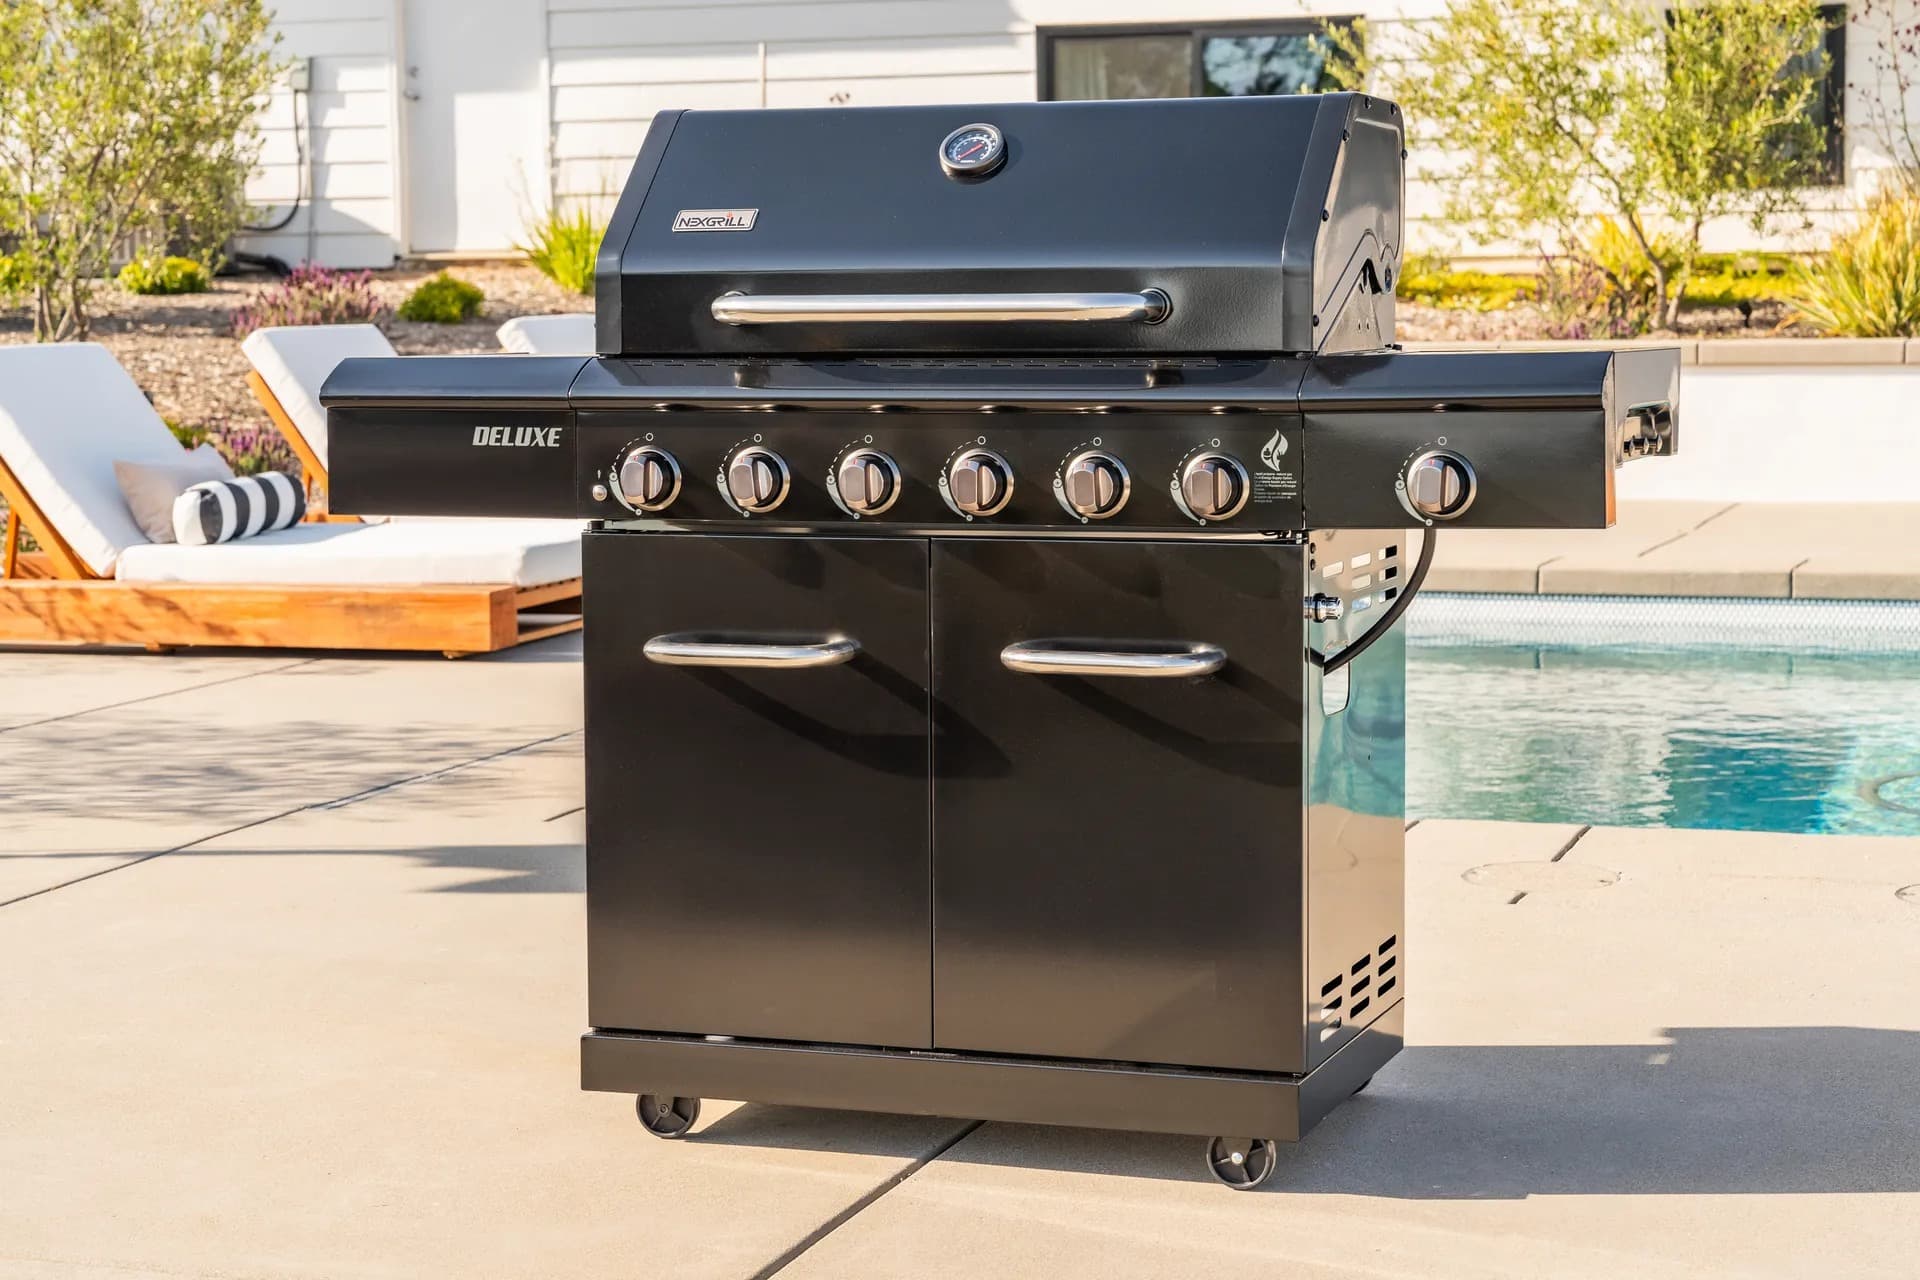
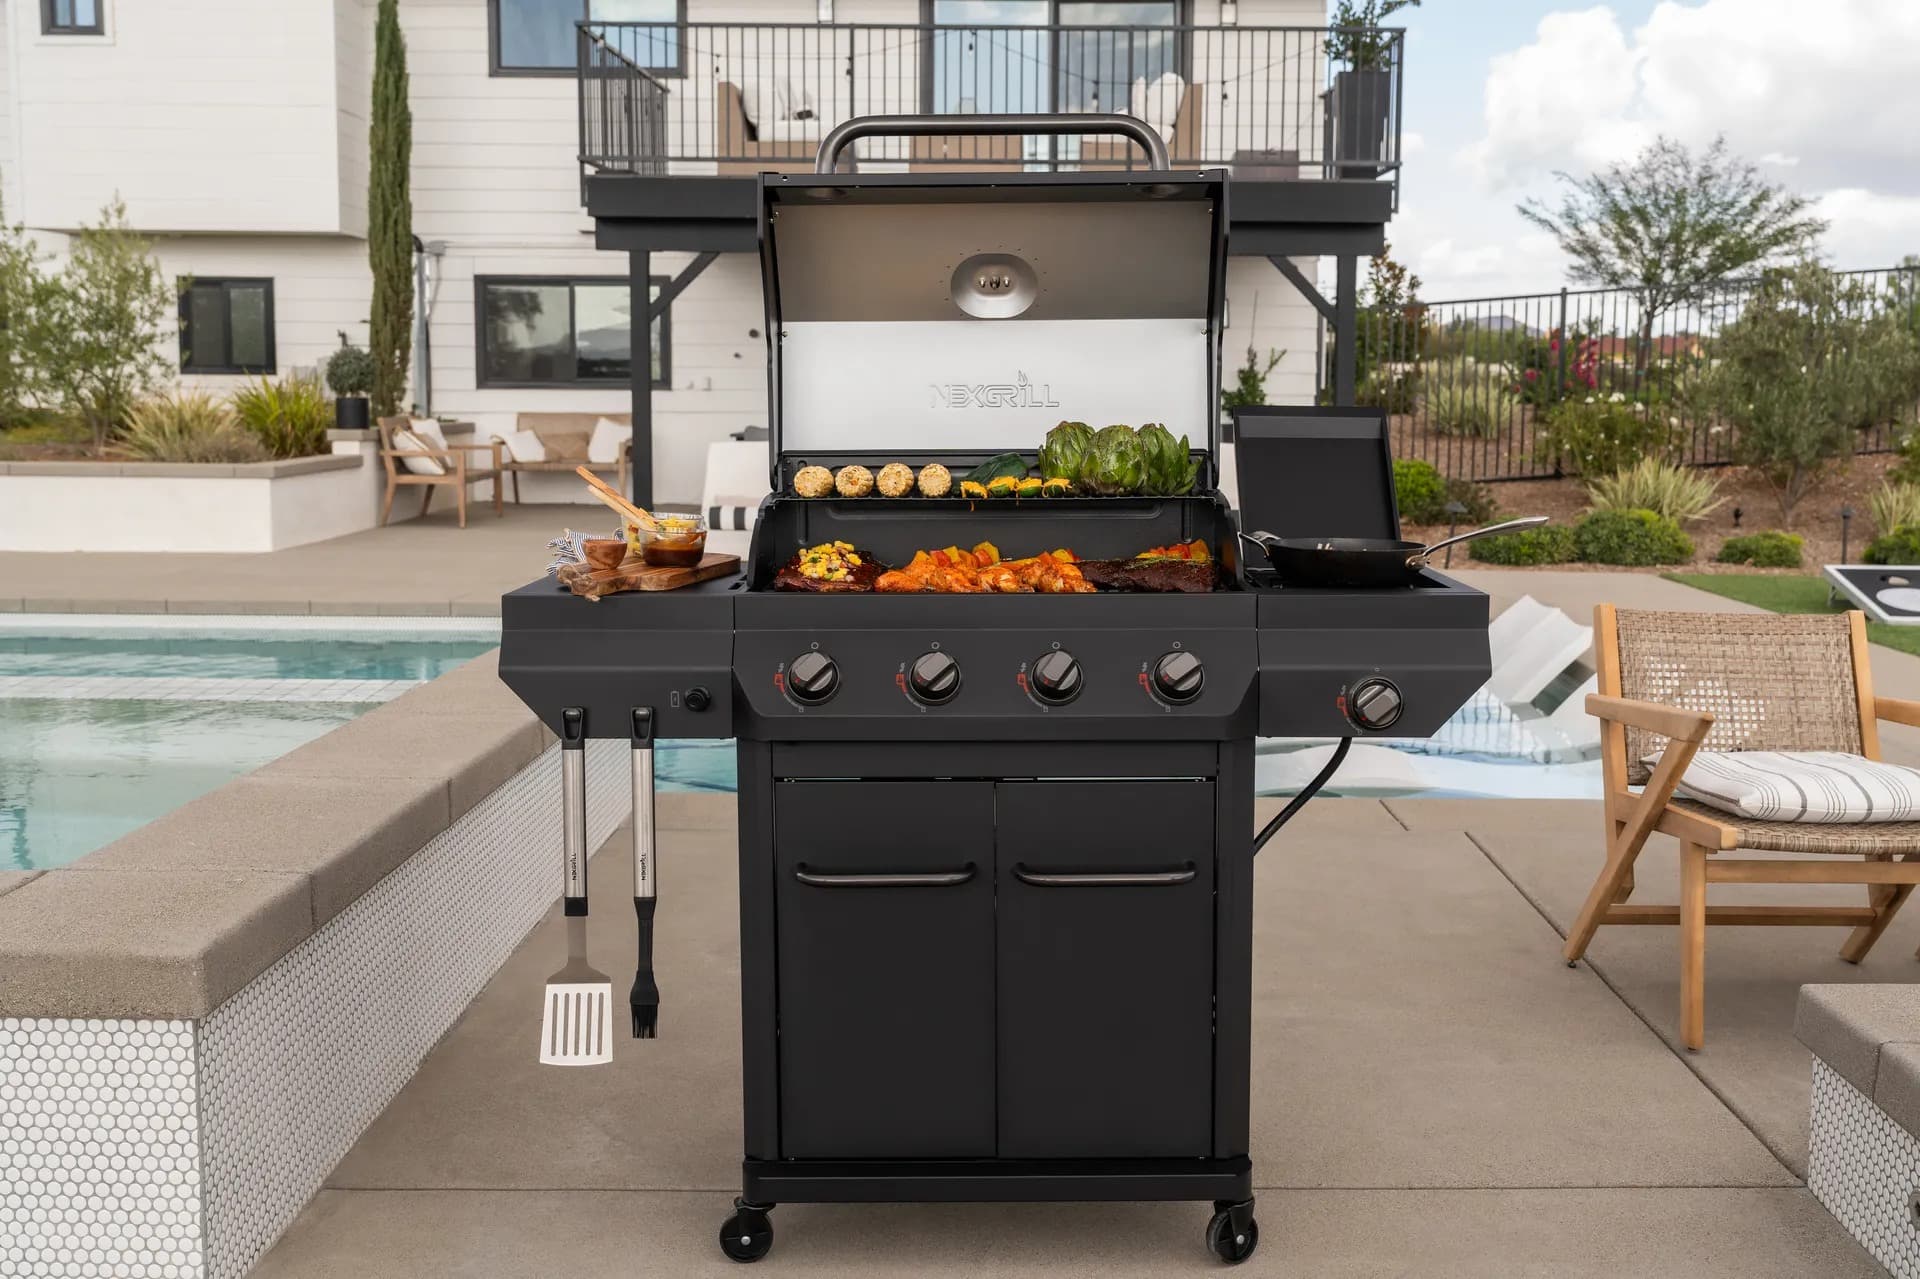
The Daytona name covers several distinct 4-burner machines: a 36-inch flat-top griddle with a lid, a stainless-steel flat-top griddle, and conventional gas grills with or without a side burner. Each ships with its own manual and hardware bag. Confirm which model you have before opening a bolt bag. The carton label and the data plate on the unit are your primary references; start with the wrong manual and you may only notice after the cart is half-built and the burner box won't align.
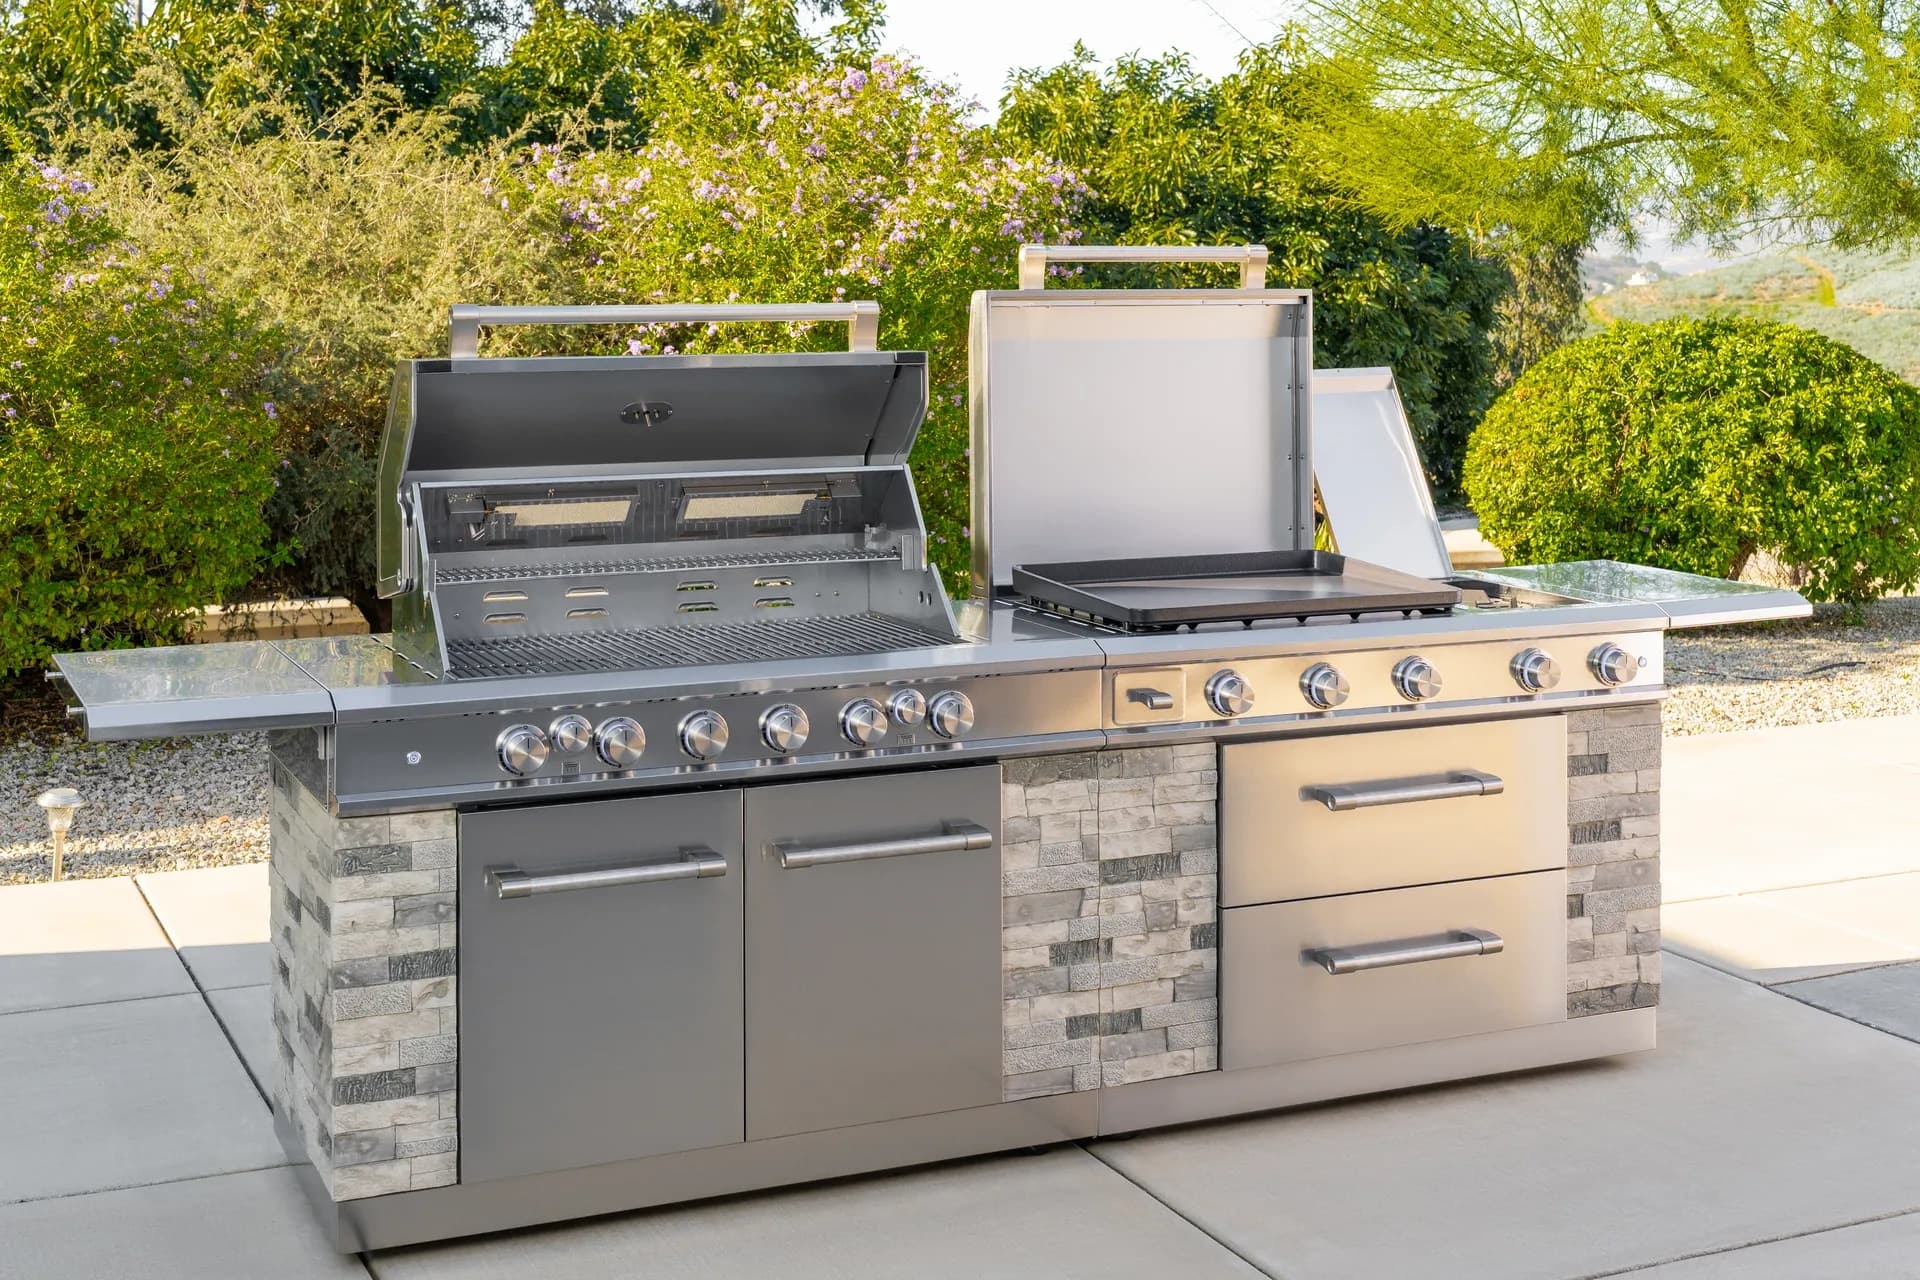
Daytona 4-Burner Variants Side by Side: Griddle Top vs Firebox, Lid vs No Lid, Side Burner vs None
| Feature | Daytona 36" Griddle with Lid | Daytona Stainless Flat-Top | 4-Burner Gas Grill (no side burner) | 4-Burner Gas Grill with Side Burner |
|---|---|---|---|---|
| Cooking surface | Flat-top griddle plate | Flat-top griddle plate | Standard grates | Standard grates |
| Lid | Yes, black lid | No lid | Stainless main lid | Black lid |
| Side burner | No | No | No | Yes |
| Primary assembly focus | Lifting and seating heavy griddle top | Lifting and seating heavy griddle top | Firebox to cart, then lid and grates | Firebox, lid, plus side burner mounting |
Flat-top variants weigh more because of the thick steel plate; gas-grill variants add a firebox, flame tamers, and cooking grates. That changes your build sequence and lifting plan.
Reading the Data Plate and Carton Label: The Two-Minute Check That Prevents a Wrong-Manual Build
Find the silver sticker on the back or side of the unit, or inside the cart frame. It carries the model number (e.g., 720-XXXX or a Daytona-specific SKU). Match it to the carton label and the front of the manual, and check the manual revision letter, since a mismatch can mean different hardware bags. If the plate is missing, contact Nexgrill support with your order details.
Staging the Workspace for a Wide 4-Burner Cart: Hard Surface, Cardboard, Tools, and the Helper Question
Work on a flat, hard surface like a driveway or garage floor, with cardboard from the carton laid down to protect the finish and catch loose hardware. You'll need a Phillips-head screwdriver, an adjustable wrench or metric/SAE wrench set, and a socket set for larger bolts. A second person is strongly recommended for griddle variants, where the flat-top steel is heavy and awkward to lift alone; for gas grills, a helper matters most when lifting the firebox.
Never lift the griddle top or firebox by yourself if you feel uncertain. Dropped steel can bend the burner box or cause injury.
The Five-Minute Hardware Inventory: Count Bags Against the Callouts Before You Start
Open the manual to the hardware list and lay out every bag. Count bolts, washers, nuts, and pins against the callouts. Missing pieces are common, and catching them now avoids a mid-build stall. Don't substitute hardware-store parts; order the exact part from Nexgrill for proper fit.
Griddle Build vs Gas-Grill Build: Where the Assembly Sequence Actually Diverges
The cart, casters, and side shelves go together the same way on both. The divergence comes at the top: on a griddle, mount the burner box to the cart, then lift the griddle plate onto it and secure it. On a gas grill, mount the firebox, then install flame tamers, cooking grates, and the lid. Lifting technique and fastener count differ, so follow your specific manual's step order.
Try Comparing Two Daytona 4-Burner Models Side by Side Below to See Which Fits Best
Assembly difficulty varies with design, but so does cooking capability. Use the comparison tool below to weigh a flat-top griddle against a gas grill, or two gas-grill variants, so you know exactly what you're building and why.
Once You've Weighed Two Daytona Options, Here's What Else Matters on Build Day
You've compared specs and picked your model. Now the build demands a sequence that prevents rework. The order below applies to all Daytona 4-burner variants; adjust only where your manual explicitly differs.
The Build Order That Works: Cart and Casters, Shelves, Regulator and Grease Tray, Burner Box, Top, Lid
- Assemble the cart base and legs, but leave every bolt finger-tight.
- Install the wheels and locking casters; lock them before proceeding.
- Attach side shelves loosely.
- Mount the regulator/hose and slide in the grease tray.
- Lift and seat the burner box onto the cart (gas grill) or the griddle plate onto the burner box (griddle).
- Install the lid (if equipped) and any remaining trim.
- Torque all bolts in a diagonal pattern, then check the lid or griddle for flush fit.
Why You Snug Every Bolt First and Torque Last on a 4-Burner Cart
A wide cart has tolerance in its holes. Fully tighten the first corner and the frame racks, so the opposite holes won't align. Leave everything snug, then square the cart by measuring diagonals corner to corner; they should match within 1/8 inch. Once square, torque in a diagonal sequence. This alone prevents a rocking top and a misaligned lid.
A square cart is the foundation for a flush lid and a level cooking surface. Don't skip the diagonal measurement.
Lifting and Seating a Flat-Top Griddle Without Bending the Burner Box
The griddle plate is the heaviest single component. With a helper, lift it evenly by the edges and lower it straight down onto the burner box. Don't tilt it or let one side drop; that can bend the burner box flanges or chip the finish. Once seated, install the retaining screws finger-tight, then snug them.
Mounting the Firebox, Flame Tamers, and Cooking Grates on the Gas-Grill Variant
Lift the firebox onto the cart with a helper. Align the mounting holes and insert bolts loosely before tightening. Drop in the flame tamers (heat tents) with the angled sides facing the front, then set the cooking grates. Route the regulator hose away from hot surfaces and make sure it doesn't kink.
Five Assembly Mistakes That Cause Wobble, a Rocking Top, or a Pinched Hose
- Torquing as you go: racks the frame; always snug first.
- Solo-lifting the griddle or firebox: risks dropping steel or pinching the hose.
- Mixing similar bolt lengths: cross-threads or bottoms out; sort by size first.
- Skipping the soapy-water leak test: dangerous; always test connections.
- Mounting shelves before squaring the cart: ovalizes holes and prevents flush fit.
First-Fire Checklist: Leak Test, Burn-Off, Griddle Seasoning, Then Food
Before cooking, leak-test the regulator and manifold connections with soapy water (never a flame). Burn off the cooking surfaces for 15-20 minutes to remove manufacturing oils. For raw steel griddles, season with a thin layer of high-heat oil and heat cycles until the surface darkens. Only then cook your first meal.
When to Stop Building and Contact Nexgrill for Parts or Support
If parts are missing, components are damaged, or the manual doesn't match your unit, stop and reach out to Nexgrill customer support for the correct manual, replacement hardware, or specific parts. For general product information, visit Nexgrill's About page.
Sources
- Nexgrill Daytona 36" 4-Burner Propane Gas Griddle with Lid in Black
- Nexgrill Daytona 4-Burner Flat-Top Griddle Grill (Stainless Steel)
- Nexgrill 4-Burner Propane Gas Grill in Black with Stainless Main Lid
- Nexgrill 4-Burner Gas Grill with Side Burner in Black
- Nexgrill Contact: Assembly Support and Replacement Parts