Nexgrill 820-0063 Assembly Instructions: Verify Your Manual Number, Then Build Without Teardown
A verification-first build guide for anyone holding an 820-0063 manual - confirm the number matches your rating plate, stage the cart, seat the burner tubes, and leak-test before the first cook.
In This Article
Match Manual to Plate
Seat Tubes on Orifice
Leak Test, Then Burn-Off
Read the Book Against the Plate: What an 820-0063 Manual Actually Tells You
Before a single bolt comes out of the blister pack, treat the build as two jobs: verify the document, then follow the sequence. Nexgrill uses more than one numbering family - 810-xxxx and 820-xxxx codes show up on manual covers and parts/accessory SKUs, while many retail grills carry 720-xxxx model numbers on the rating plate. An 820-0063 booklet, therefore, does not automatically prove the box on your patio is that grill. Photograph the rating plate (check the cart legs, the rear panel, and the inside of the cabinet - it may be on only one) and compare it to the code printed on the manual cover. If the two disagree, stop and resolve that before assembly.
A manual for a nearby revision often fits 90% of the bolts and misses on one hinge, bracket, or valve position. That single mismatch is what forces a teardown at step nine.
What Should Be On the Patio Before You Cut the Tape?
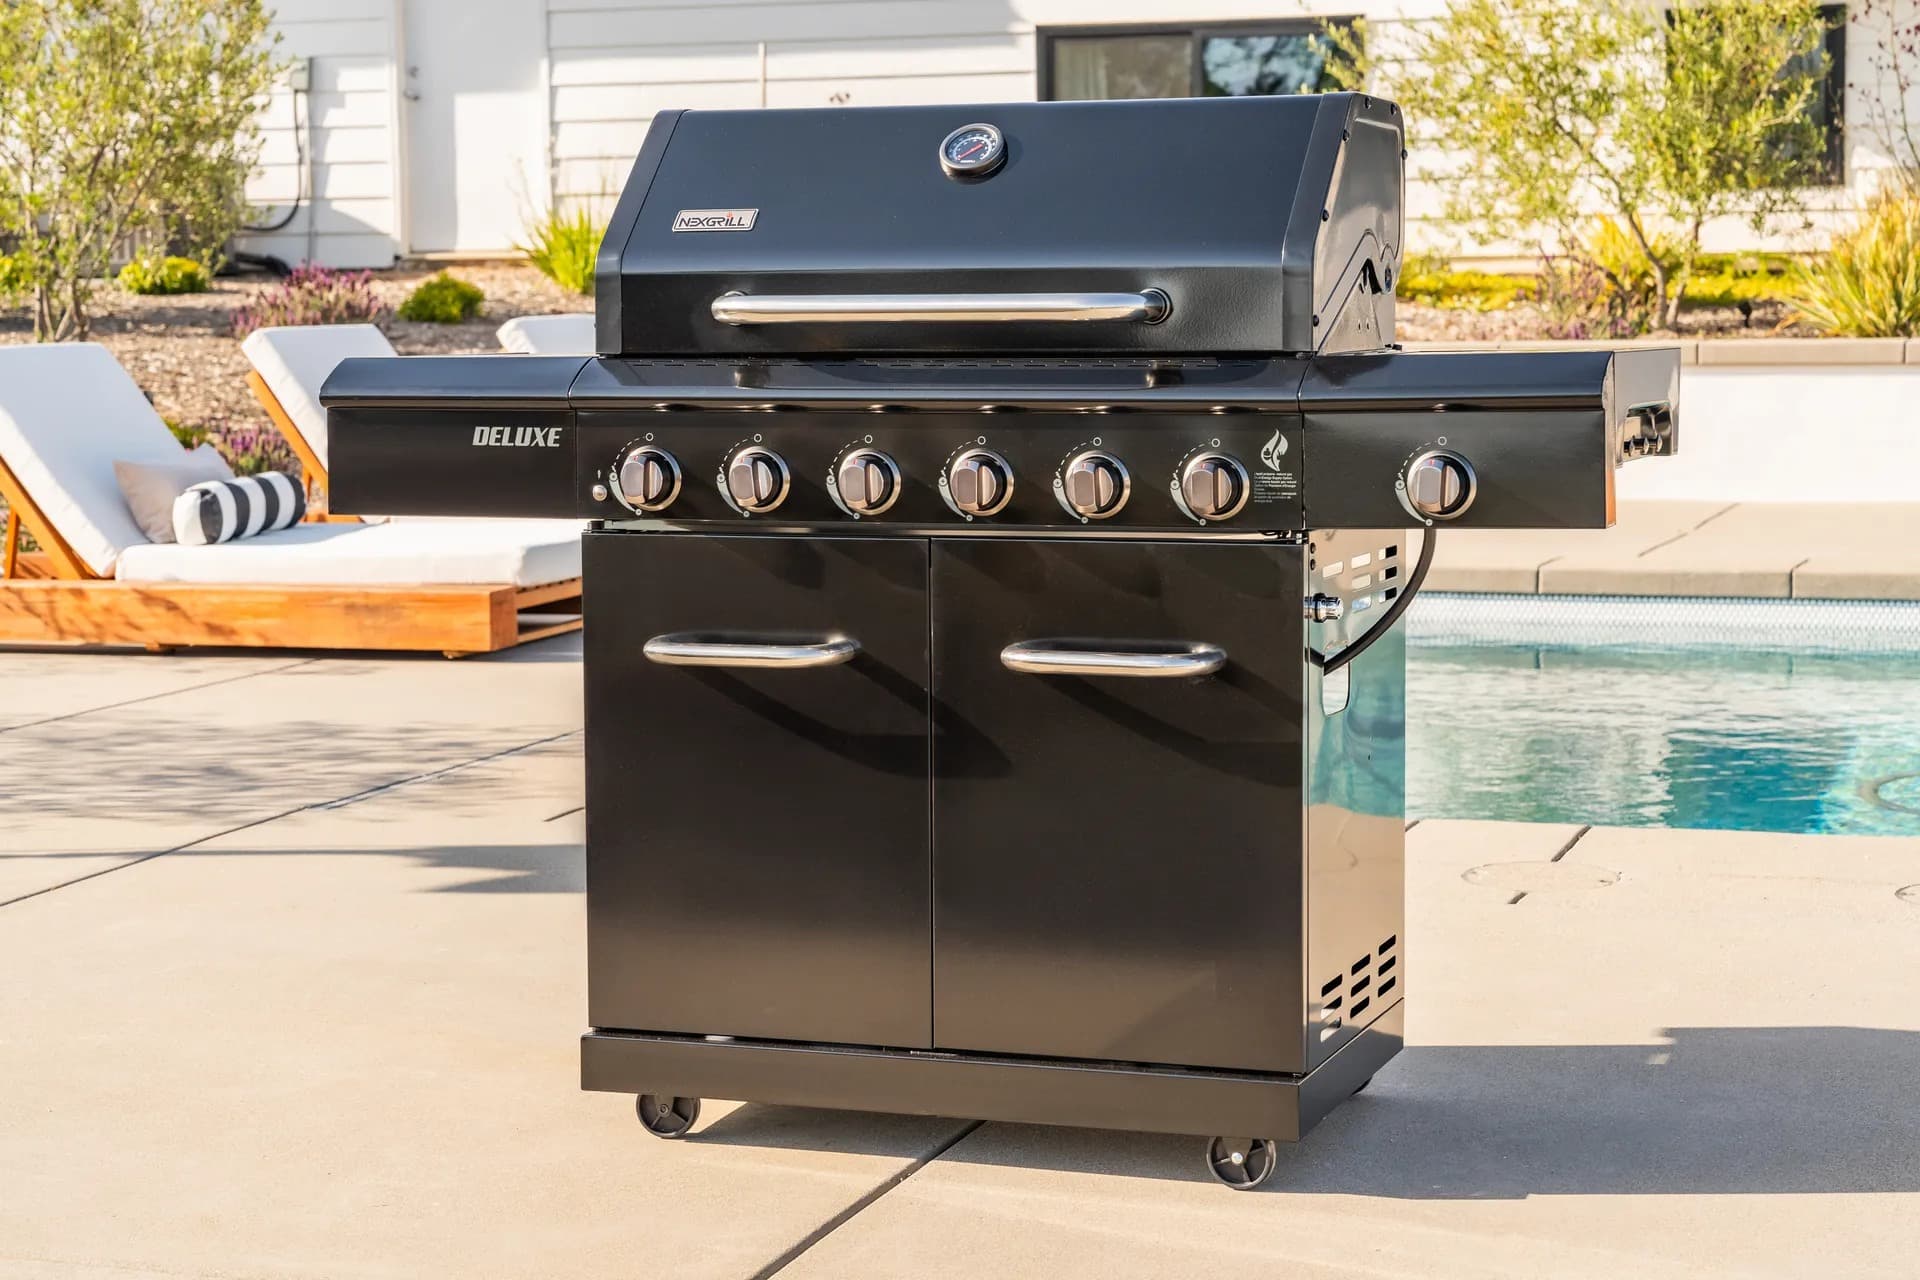
Lay a tarp or flattened cardboard on a hard, level surface - pavers and decks hide dropped washers and scuff painted panels. Have on hand: a Phillips and flathead screwdriver, a 7/16-inch and adjustable wrench, a nut driver if the manual calls for one, scissors, a bowl for loose hardware, and a mobile phone for photos. Plan on two people: the lid and firebox are the awkward lifts, and a helper is what makes the 60-90 minute two-person build estimate (a realistic range for cart-style gas grills, not a guarantee) hold.
Step 1: Inventory and Sort Hardware by Build Step, Not Bag Color
Open every bag against the parts list and count. Then re-bag: one cup per assembly step (cart, firebox, burner tubes, lid, ignition). Sorting by step rather than by the factory's bag letters is the single biggest time-saver in this build, because it stops the mid-build hunt for the one screw you already used.
Step 2: Build the Cart and Confirm Front/Back Orientation
Assemble legs, casters (brake to the back on many models), lower panel, and side shelves loosely, then snug the bolts only after the frame is square. Test orientation before mounting anything above it: the control panel and knobs must face front, and the tank hook or shelf sits at the rear. A reversed cart means drilling or disassembly later.
Step 3: Seat the Burner Tubes Fully Over the Valve Orifices
Each burner tube slides over a small brass orifice on the valve. It must go on fully and sit square - not half-seated at an angle. A partially seated tube delivers weak or lopsided flame and is a genuine safety issue, not just a performance one. Look down the throat of each tube with a light and confirm brass is visible inside the opening.
Step 4: Route the Ignition Collector Wire Away From the Firebox Edge
Keep the collector wire off the burner body and clear of the firebox cut edge. Pinched or chafed wire is a common cause of a dead igniter, and the ceramic insulator cracks if it is forced around a corner.
Step 5: Hang the Lid After the Hinge Brackets Are Aligned (Two-Person Rule)
Bolt the hinge brackets to the firebox first, checking alignment before the lid goes anywhere near them. Then have a second person hold the lid while you set the pins or bolts. A dropped lid bends the hinge and leaves the seal uneven for the life of the grill.
Ready to compare two candidate grills before you commit? Use the tool below to weigh them side by side.
Once You've Weighed Two Options Against Each Other, Here's What Else Matters
Comparing two grills is useful, but the same principles decide whether your build goes smoothly. A grill whose manual clearly identifies the model, whose valve orifices are accessible, and whose parts are easy to reach is easier to assemble and worth more long-term. Check Nexgrill's full product catalogue to confirm what a given model actually includes before you buy.
The Four Rework Traps That Force a Teardown (and the Fifth Most People Skip)
| Trap | What Goes Wrong | Prevention |
|---|---|---|
| Burner tube not fully on orifice | Weak or lopsided flame; unsafe gas path | Verify brass inside each tube |
| Ignition wire pinched | Dead electrode or cracked ceramic | Route clear of firebox edge |
| Lid hung before bracket alignment | Bent hinge, uneven seal | Align brackets, then two-person lift |
| Hardware mis-sorted | Mid-build stall, wrong bolts | Sort by step, not bag color |
| Leak test skipped | Gas escapes undetected | Soapy water on every connection |
If Your 820-0063 Manual Doesn't Match the Grill in the Box
Don't buy parts from a mismatch. Photograph the rating plate clearly and contact Nexgrill support with the model and, if present, serial number. The team can confirm which document applies. If you're considering a new grill, that's also the moment to check model documentation. Our Contact page and About Us explain the company's support and history.
How Long the Build Realistically Takes - and Where the Minutes Go
Most cart-style gas grill builds land in the 60-90 minute range with two people (an estimate; larger cabinets and side burners add time). Inventory and sorting take the first 15-20 minutes. Cart and caster assembly take about 20-30. Firebox, burner seating, and ignition routing take another 15-25. The lid and final snug-down take 10-15. Rushing the cart only moves the minutes to the teardown.
First-Light Checklist: Leak Test, Burn-Off, and First Cook
Mix dish soap and water, brush every connection - regulator to tank, hose to manifold, and each valve - and watch for expanding bubbles. Never use a flame to test for leaks.
Confirm your regulator type against the manual and the tank you own; many Nexgrill grills are designed for standard 20 lb LP cylinders. Then run a closed-lid burn-off of roughly 10-15 minutes before any food touches the grates, to clear manufacturing oils. Keep the lid closed and watch the temperature.
When to Stop and Call Nexgrill Support
Stop if a burner tube won't fully seat, if a fitting leaks after tightening, if the lid seal is visibly uneven, or if the parts list doesn't match what arrived. Nexgrill's team can confirm the correct manual and parts.