Nexgrill 810-KY002 Assembly Instructions: Fixed-Orifice Burner Tubes, Hinge Alignment, and First-Light Leak Test
A bench-first build sequence for the 2-burner 810-KY002 - lid and hinges joined flat on cardboard before the firebox touches the cart, with venturi-to-orifice checks that stop the one-sided-flame problem cold.
In This Article
Bench-First Lid Joining
Venturi Over Orifice
Soapy Leak Test
How Do You Confirm You Have the Nexgrill 810-KY002 Before the First Bolt Comes Out?
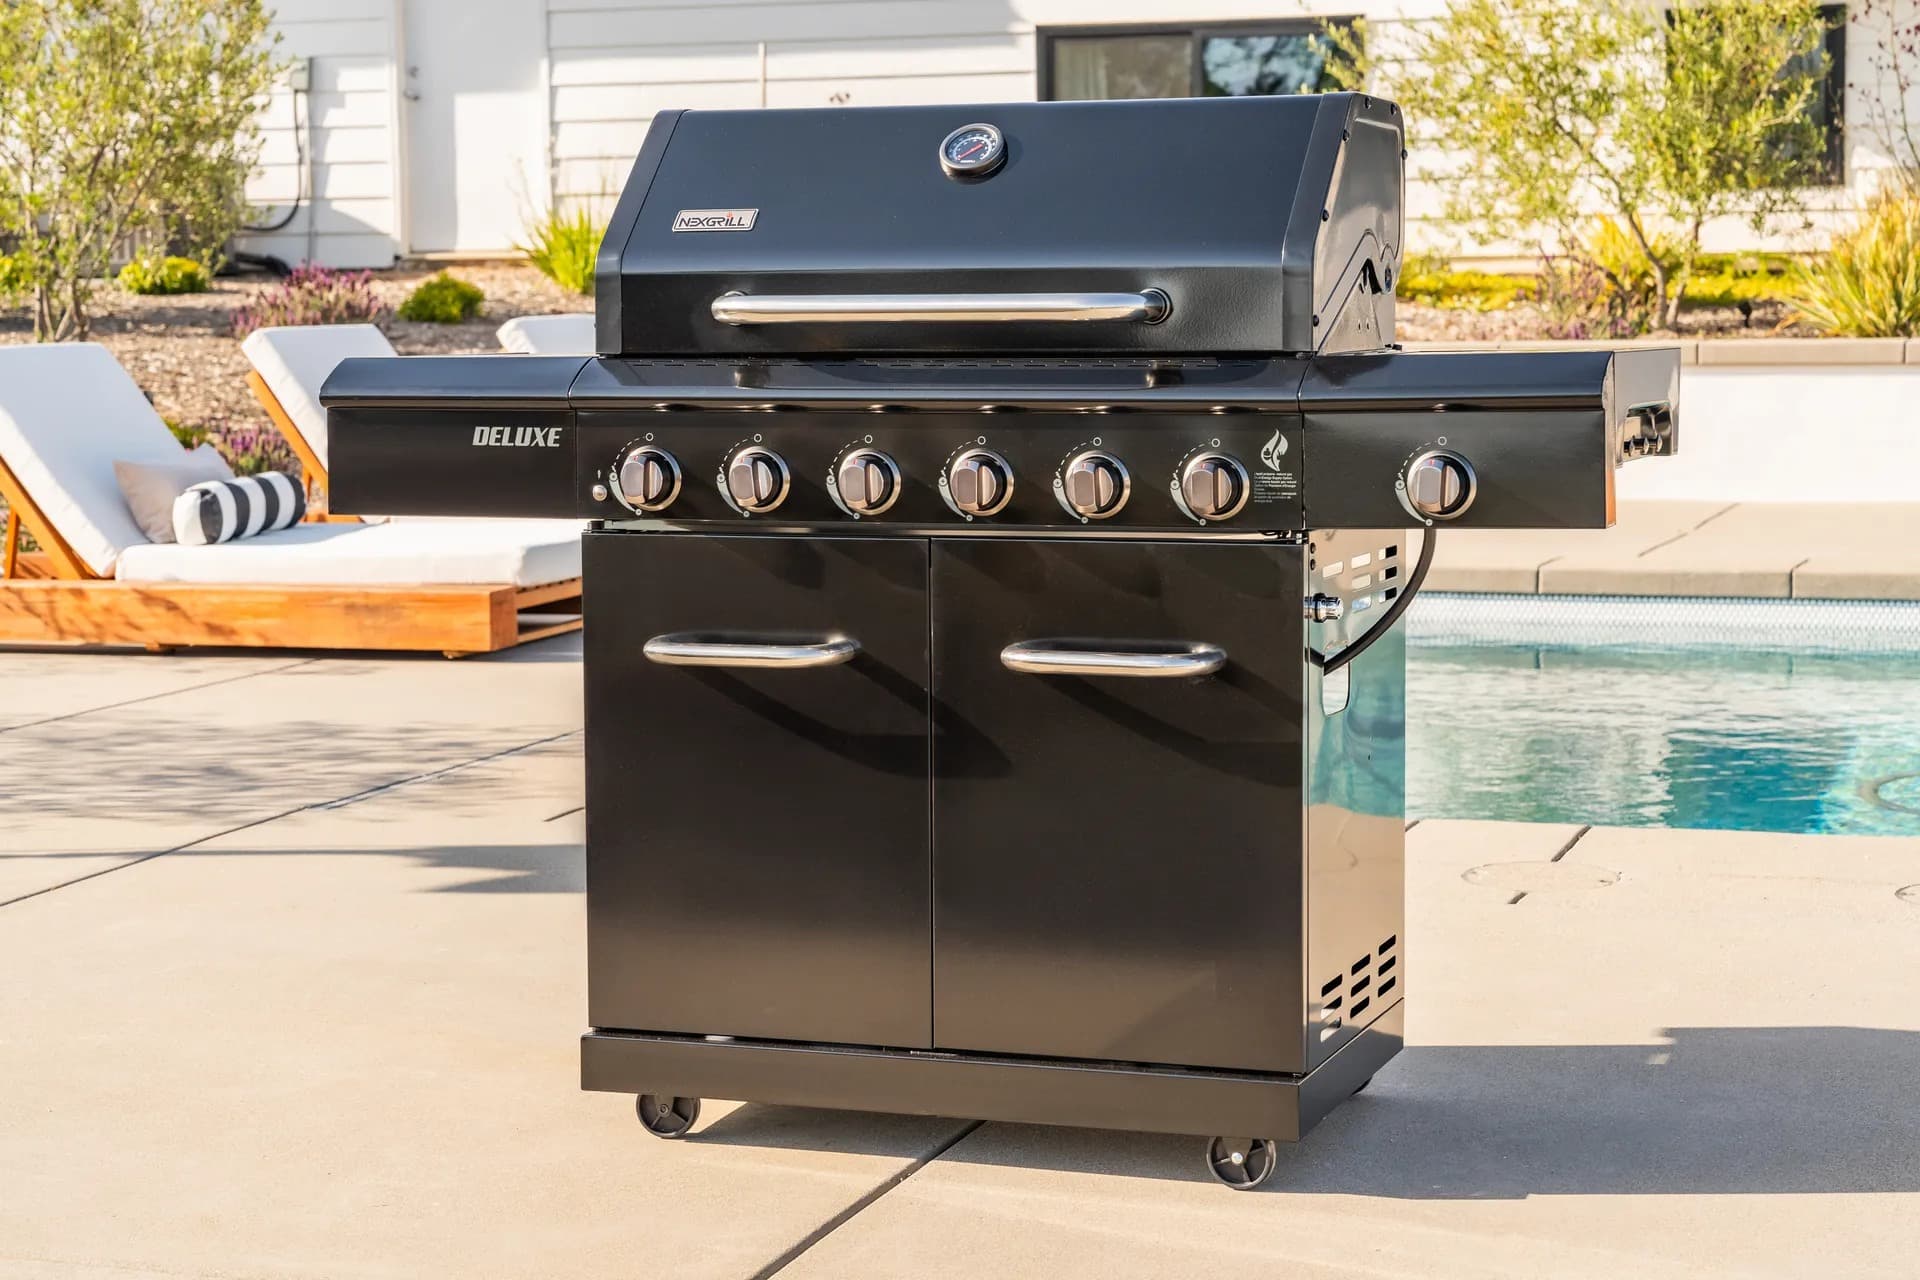
The 810- prefix is a Nexgrill SKU convention, and the 810-KY002 is catalogued by Home Depot as a Nexgrill 2-burner gas grill (black, side shelves, cart, propane). Before you unwrap anything, check the rating plate under the control panel and the carton label - not the web listing. Spec sheets for lookalike 2-burner Nexgrill SKUs conflict on BTU and square-inch figures, so trust the sticker on your unit.
If the manual is missing or the QR code won't load, search the model number on the Nexgrill site (/collections/all) or reach out via /pages/contact. No confirmed SKU-specific manual page was verifiable this session, so those two routes are your practical path.
This 2-burner cart grill is often a Marketplace or curb find with no hardware bag. The next sections assume that scenario - you'll need torque guidance, fastener substitutions, and a flare-fitting caveat.
What Should Be Flattened Out on the Patio Before You Cut the Tape?
Clear a flat area and lay down a large flattened cardboard sheet. You'll need a 20 lb DOT propane cylinder (empty), a soapy-water spray bottle, two adjustable wrenches or a 7/16 in. + 3/8 in. combination set, a Phillips #2, nitrile gloves, and your phone camera. The cardboard doubles as your assembly bench for the lid-and-hinge stage.
How Long Does the 810-KY002 Build Actually Take, and Where Does the Time Go?
Expect 45-75 minutes if you've built a cart grill before; first-timers should budget 90+ minutes. Most of the overrun lands on lid and hinge alignment, not burner tubes, which are a two-minute check per side once you know what to look for.
Why the Manual's Cart-First Order Is Worth Overriding on This Model
The manual likely tells you to build the cart first, then lift the firebox on, then attach the lid. On this grill, the lid is light enough that joining it to the firebox while both are still flat on cardboard is far easier than doing it upright on a cart. Flat, you can see the hinge bracket holes line up; upright, gravity fights you.
Step 1: Inventory the Flat-Box Parts and Photograph the Hardware Bags
Open the carton flat. Group hardware by step, not by bag colour - bags are often unlabeled. Photograph each bag next to its parts-list line before you open it. That photo becomes your reference if a fastener goes missing.
Step 2: Join the Lid to the Firebox While It Is Still Flat on Cardboard
With the firebox upside-down or on its back on the cardboard, align the hinge brackets. The hinge bracket must sit so the lid rests flush and the hinge doesn't foul the back shelf. Bolt finger-tight, check the lid swing, then snug.
Step 3: Build the Cart Legs, Casters, and the Locking-Side Orientation Check
Attach the four legs to the cart frame. Mount the casters - the locking pair goes toward the back so you can lock the grill in place while working at the front. Confirm the locking side orientation before you tighten.
Step 4: Lift the Firebox Onto the Cart Without Deadlifting It
Use two people. Rock the firebox up onto the cart ledge rather than deadlifting it - one person lifts the front, the other guides the back. Bolt the firebox to the cart only after it's seated.
Step 5: Seat Each Burner Tube So the Venturi Cups the Valve Orifice
Each burner tube has a venturi opening that must cup the valve orifice exactly - not in front, not behind. If the orifice sits in front of the venturi, you'll get a weak, uneven, or no light on that side. Slide the tube on until it seats, then check from the front with a flashlight.
Step 6: route the ignition lead so it doesn't touch hot surfaces. The electrode gap is typically about 3/16 in. (4-5 mm) - check your manual for the exact spec. Step 7: attach the side shelves and confirm the grease tray slides in and out without binding.
The Three-Point Soapy Leak Test That Prevents a First-Light Scare
Propane is heavier than air. Never leak-test with a flame. Mix soapy water, spray each connection, and watch for bubbles. Test three points: the LP cylinder valve, the regulator-to-manifold connection, and the manifold-to-burner valves. If you smell gas, close the valve and do not attempt to light.
1. Close all valves.
2. Spray soapy water on each connection.
3. Open cylinder valve slowly.
4. Watch for bubbles - bubbles mean a leak.
5. If bubbles appear, close valve, tighten, retest.
6. If no bubbles, proceed to first light.
The first flame should read blue with slight yellow tips. A mostly yellow flame suggests a blocked venturi or wrong orifice seating.
Common Assembly Mistakes on the 810-KY002 (and How to Avoid Them)
- Orifice in front of the venturi - causes weak, uneven, or no light on one side. Always seat the tube so the venturi cups the orifice.
- Wrench-tightening the regulator-to-manifold - it should be hand-tight plus 1/4 turn. Over-tightening can damage the seal.
- PTFE tape on flare fittings - flares seal metal-to-metal. Tape can interfere and cause leaks.
- Hinge brackets mounted backwards - the lid won't rest flush or the hinge fouls the back shelf.
- Shipping spacers left inside the firebox - remove all foam and cardboard before first light.
- No photo of ignition-lead routing before disassembly - leads to 'igniter doesn't spark after rebuild'.
Hardware Substitution: What to Do When a Fastener Is Missing
| Commonly Lost Fastener | Typical Size | Substitution Guidance |
|---|---|---|
| Lid hinge bolt | M6 x 35 mm | Use a stainless M6 x 35 mm with washer; confirm against your own hardware chart. |
| Cart frame flange bolt | M6 x 12 mm flange | Match thread pitch and flange diameter; a standard hex bolt with washer may work temporarily. |
Never substitute a flare fitting with a standard pipe fitting. Flare fittings are designed for metal-to-metal sealing and must match the original spec.
When Is the 810-KY002 Not Worth Rebuilding?
If you find rust-through on the firebox, a cracked manifold, or a missing regulator, the cost of replacement parts often exceeds the value of the grill. In those cases, look for a new unit rather than sinking money into a rebuild.
Ten-Point First-Light Checklist
| # | Check |
|---|---|
| 1 | All shipping spacers and foam removed |
| 2 | Burner tubes seated with venturi over orifice |
| 3 | Ignition lead routed away from hot surfaces |
| 4 | Electrode gap ~3/16 in. (4-5 mm) |
| 5 | Side shelves secure |
| 6 | Grease tray slides freely |
| 7 | Leak test at cylinder valve |
| 8 | Leak test at regulator-to-manifold |
| 9 | Leak test at manifold-to-burner valves |
| 10 | First flame blue with slight yellow tips |