Nexgrill 720-0888S vs Char-Broil: Run Your Own Head-to-Head Grill Test
A four-step method for staging a fair evening cook-off between a 720-0888S-class Nexgrill and a Char-Broil, plus an ownership-cost worksheet for the second-purchase decision.
In This Article
Identify Before You Compare
Stage One Fair Test
Price Year Six
Why the 720-0888S Numbers Decide How You Compare
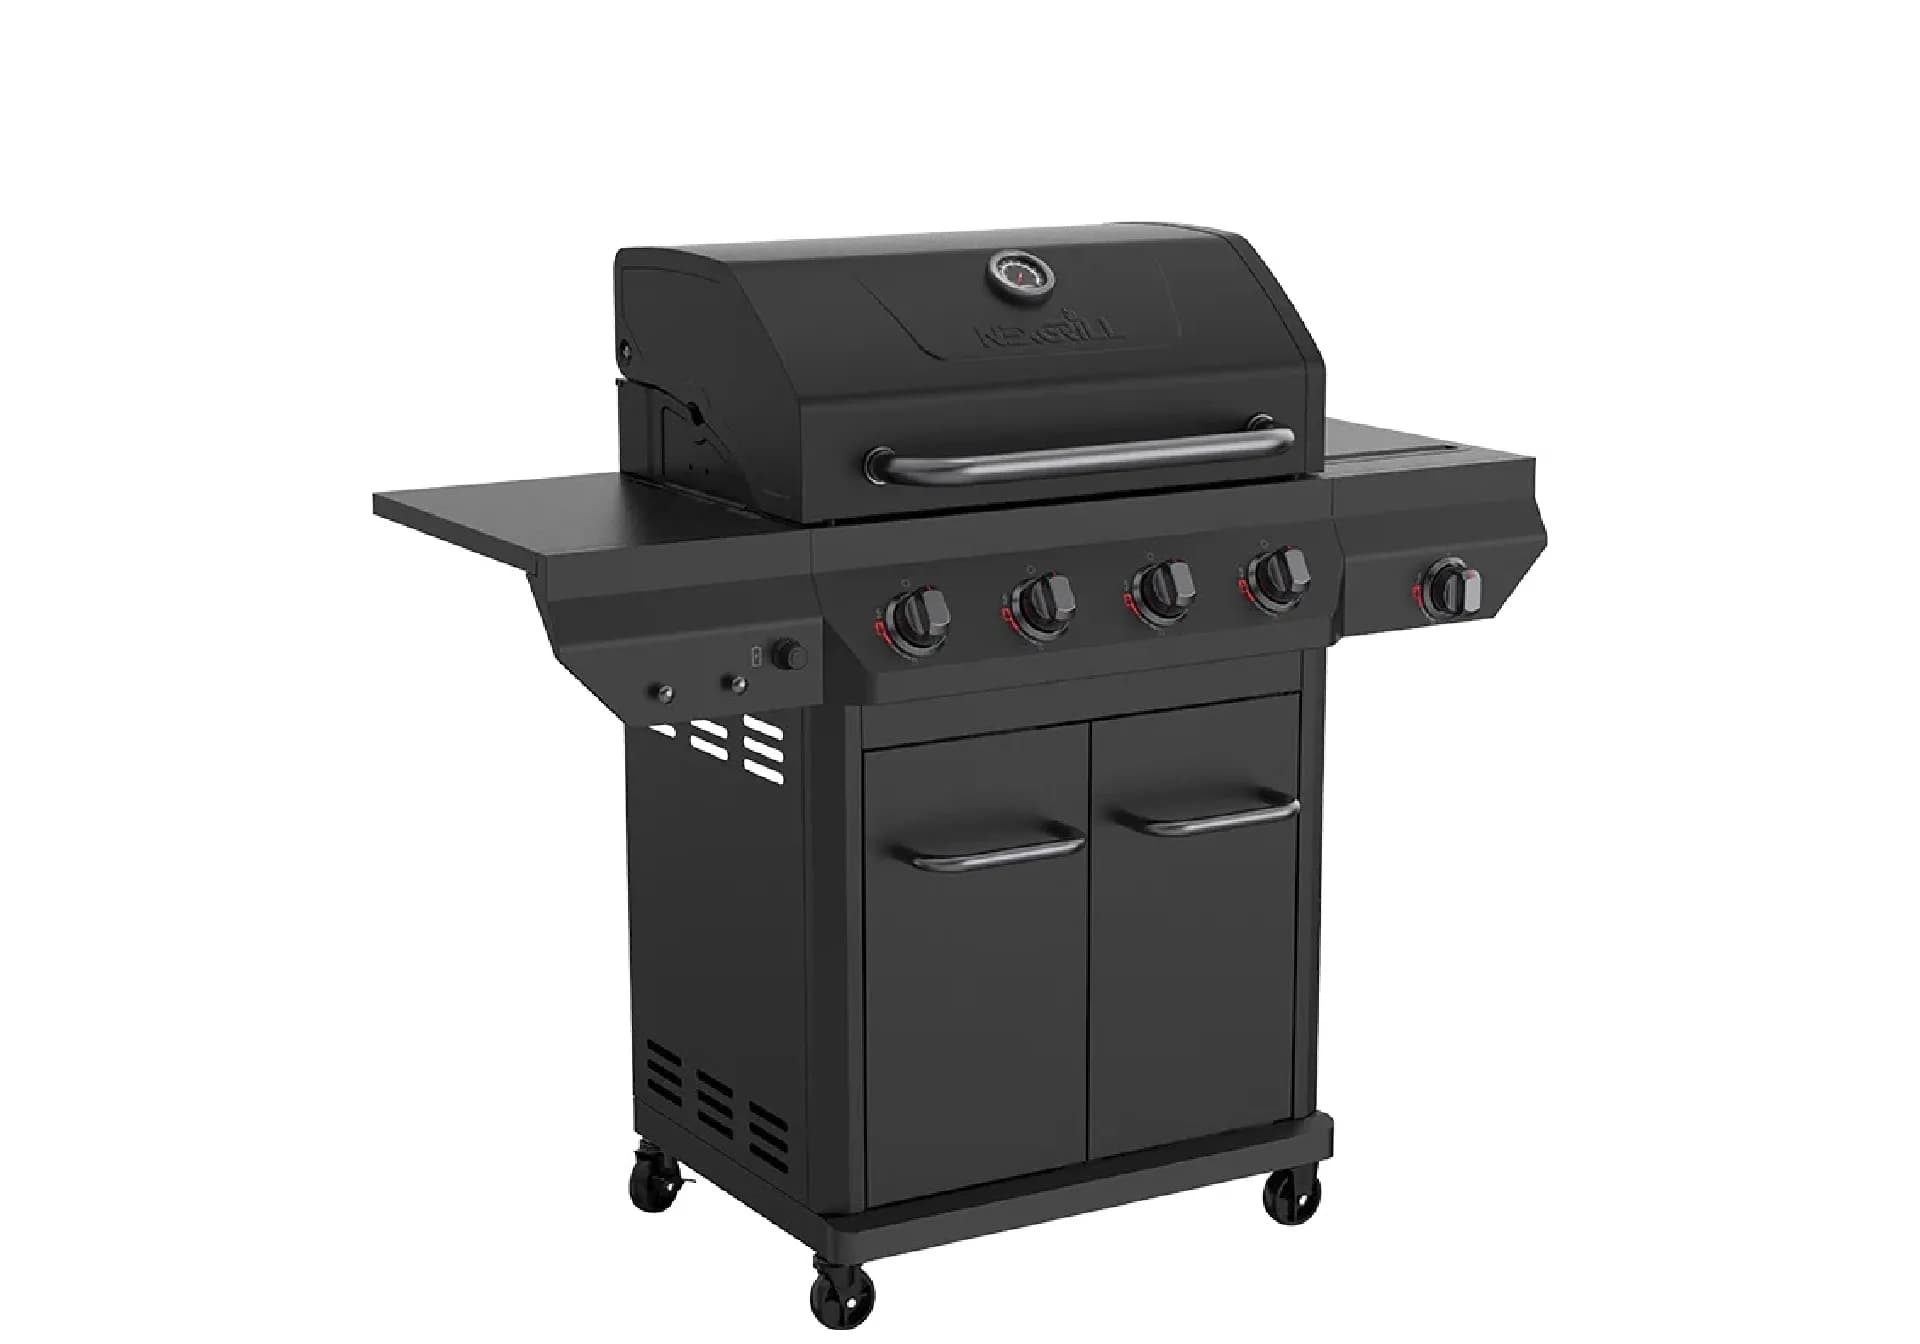
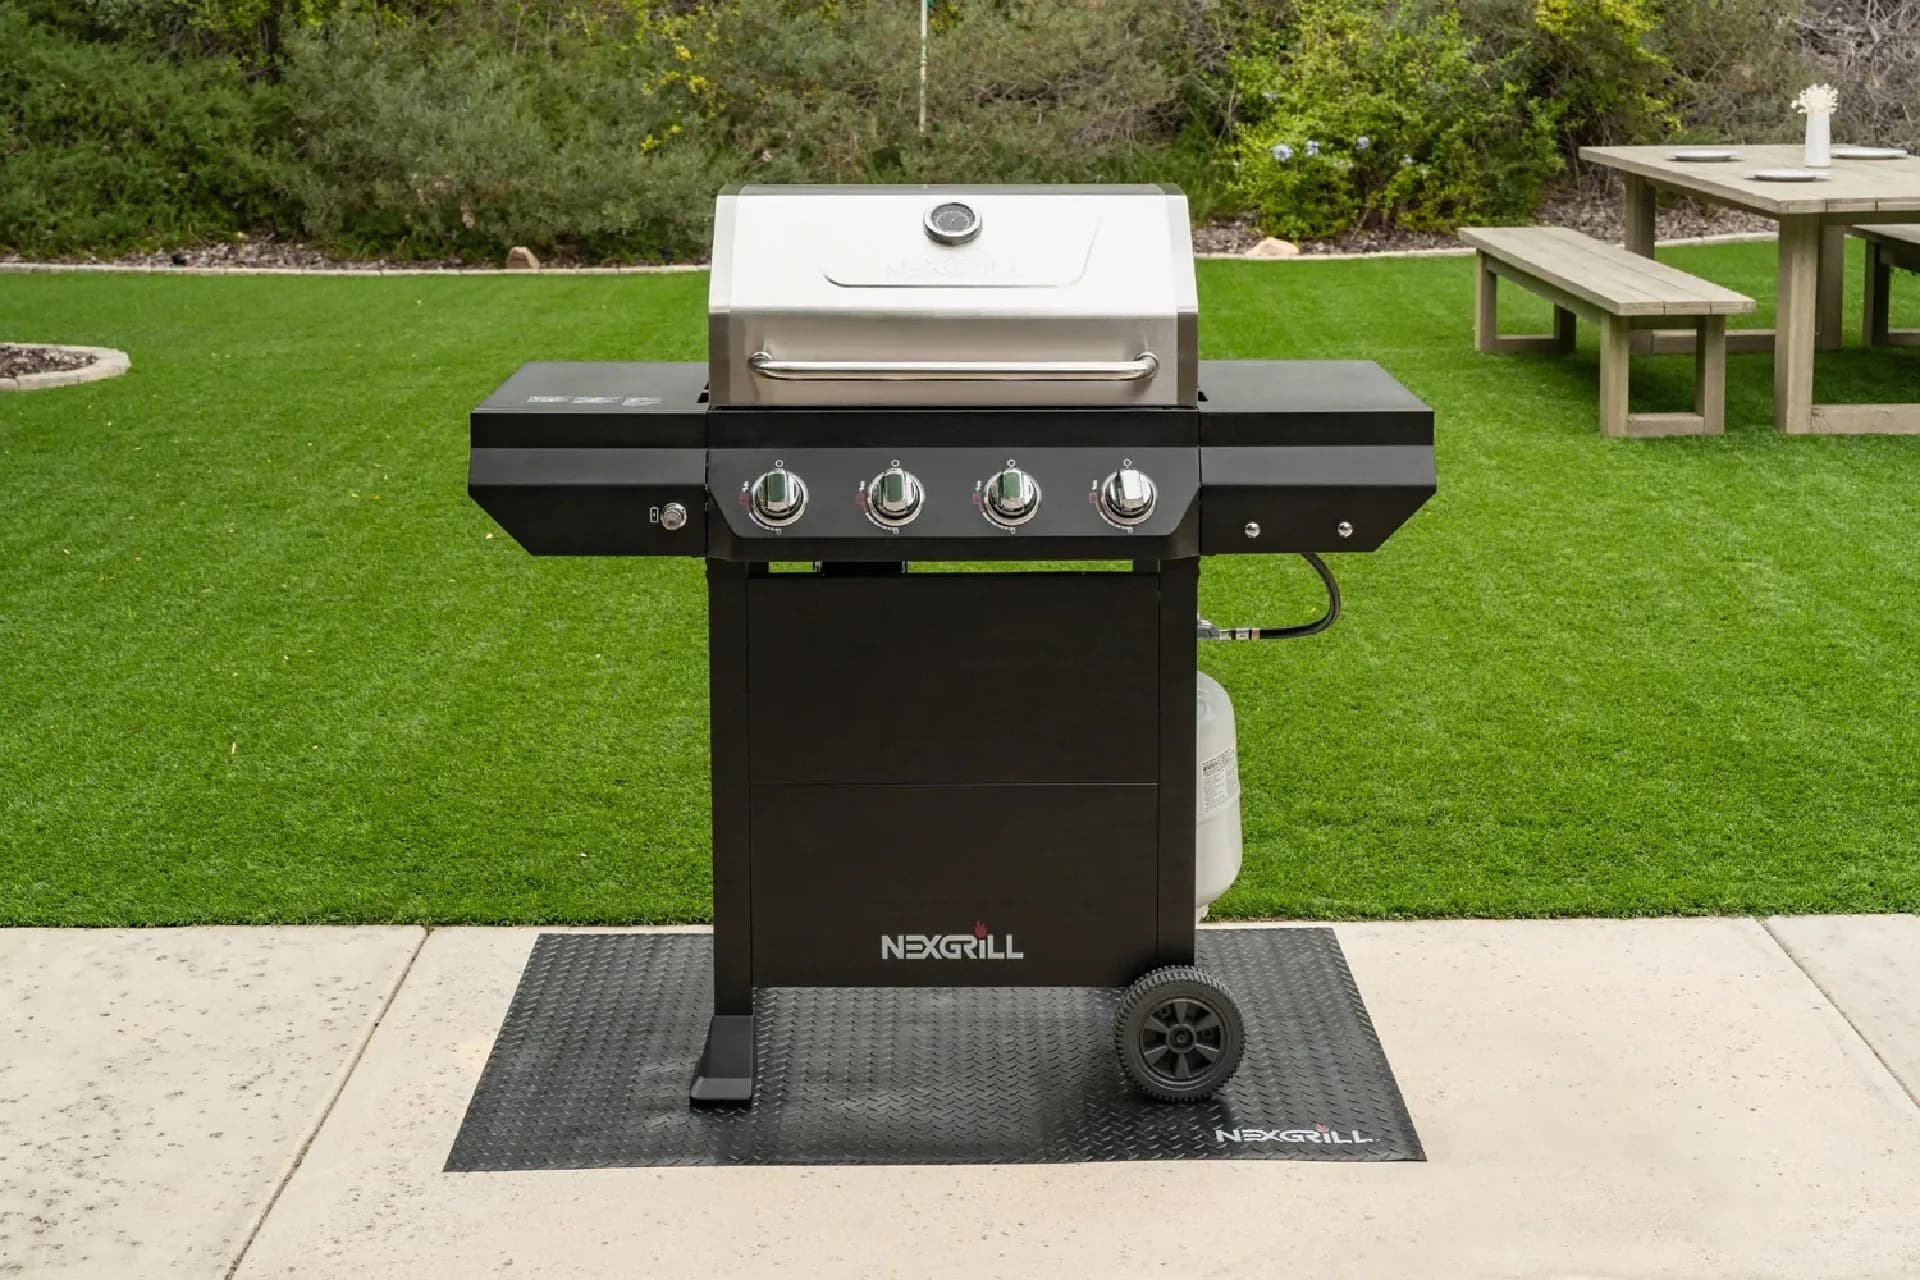
The 720-0888S is a model/part number stamped on the data plate and printed in the manual, not a marketing name. The same grill often ships under a different retail title, so the first step in any honest comparison is confirming exactly which grill you own. Nexgrill's current 4-burner propane line generally falls in a class range of roughly 500-650 sq in total cooking area and 40,000-60,000 BTU across the main burners. Treat those as class ranges, not specs for your badge - verify against your own manual.
On the Char-Broil side, the key mechanical difference is TRU-Infrared: an emitter plate sits between the burners and the grates. Char-Broil claims 'up to 50% fewer flare-ups' and 'up to 50% juicier food' - manufacturer claims, not independent lab results. What is verifiable is the behaviour: a hotter grate surface, fewer flare-ups, no exposed flame for direct char, and a less forgiving environment for low-and-slow work. Emitter plates are also a wear item. Nexgrill's 720-series uses conventional heat tents over tube burners. Brand parts are not interchangeable; only generic consumables - propane tank, matching-spec regulator, brushes - cross over.
Prerequisites: What to Gather Before You Light Anything
Collect four things: (1) the data plate photo and manual for your Nexgrill, (2) the exact model number of the Char-Broil you intend to test, (3) a full propane tank for each grill plus a spare, and (4) a cheap infrared thermometer and a notepad. The thermometer turns opinions into readings.
Warning: Never test two grills on different evenings or with different tank levels. A partially filled tank changes pressure and heat output, skewing every result.
Step 1: Confirm the Badge and Pull the Right Manual
Find the data plate - usually on the back of the firebox or inside the cabinet door - and photograph it. Then locate the manual matching the full 720-0888S string. Nexgrill's contact and product support page is the starting point for manual and parts requests; have the badge photo ready. For the Char-Broil, find the model plate (often on the side shelf or behind the control panel) and download the parts diagram before comparing features.
Step 2: Stage Both Grills on the Same Deck on the Same Evening
Wind and ambient temperature pull grate temperature down, so run both grills side by side under identical conditions. Place them at least 10 feet apart, out of the wind shadow of a wall if possible, and preheat each 15 minutes with the lid down. Record grate temperature at minute 10 and minute 15 with the infrared thermometer. This single reading tells you more about real cooking performance than any BTU figure on a box.
Step 3: Run Three Trials - Flare-Up, Sear, and Wind
Trial 1 - flare-up: cook two 80/20 ground chuck patties and one fatty pork shoulder steak on each grill at the same setting. Count visible flare-ups and note whether flames reach the food. Trial 2 - sear: sear a 1-inch ribeye, lid down 3 minutes per side, then lid up. Note crust color and flame contact. Trial 3 - wind: repeat a single burger with the lid open for 5 minutes and record the grate temperature drop. A grill that loses 150°F in a breeze behaves differently in October than in July.
Info: Judge infrared only after at least three cooks. Emitter plates change heat delivery, and one burger is not enough evidence.
Step 4: Log the Results Instead of Trusting One Burger
Create a log with columns for grill, trial, grate temp at start, grate temp at finish, flare-up count, and sear score (1-5). After three sessions you will have a pattern rather than a hunch - and the numbers, not brand loyalty, should drive the second-purchase decision.
Try comparing two products side by side below to see which fits best:
Once You Have Two Candidates Weighed Against Each Other
After the head-to-head, shift from cooking behaviour to ownership reality. The question is not which grill won one evening; it is which grill you can keep running well for five years. That means checking parts availability, wear-item costs, and how your cooking style matches the heat delivery you measured.
Which Grill Suits Which Owner: Three Profiles
| Owner profile | Best fit | Why |
|---|---|---|
| Weeknight griller, 2-4 people, wants predictable flare-up control | Char-Broil with TRU-Infrared | Emitter plate reduces flare-ups (per Char-Broil's claims) and suits lid-down cooking. |
| Weekend entertainer, 6+ guests, wants direct flame and char | Nexgrill 720-0888S-class | Conventional heat tents allow exposed-flame searing and a familiar gas-grill workflow. |
| Low-and-slow beginner who wants forgiving temperatures | Nexgrill (or a pellet smoker) | Infrared is less forgiving for long cooks; conventional burners are easier to dial back. |
Common Mistakes That Ruin a Grill Comparison
- Testing on different nights or with different tank levels - pressure differences change heat output.
- Judging infrared after one cook instead of three.
- Comparing cart design or dry weight instead of grate thickness and material, emitter or tent condition, burner tube condition, and lid sealing.
- Assuming the model number is the model - 720-0888S may be one of several retail variants.
Tip: Run a parts-availability drill before you commit. Look up the 720 number in Nexgrill's manual and parts resources, then search the Char-Broil parts finder for the exact model. If either brand cannot supply a burner tube or grate at year six, that is a real ownership cost.
The Year-Six Worksheet: Parts, Support, and Real Cost in USD
Estimate these ranges (all figures are estimates and vary by model and retailer):
| Item | Nexgrill 720-0888S-class | Char-Broil with infrared |
|---|---|---|
| Purchase price (new, comparable 4-burner) | $300-$500 | $350-$550 |
| First-year consumables/parts allowance | $30-$60 | $40-$80 |
| Burner tube set (year 5-7) | $60-$120 | $70-$140 |
| Cooking grate set | $50-$110 | $50-$110 |
| Emitter plates (wear item) | Not applicable | $40-$90 |
| Tank/regulator | $40-$70 | $40-$70 |
Short Checklist Before You Commit
- Badge confirmed and manual downloaded for both candidates.
- Three logged cooking sessions, not one.
- Parts finder checked for burner tubes, grates, and emitter plates.
- Year-six worksheet filled with your own quotes.
- Cooking style matched to heat delivery (infrared vs. exposed flame).
For current Nexgrill models and support resources, start at Nexgrill's product catalog.