Grill Temperature Gauge Replacement: A Complete Guide
Learn how to replace your grill's temperature gauge with ease and confidence.
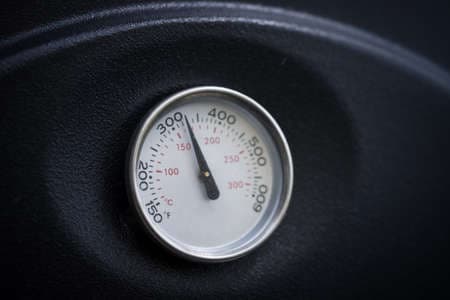
Image via 123RF
In This Article
Signs of Failure
Installation Tips
Maintenance Advice
Introduction to Grill Temperature Gauges
A grill temperature gauge is an essential tool in achieving the perfect barbecue. It provides real-time feedback on the internal temperature of your grill, ensuring that your food is cooked at the optimal heat level. Whether you're a casual backyard cook or a seasoned griller, understanding how to maintain and replace your grill's temperature gauge can significantly enhance your cooking experience.
Over time, due to exposure to high heat and the elements, grill temperature gauges can become inaccurate or fail altogether. Knowing when and how to replace these gauges can save you from undercooked or overcooked meals. Moreover, advancements in technology have introduced various types of gauges, from traditional analog to modern digital versions, each offering unique benefits.
Signs of a Failing Temperature Gauge
Identifying when your grill's temperature gauge is failing is crucial for maintaining the quality of your grilling. Here are some common signs that indicate a replacement might be necessary:
- Inconsistent temperature readings, which may vary drastically from one use to the next.
- Visible damage such as cracks or fogging on the gauge face, which can interfere with accurate readings.
- The needle on an analog gauge remains stuck or moves erratically.
- Digital gauges failing to power on or showing error messages.
If you notice any of these issues, it's time to consider replacing your grill's temperature gauge to ensure precise cooking results.
Choosing the Right Replacement Gauge
Selecting the right replacement temperature gauge for your grill involves understanding the different types available and their compatibility with your grill model. Here are key considerations:
- Type of Gauge: Decide between analog and digital. Analog gauges are durable and simple, while digital versions offer more precision and additional features like multiple probes.
- Compatibility: Ensure the gauge fits your grill's mounting holes and can withstand the grill's temperature range.
- Features: Look for readability, range, and whether the gauge is waterproof or weather-resistant.
By carefully evaluating these factors, you can choose a temperature gauge that complements your grilling style and needs.
Installation Guide for Popular Grill Brands
Installing a new temperature gauge on your grill can be a straightforward process if you follow the right steps. Here’s a general guide tailored to some popular grill brands:
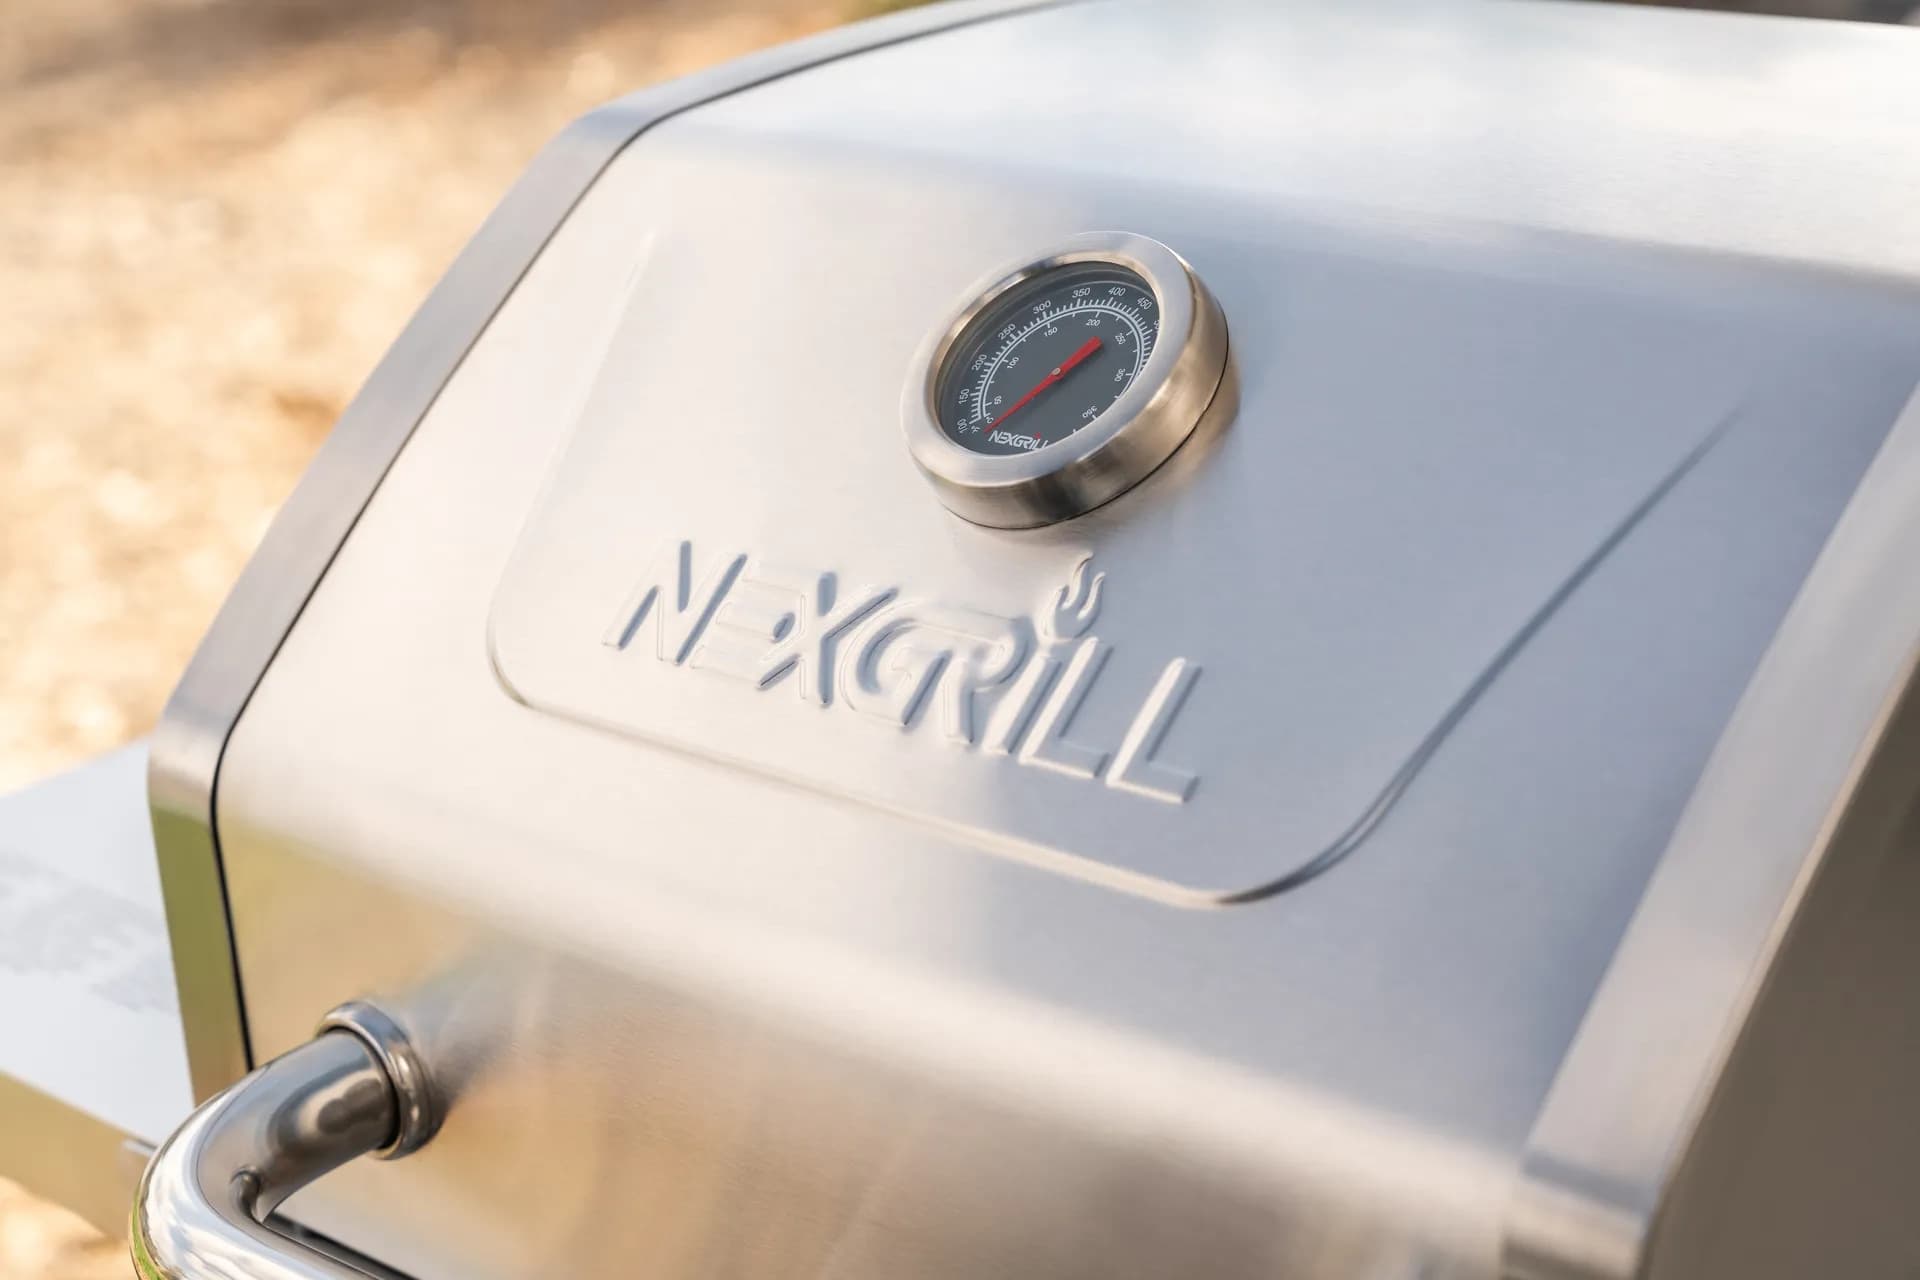
- Nexgrill: Locate the mounting hole on the hood, remove the old gauge by unscrewing it, and insert the new gauge. Ensure the probe is correctly positioned inside the grill.
- Weber: Similar to Nexgrill, but make sure to check for a snug fit to prevent steam from escaping, which could affect readings.
- Char-Broil: Some models may have a clip mechanism. Ensure the clips are securely fastened to hold the gauge in place.
Always refer to the manufacturer's instructions for specific details regarding your model.
Maintenance Tips for Longevity
Proper maintenance of your grill temperature gauge can extend its lifespan and ensure accurate readings. Here are some tips:
- Regularly clean the gauge face to remove grease and soot buildup.
- Check the probe for any signs of rust or damage and clean it with a soft cloth.
- Store your grill under a cover or in a sheltered area to protect the gauge from harsh weather conditions.
Consistent maintenance will keep your gauge functioning correctly for years to come.
Troubleshooting Common Issues
Even with regular care, you might face occasional issues with your grill temperature gauge. Here’s how to troubleshoot common problems:
- If the gauge is not reading correctly, try recalibrating according to the manufacturer's instructions.
- For digital gauges, ensure the batteries are fresh and connections are secure.
- If the gauge face is fogged, gently clean it and check for cracks that might allow moisture inside.
Addressing these issues promptly can prevent further damage and ensure your grilling sessions go smoothly.
Conclusion
A functioning temperature gauge is integral to achieving the best grilling results. By understanding how to identify issues, choose the right replacement, and maintain your gauge, you ensure that every grilling session is successful. For more detailed guidance, please visit the following sources.