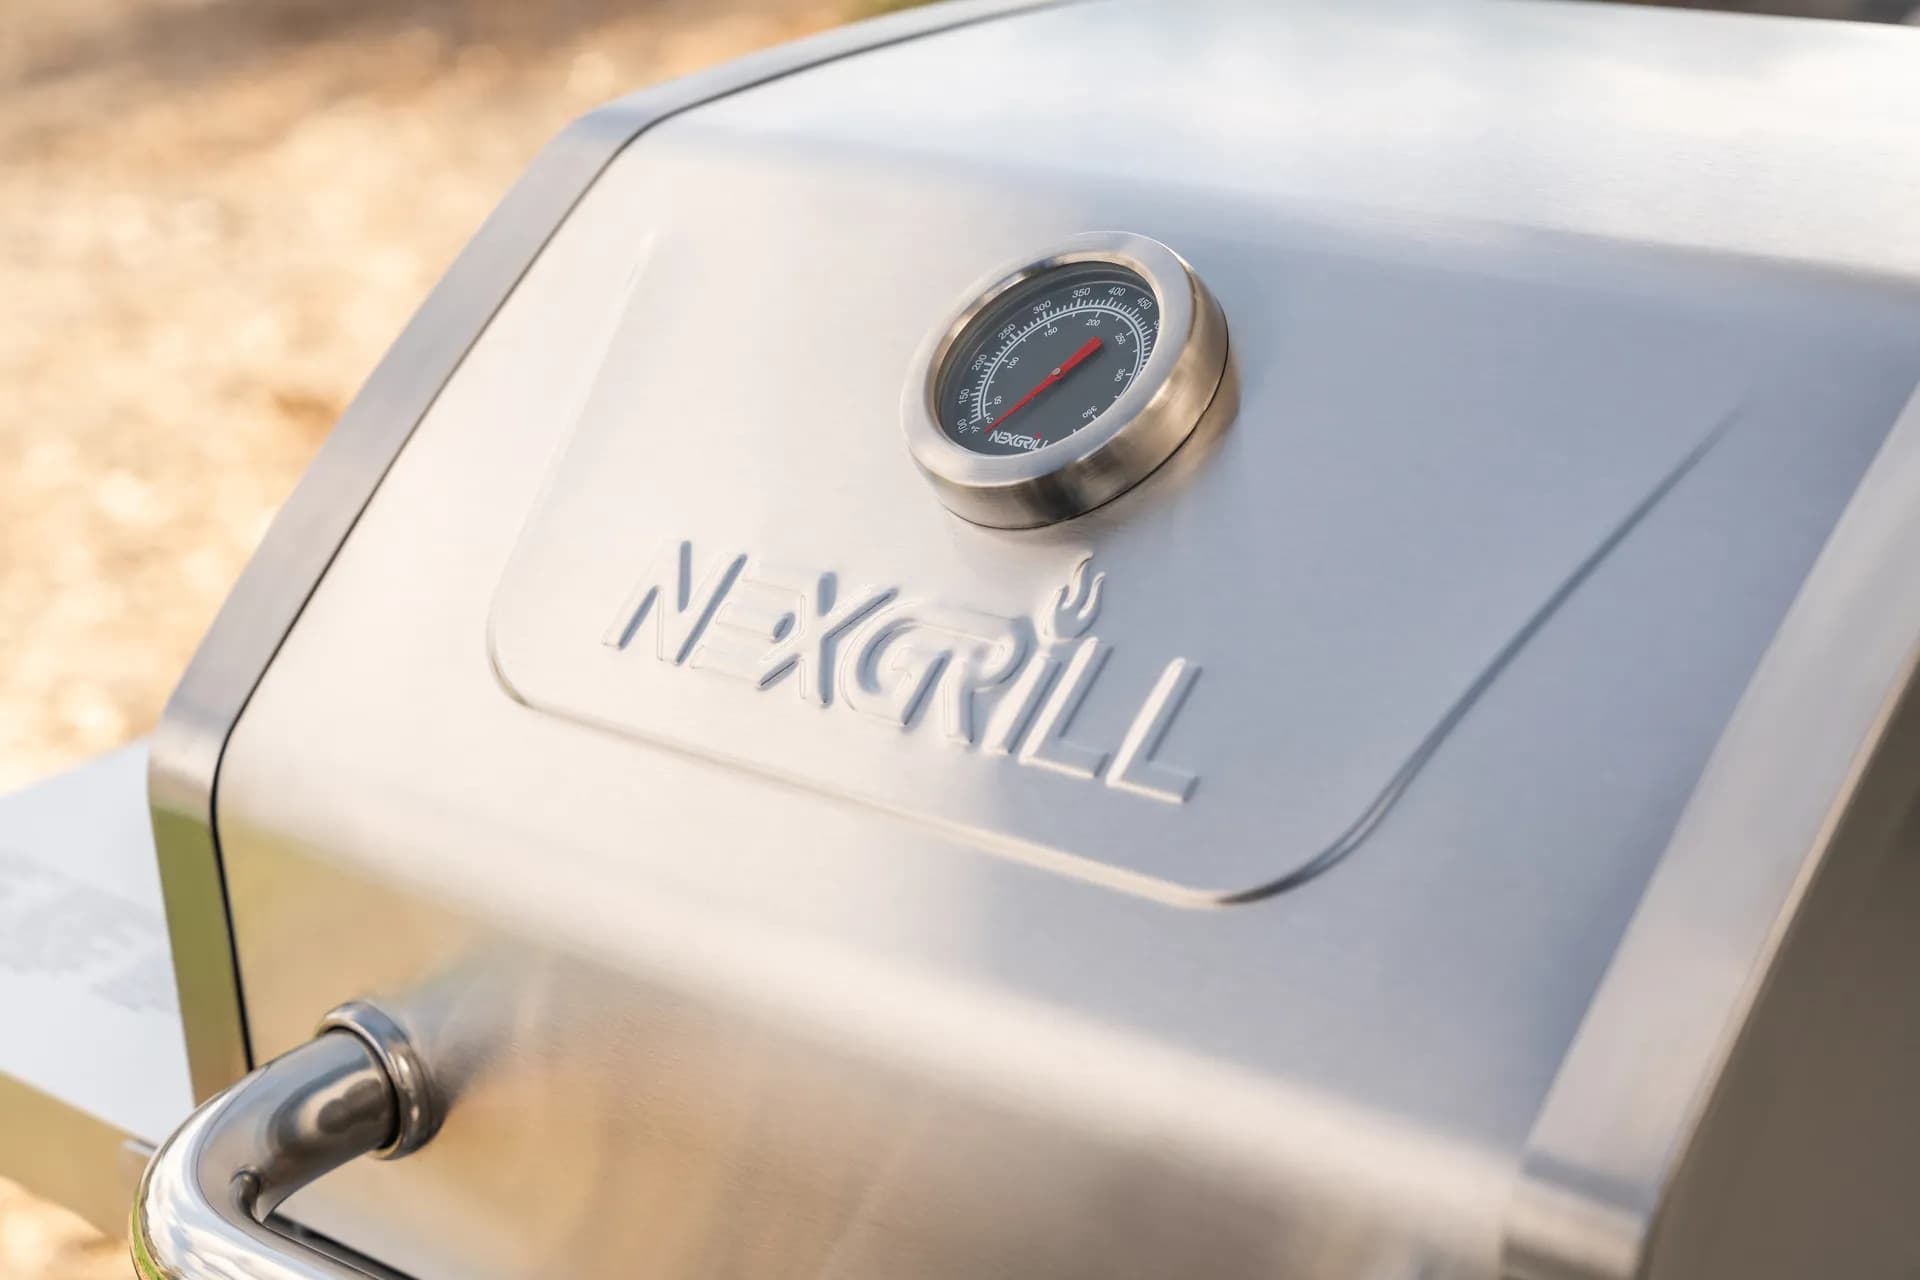
Comprehensive Grill Maintenance Schedule Review
A detailed guide to maintaining your grill for optimal performance.
Image via 123RF
In This Article
Types of Grills
Cleaning Techniques
Seasonal Tips
Introduction to Grill Maintenance
A good grill maintenance schedule is less about keeping things spotless for the sake of appearance and more about protecting the parts that actually affect cooking. Grease buildup can interfere with heat flow, ash can block airflow, and moisture can shorten the life of burners, grates, and flavorizer components. In practical terms, the difference between a grill that cooks evenly for years and one that starts to feel unpredictable often comes down to small, repeatable habits done on the right timeline. That is why a grill-maintenance-schedule-review is useful: it turns upkeep into a routine instead of a last-minute cleanup after something goes wrong.
The best schedule depends on how often you cook, what type of fuel you use, and how exposed your grill is to weather. A family that grills three nights a week will need a very different rhythm than someone who fires up the grill only on holidays. Gas, charcoal, and pellet grills each have their own weak spots. Gas units need burner and ignition checks. Charcoal grills need ash removal and airflow management. Pellet grills need hopper care, ash vacuuming, and probe checks. A schedule that ignores those differences usually misses the real problem areas.
The goal is not to deep-clean every part after every cook. The goal is to clean the right parts at the right interval so grease, ash, and residue never get ahead of you.
Gas, charcoal, and pellet grills each need different maintenance rhythms.
For Nexgrill owners, maintenance also supports the kind of cooking experience the brand is built around: dependable, approachable, and ready for real-life gatherings. A well-kept grill preheats faster, recovers heat more consistently after the lid opens, and is less likely to surprise you with flare-ups caused by old grease or blocked channels. That matters whether you are cooking chicken thighs for the family or running a bigger weekend spread with vegetables, steaks, and sides all moving at once.
This guide focuses on a structured maintenance schedule, then gets into the practical methods that make the schedule easy to follow. You will see how often to handle light, regular, and heavy-use upkeep, what to inspect on each grill type, and which household products are actually useful. If you have ever wondered whether a quick wipe-down is enough or when a full teardown is worth the effort, the sections below give you a simple way to decide.
Understanding Different Types of Grills
Gas grills are usually the easiest to maintain on a weekly basis because the cleanup mostly centers on grates, burners, grease trays, and the exterior surfaces. The important detail is that gas grills can look clean on top while hidden residue collects underneath. Burners can become clogged by grease drips or debris, and ignition systems can become less reliable if they are not kept dry and clear. For a gas grill, routine inspection matters as much as visible cleaning because a small blockage can affect how evenly the burners heat.
Charcoal grills are simpler in some ways and more demanding in others. They do not have gas lines, igniters, or burner tubes, but they generate ash, and ash has a way of lingering where you least want it. If ash is left behind, it can trap moisture, create odor, and restrict airflow through the vents. That airflow is what helps charcoal burn steadily, so keeping the bowl and vent openings clean is a direct part of cooking performance, not just housekeeping.
Pellet grills add another layer of care because they rely on mechanical feeding systems and temperature probes. In addition to grate and drip-tray cleaning, pellet owners need to watch the fire pot, ash collection, hopper, and auger area. Fine ash can accumulate faster than many new owners expect, especially if the grill is used for low-and-slow cooking sessions. Pellets can also absorb moisture if left in the hopper too long, which can lead to feeding problems. That makes pellet maintenance a mix of cleaning and storage discipline.
| Grill type | Main maintenance focus | Most overlooked risk |
|---|---|---|
| Gas | Burners, grates, grease system, ignition | Hidden clogging and uneven flames |
| Charcoal | Ash removal, vents, bowl, grates | Restricted airflow and moisture retention |
| Pellet | Fire pot, hopper, drip tray, probes | Ash buildup and damp pellets |
These differences are why a single maintenance checklist rarely works well for every grill in the backyard. A gas grill owner may need to focus on burner coverage and grease management, while a pellet grill owner needs to think more like a cook and a machine operator at the same time. The right schedule recognizes that distinction and assigns simple tasks at predictable intervals so nothing becomes a major cleanup project.
Detailed Grill Maintenance Schedule
A useful maintenance schedule starts with usage frequency. Light-use grills, used once or twice a month, can often get by with a lighter routine, but they still need checks before and after cooking sessions. Regular-use grills, fired up weekly or more, need a tighter cycle because residue builds faster and small problems show up sooner. Heavy-use grills, especially those used several times a week or for long cooks, should be treated like working equipment that needs frequent attention. If you are cooking often, maintenance is part of the cooking process itself.
After every cook, remove food residue from the grates while they are still warm enough to loosen grease but not so hot that cleaning becomes awkward. Empty or scrape grease catch areas regularly, especially on gas and pellet grills where drippings can collect quickly. For charcoal grills, dispose of ash only after it is completely cool, then check the bottom vents to make sure nothing is blocking airflow. A quick post-cook routine only takes a few minutes, but it prevents the kind of buildup that turns a simple wipe-down into a stubborn scrubbing job later.
Weekly tasks depend on usage level. For light-use grills, a weekly visual check may be enough: inspect grates, tray liners, knobs, lids, and connection points. For regular-use gas grills, clean grates more thoroughly, inspect burners for even flame patterns, and clear the grease tray. For pellet grills, inspect the fire pot for ash and verify that the temperature probe area is free of residue. For charcoal grills, make sure the ash catcher and vents are clear and the interior bowl is dry before storing the grill.
| Usage level | After each cook | Weekly | Monthly |
|---|---|---|---|
| Light | Brush grates, empty ash or grease if visible | Inspect surfaces, lid, vents, and storage cover | Deep clean grates and interior surfaces |
| Regular | Brush grates, wipe spill areas, clear tray | Inspect burners or fire pot, clean grease system | Deep clean, check hardware, test ignition or probes |
| Heavy | Brush and scrape, manage grease, remove ash | Full internal inspection and component cleaning | Major cleaning, fastener check, performance review |
Monthly maintenance is where many grills either stay in good shape or start sliding backward. This is the time to remove grates and clean below them, look for corrosion or loose fasteners, test knobs or controls, and inspect heat deflectors or drip plates. On gas grills, check for burner ports that may be partially blocked. On pellet grills, vacuum ash from accessible areas and confirm that the hopper and auger path are free of damp fuel. On charcoal grills, clean the bowl, vent edges, and grate supports so the grill is ready for the next cook instead of accumulating residue from several sessions.
For grills used heavily in a humid or coastal environment, inspection matters even more because moisture can accelerate surface wear. In those cases, a simple monthly schedule may not be enough if the grill is sitting outdoors uncovered. A covered grill still benefits from a glance under the lid and around the base, because trapped moisture or drips can create issues below the surface. If you see uneven flame, sluggish ignition, bitter smoke, or pellets feeding inconsistently, it is usually a sign that the maintenance cycle needs to become more frequent rather than more aggressive all at once.
Specific Cleaning Techniques
The best cleaning technique depends on the surface you are cleaning and how long the residue has been sitting there. Warm grates are easier to clean than cold, hardened ones, which is why many cooks brush grates right after cooking. A sturdy grill brush or scraper can remove loose residue quickly, while a damp cloth can finish the job on exterior surfaces once the grill has cooled. For tougher buildup, a paste made from baking soda and water can help lift stuck-on grease from metal parts without relying on harsh chemicals. This is especially useful on lids, side shelves, and grease-resistant surfaces that need a little more than a dry wipe.
For removable metal grates, a soak in warm water with mild dish soap can loosen residue before brushing. That method works well for many home grillers, but the key is to dry the grates thoroughly afterward so they do not flash-rust or collect moisture in storage. On porcelain-coated parts, use a softer brush or non-abrasive pad to avoid damaging the coating. Stainless steel surfaces generally respond well to a microfiber cloth and mild soap solution, followed by a dry wipe to prevent streaking. The cleaner the surface is kept between deep cleans, the easier each session becomes.
A simple baking soda paste, warm water, mild dish soap, microfiber cloths, and a grill brush handle most household grill-cleaning jobs without much fuss.
Use household products carefully and with purpose. Vinegar can help loosen light mineral film on exterior surfaces, but it should not be used carelessly on every component. Baking soda is better for scrubbing than soaking. Dish soap is a good general cleaner for many removable parts, but it should always be rinsed away thoroughly. Avoid anything abrasive enough to scratch grates or protective finishes, and never clean electrical components or active burners with soaking methods. Pellet grill probes and electronic controls should be wiped, not submerged. Gas connections should be checked for residue and wear, not sprayed randomly with household cleaners.
If you want a simple process, think in layers: first remove loose debris, then wash what is safe to remove, then wipe the fixed surfaces, and finally dry everything before reassembly. That sequence is often more effective than trying to scrub every part at once. It also helps you notice wear, discoloration, or buildup patterns that suggest a specific problem area. For example, grease concentrated on one side of a gas grill can point to an uneven drip path, while ash concentrated near one edge of a pellet fire pot may suggest airflow or feeding imbalance.
Try comparing two products side by side below to see which fits best:
Seasonal Maintenance Tips
Seasonal maintenance is where a grill-maintenance-schedule-review becomes truly practical, because weather affects how grime, moisture, and storage conditions interact with your grill. In spring, the main goal is to wake the grill up carefully after a period of low use. Remove the cover, inspect for rust spots, check the interior for dust or debris, and test all moving or mechanical parts before the first serious cook. Spring is also a good time to clean around burners, inspect hoses or cords, and make sure the grill is stable and level before a busy season begins.
Summer maintenance is more about rhythm than overhaul. If the grill is used frequently, a faster weekly cycle matters because grease and soot accumulate quickly during high-volume cooking. Hot weather can also make residue soften and smear, which means wiping surfaces sooner is often easier than waiting until the buildup hardens. For pellet grills, summer humidity can make fuel storage more important, so keep pellets sealed and dry. For charcoal grills, make sure leftover briquettes and ash are fully cooled before disposal. For gas grills, summer is the season to pay attention to flame stability because high use tends to reveal burner issues faster.
Fall is the best time to perform a more complete reset. Before cold weather arrives, give the grill a deep clean, inspect worn parts, and replace anything that looks brittle or heavily corroded. If you plan to keep grilling through the colder months, move the grill to a more protected location if possible and make sure the cover fits securely. If the grill will be stored for winter, empty charcoal and ash, remove moisture-trapping debris, and store pellet fuel in a dry place indoors. A grill stored clean will be much easier to restart in spring than one left with damp residue inside.
Winter care depends on how you use the grill. Some households grill all year and simply shorten their sessions. Others store the grill away completely. In either case, the priorities are the same: keep moisture out, check the cover after storms or heavy wind, and make sure any access points where water can pool are cleared. If you live in a climate with freeze-thaw cycles, small cracks or corrosion can worsen faster when moisture is allowed to sit on metal surfaces. This is why winter is a good time for visual inspections even if cooking happens less often.
DIY Solutions for Grill Maintenance
DIY grill maintenance works best when you treat it like a targeted cleaning system rather than a do-it-all chemical fix. Many household products are useful, but they are most effective when matched to the right job. Baking soda mixed with water is one of the most reliable options for loosening stuck residue on grates, lids, and trays. White vinegar can help cut through light grime on stainless steel surfaces or outer panels, especially when followed by a clean water wipe and dry cloth. Mild dish soap remains the safest general-purpose cleaner for removable parts because it removes grease without leaving heavy residue behind.
For a basic homemade cleaner, combine warm water, a small amount of dish soap, and a soft cloth. For tougher residue, make a baking soda paste and let it sit briefly before scrubbing. If you are dealing with burnt-on grease in a drip tray, warm water and soap usually work better than aggressive scouring. When using any DIY mix, the important part is to rinse and dry fully. Leftover soap film can attract dust, and trapped moisture can accelerate corrosion.
| Task | Best DIY option | Use with caution |
|---|---|---|
| Grates | Warm water, dish soap, baking soda paste | Abrasive scouring pads |
| Exterior panels | Microfiber cloth, diluted vinegar, mild soap | Harsh chemical sprays on coatings |
| Grease trays | Hot soapy water and scraper | Soaking near electrical components |
| Ash areas | Dry brush and shop vacuum designed for ash | Water on warm ash |
Some signs point to a need for professional servicing rather than more cleaning. If a gas grill has persistent ignition problems, repeated low heat on multiple burners, or visible damage to hoses or valves, it should be inspected by a qualified technician. If a pellet grill cannot maintain temperature after the fire pot and sensor areas are cleaned, the issue may be mechanical rather than cosmetic. If you notice warped parts, severe rust, or recurring flame irregularities, no cleaning routine will fully solve the underlying problem. The same is true if the grill has any signs of gas leakage, which should never be treated as a DIY cleaning issue.
For most owners, though, DIY maintenance covers the bulk of what a grill needs. The key is consistency. A few minutes after each cook, a weekly check for regular users, and a monthly deeper clean will prevent most of the common problems people associate with aging grills. That steady routine also helps preserve the flavor of your food, since old grease and soot are much more likely to create off flavors than a grill that is kept in rotation and cleaned on schedule.
Conclusion: Importance of Regular Maintenance
A grill-maintenance-schedule-review is ultimately about making grill care predictable instead of reactive. When you match your cleaning routine to the type of grill you own and how often you use it, you reduce wear, improve performance, and make every cook more reliable. Whether your backyard setup is gas, charcoal, or pellet, a clear schedule will always pay off in better heat control, easier cleanup, and a longer-lasting grill.
The simplest plan is also the most effective: clean after each cook, inspect weekly if you grill often, and commit to a deeper seasonal reset. That rhythm takes the guesswork out of maintenance and keeps small issues from becoming expensive repairs. Once you compare two models side by side, use that same habit of careful comparison to keep your grill in top shape all year long.