Your Guide to Buying a Replacement Ignition Kit for Grills
Ensure your grill lights up with the right ignition kit.
In This Article
Types of Igniters
Installation Tips
Troubleshooting Ignition Issues
Introduction
A dead grill igniter can turn a quick weeknight cookout into a frustrating guessing game. If your burners are in good shape but the grill will not spark, or you need to hold the button down repeatedly before anything lights, the ignition system is usually the first place to look. For many homeowners, the most practical fix is to buy a replacement ignition kit for grill use that matches the original layout, mount style, and wire count instead of replacing the entire appliance.
This guide is written for the moment when you already know the problem is likely the ignition kit, but you still need help narrowing down the right part. The biggest mistake buyers make is shopping by appearance alone. A button can look right and still fail to fit the electrode spacing, wire length, or control panel opening. Another common issue is replacing the igniter before checking simpler causes, such as a corroded battery contact, loose wire, moisture in the collector box, or a clogged burner port.
If your grill lights manually with a match but not with the igniter, the burner system may be fine and the ignition hardware may be the real problem.
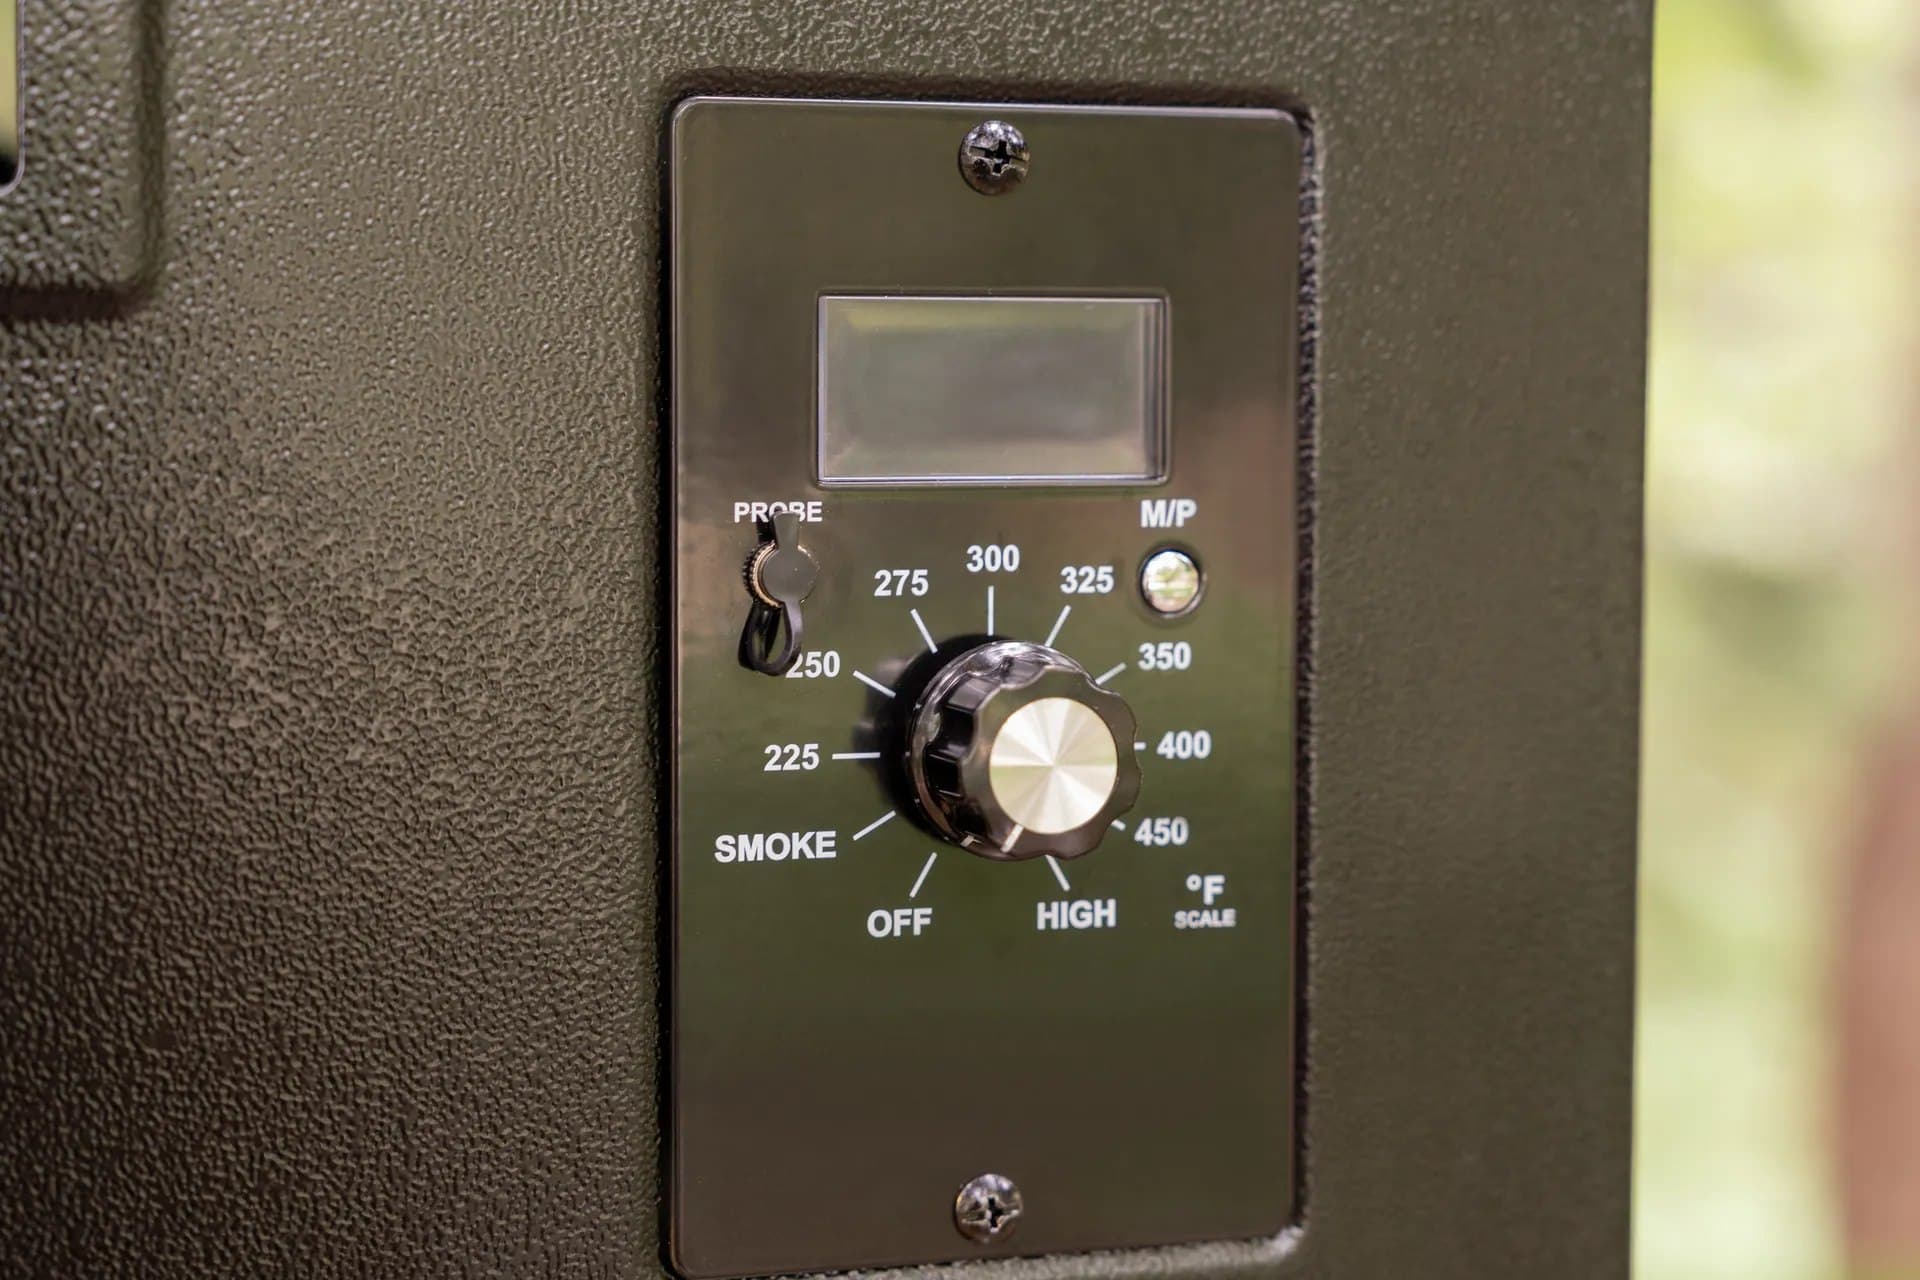
can determine whether the whole grill is ready for service or stuck waiting for a spark
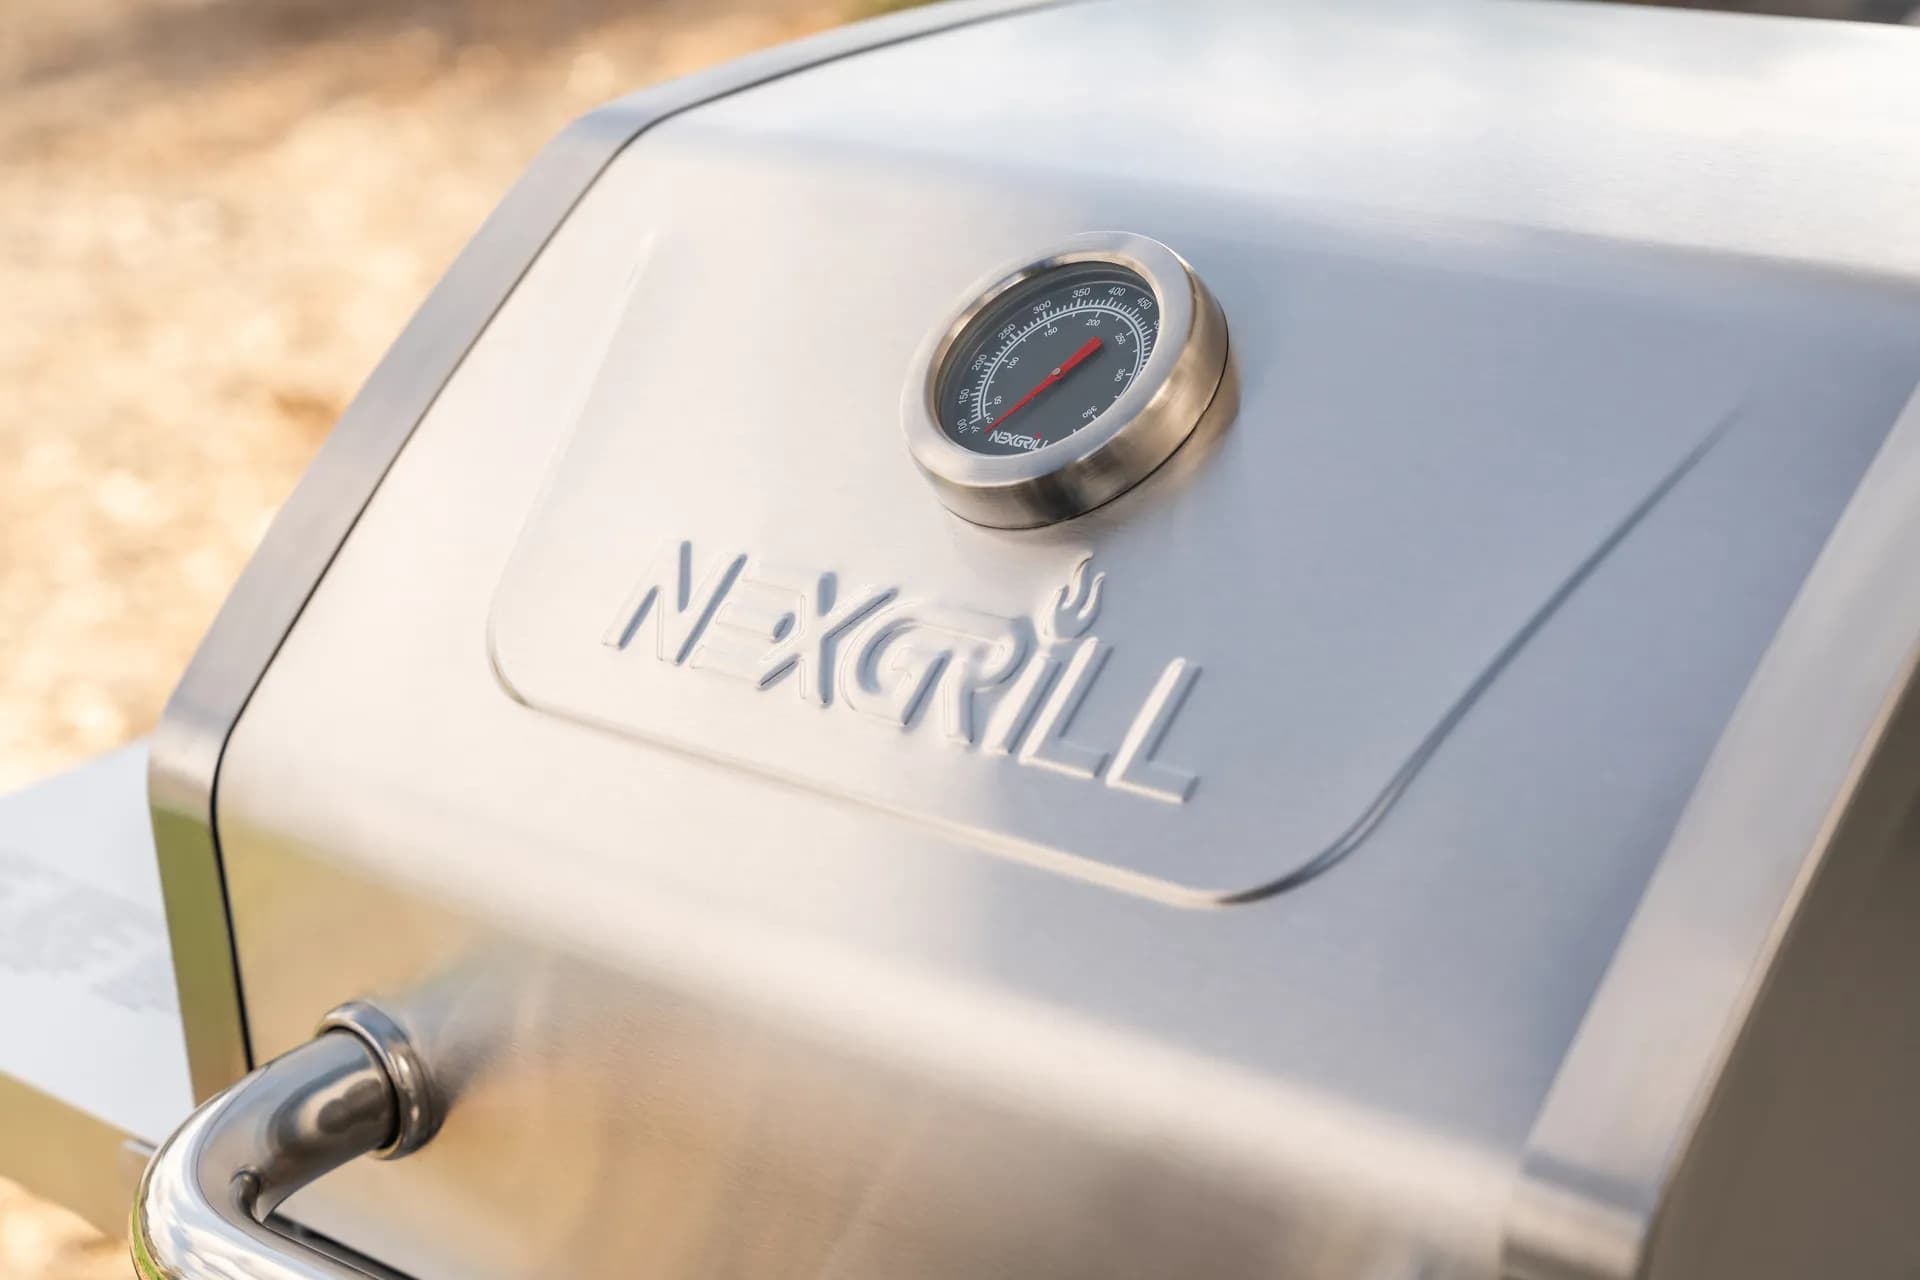
Because grill models vary so much, the smartest approach is to identify the ignition style first, then verify compatibility against the grill’s make, model, and burner count. That process saves time, avoids returns, and helps you install the part confidently the first time. Nexgrill owners in particular should pay attention to the way the ignition module, electrodes, and wires are arranged inside the control area, since a matching replacement usually depends on the exact configuration rather than just the brand name on the front panel.
Understanding Types of Igniters
Not all grill ignition kits work the same way. Some use a simple mechanical spark, while others rely on a battery or electrical pulse to create ignition at multiple burners. Knowing the type you have is the quickest way to avoid buying the wrong kit. In practical terms, the ignition system is the bridge between your action at the control knob and the spark that lights the gas.
| Igniter type | How it works | Best fit | Buyer watch-out |
|---|---|---|---|
| Piezoelectric | Creates a spark when the button is pressed mechanically. | Simple, durable systems with no battery dependency. | Button feel and mounting style must match the panel. |
| Battery-powered electronic | Uses a battery to power a spark module. | Multi-burner grills where consistent spark delivery matters. | Check battery compartment size, polarity, and wire count. |
| Push-button module | A dedicated button sends spark to one or more electrodes. | Grills with a separate ignition button on the control panel. | Look closely at connector shape and electrode lead length. |
| Rotary or control-knob ignition | Spark is triggered when the knob is turned to ignite. | Models designed with integrated control-front ignition. | Must align with the knob shaft and control assembly design. |
Piezoelectric igniters are popular because they are mechanically simple. When the button is pressed, an internal crystal produces a spark without needing a battery. That simplicity can make them appealing for owners who want fewer parts to maintain. Electronic igniters, by contrast, are common on larger grills because they can send spark to several burners and often provide a more uniform lighting experience across the cooking surface. The trade-off is that electronic kits bring more wiring and more points that need to line up correctly.
Do not assume a “universal” igniter is truly plug-and-play. Even when the spark function is similar, mounting tabs, wire routing, and connector ends can differ.
For many buyers, the most useful detail is not the technical name but the installation footprint. Ask yourself whether the kit includes one electrode or several, whether the button mounts through a round hole or a rectangular opening, and whether the wire harness reaches from the control panel to each burner without strain. Those physical details usually matter more than the marketing description on the package. A good replacement should feel like a controlled swap, not a forced adaptation.
Choosing the Right Igniter for Your Grill
The best way to choose a replacement ignition kit is to start with the grill model number and work backward from the parts layout. That may sound obvious, but it is the step most shoppers skip when they are trying to get back to cooking quickly. A proper match usually depends on four things: the ignition style, the number of burners or electrodes, the mounting shape, and the connector arrangement. If any one of those is off, the kit may not fit even if the product title looks close.
Begin by checking the grill’s identification label, often found on the back panel, inside the cart door, or under a side shelf. Once you have the model number, compare it with the replacement part listing and verify whether the igniter is designed for a single-burner setup, a two-burner side-by-side layout, or a larger multi-burner frame. If your grill has a side burner, rear burner, or sear burner, those components may require a separate electrode lead or a different module entirely.
The safest purchase is usually the kit that matches your exact model family and includes the same number of spark leads as the original assembly.
Compatibility is also about physical routing. Measure the distance from the ignition button or module to the burner electrode locations before ordering. Wires that are too short can fail to reach, while wires that are unnecessarily long may touch hot surfaces or interfere with moving parts. On some grills, the original harness is clipped behind the control panel, so a replacement with the wrong clip style can create a loose installation even if the spark itself works.
If you are unsure whether to choose a complete kit or only a single igniter, think about condition as well as failure point. If the button is worn, the electrode wire is brittle, or the mounting hardware is corroded, a full kit is usually the cleaner fix. If only one burner has stopped lighting and the rest of the system is in good shape, a targeted replacement may be enough. In either case, avoid buying only by burner count; compare the grill’s original configuration to the replacement photos and dimensions before you place the order.
| What to verify before buying | Why it matters |
|---|---|
| Grill model number | The quickest way to narrow the correct part family. |
| Number of burner electrodes | Determines whether one lead or multiple leads are needed. |
| Button or module opening | Ensures the new ignition piece fits the control panel cleanly. |
| Wire length and connectors | Prevents stretching, loose fit, or connection mismatch. |
For Nexgrill buyers, the most reliable path is to compare the original assembly with the replacement listing before purchasing. If the kit photos show the same bracket shape, terminal type, and wiring pattern, you are much more likely to get a straightforward install. Try comparing two products side by side below to see which fits best:
Installation Guide for Ignition Kits
Once you've weighed two options against each other, the next step is making the installation as clean and safe as possible. A successful igniter replacement is less about force and more about careful sequencing. Start by turning off the gas supply, disconnecting any battery source if your grill uses one, and making sure the cooking surfaces are cool. Then remove the control knob or access panel as needed so you can see the old module, wires, and electrode ends before touching anything.
A basic install usually follows the same pattern. First, document the original wiring with a photo so you can recreate the layout. Second, disconnect the old wires one at a time rather than pulling the whole harness at once. Third, transfer the ignition button or module into the panel opening, making sure the retaining nut or clip seats fully. Fourth, route the new leads the same way the old ones ran, keeping them away from burner flames, sharp edges, and pinch points. Fifth, reconnect the electrode tips securely and test for spark before reassembling every cover.
If your grill includes multiple burners, test each one separately after installation. One working spark does not always mean every lead is seated correctly.
Common tools are simple: a screwdriver, pliers, a small wrench, and a flashlight for seeing behind the control panel. If the panel has rusted fasteners, use controlled pressure rather than aggressive twisting so you do not strip the hardware. When reinstalling, tighten hardware just enough to hold the ignition module firmly; over-tightening can crack plastic housings or deform the control panel opening.
Safety matters throughout the process. Never test ignition while you smell unburned gas. If a burner was flooded with gas because repeated clicks failed to light, stop, ventilate the area, and wait before trying again. If you need to confirm spark, do it with the grill open and clear of obstructions. A strong blue spark at the electrode is what you want to see; weak or intermittent spark often points to poor contact, corrosion, or a battery issue rather than a bad new kit.
If the replacement still does not work after installation, go back to the basics. Check that the battery is fresh, confirm the wires are firmly attached, inspect the electrode tip for grease or oxide buildup, and verify that the burner ports near the ignition point are not blocked. Many “bad igniter” complaints are actually contact or alignment issues that can be solved without another purchase. Taking five extra minutes at install time often saves an entire second repair job later.
Troubleshooting Common Ignition Issues
If your grill still will not light smoothly, troubleshooting should begin with the symptoms, not the assumption that the new part failed. For example, repeated clicking with no spark usually suggests an electrical connection issue, a dead battery, or a failed module. A spark that appears in open air but does not light the burner often points to electrode positioning, moisture, or debris near the ignition point. An intermittent spark can indicate a loose terminal or worn internal contacts.
| Symptom | Likely cause | First check |
|---|---|---|
| No clicking sound | Battery, button, or module failure | Battery orientation and terminal contact |
| Clicking but no spark | Loose wire, corroded electrode, or damaged module | Lead connection and electrode cleanliness |
| Spark visible but burner not lighting | Blocked burner ports or misaligned tip | Clean the ignition area and check burner alignment |
| Works only occasionally | Moisture, weak battery, or loose contact | Dry components and secure all connectors |
Moisture is one of the most overlooked problems. After rain, washing, or seasonal storage, water can collect around the ignition electrode and interrupt the spark path. Drying the area and allowing the grill to sit open for a period can restore normal lighting. Corrosion is another frequent culprit, especially on older grills exposed to humid conditions. A small amount of oxidation on a terminal can be enough to weaken the spark or stop it altogether.
If you smell gas after several failed ignition attempts, stop immediately and let the area air out before testing again.
When troubleshooting, isolate the problem one part at a time. Test the battery, then the button, then the wires, then the electrode. That simple order helps you avoid replacing a working part just because it was the last piece you touched. If your grill has more than one burner, compare the failed side with the working side; a side-by-side check often reveals a bent electrode, disconnected lead, or buildup around one burner only.
Comparing Brands and Prices
Price differences in ignition kits usually reflect the number of ignition points, the quality of the mounting hardware, and how closely the kit matches a specific grill family. Basic single-button replacements are often the lowest-cost option, while multi-burner electronic kits typically cost more because they include extra leads, clips, and wiring. In the United States, replacement kits commonly fall into a practical range from roughly $10 to $40 for simple parts, while more involved assemblies can run higher depending on model specificity and included components. These are estimates, not fixed prices, and actual retail can vary by brand and seller.
| Comparison factor | Budget option | Better-value option |
|---|---|---|
| Fit accuracy | Generic-looking kit | Model-specific match |
| Hardware included | Minimal pieces | Button, electrodes, clips, and leads |
| Installation effort | More adaptation required | Less rework and fewer surprises |
| Long-term value | May need another swap sooner | Usually more dependable for the model |
The cheapest kit is not always the best deal if it costs you an extra hour of labor or still fails to align with the grill. For most buyers, the better value comes from the part that matches the original layout closely and includes the hardware needed to finish the job without improvisation. Reviews are also useful, but focus on comments from users who mention the same grill model, not just general statements like “works great.” The most helpful review often explains whether the fit was exact, whether the wires were long enough, and whether the spark was strong enough to light the burner on the first try.
If you are comparing options from different brands, look at what is actually included and whether the seller explains compatibility clearly. A lower sticker price can hide missing clips or an incomplete harness, while a slightly higher-priced kit may save you from buying replacement fasteners later. In other words, compare the whole installation outcome, not just the part number.
Conclusion and Call to Action
The right ignition kit should restore reliable spark, fit your grill cleanly, and make future lighting easier rather than more complicated. If you have confirmed your model number, checked the ignition style, and compared the mounting details, you are in a strong position to choose with confidence. For many grill owners, that little bit of careful matching is the difference between a quick repair and a frustrating return.
Before you buy, double-check the model label, count the electrodes, and review the wiring layout one more time. Then choose the replacement that best matches your grill’s original setup and your comfort level with installation. If you want to narrow your choice further, compare two compatible kits side by side below and select the one that best fits your grill’s ignition layout, budget, and repair goals.